Little Paper Creations
  • Blog
  • About
  • Portfolio
  • Etsy Store
  • Quest for Kisses

Distress Inks With Stencils

2/23/2016

0 Comments

 
I've been trying new techniques with my distress inks again! Which means it's time for another edition of:
Picture
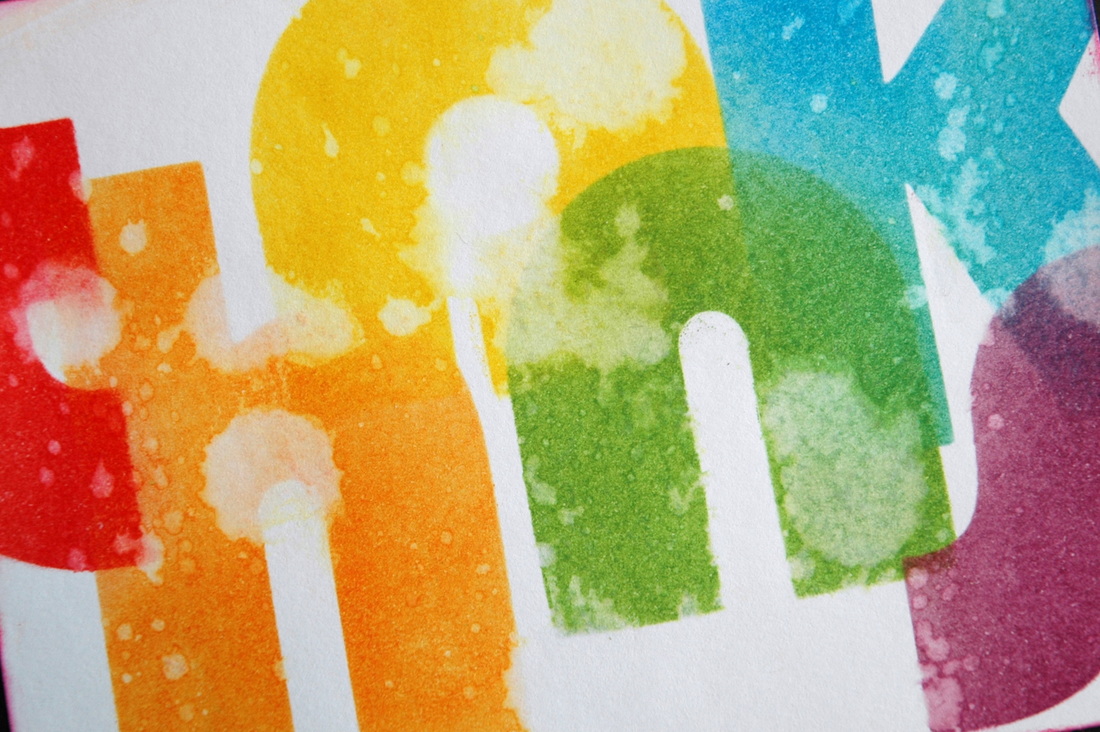
This time around, I used the mini blending tool to apply the ink to the paper instead of putting the paper directly into the ink. For this first card, I used alphabet stencils and rainbow colors to make a thank you card.
Picture
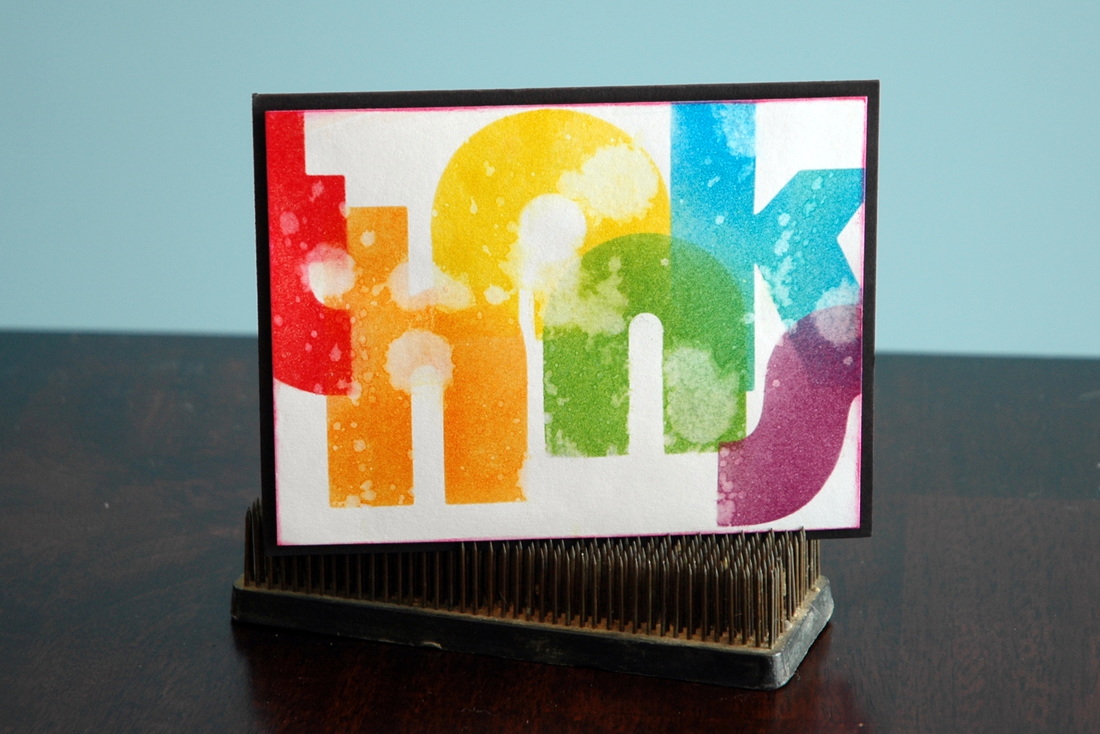
I added some water droplets after I was done, which adds nice texture, but several of them are very large, which I think distracts from the overall message of the card. The letters are hard enough to read without having big splotches on them as well.
Picture
On the other card, I applied the same rainbow colors to the entire background, then put a chevron stencil over the top and applied some black ink to make the stripes.
Picture
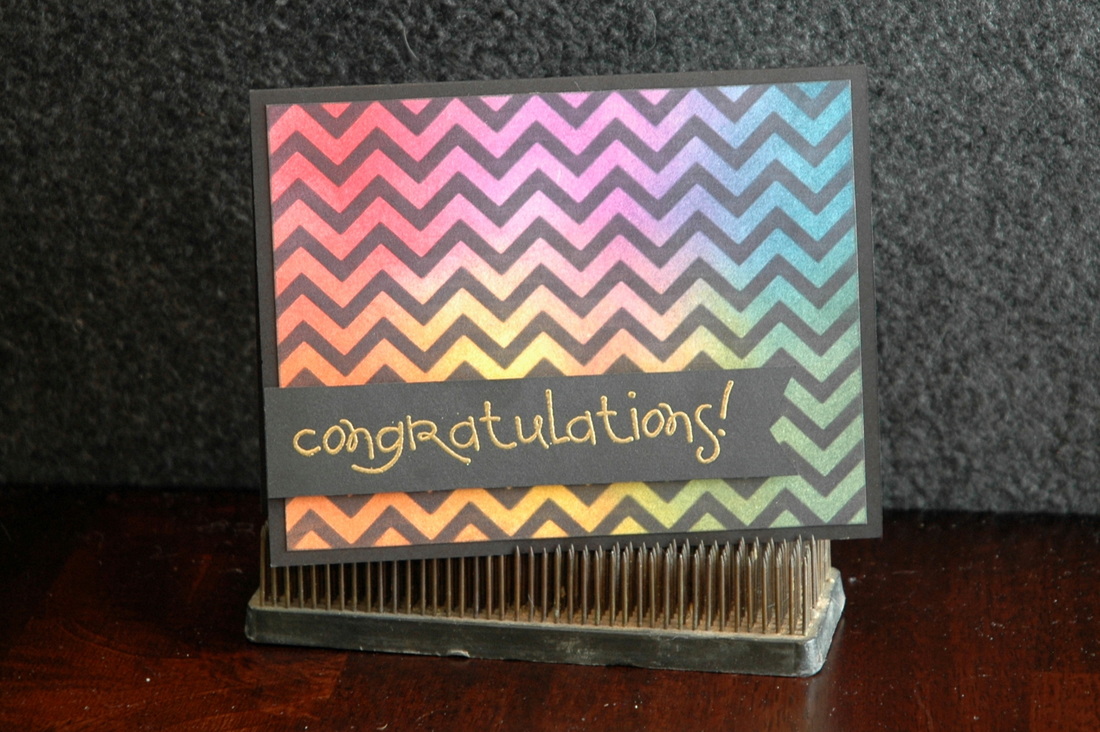
I like how this one turned out - it's pretty muted and soft for having so many bright colors and such a bold pattern.
Picture
I like the look of blended distress inks, but it's quite time consuming, so I'm not sure I'll be using this technique that often. But I'm glad I've tried it and I'm happy with how these cards turned out.

Happy Crafting!
0 Comments

Kid Quote Birthday Cards

2/16/2016

0 Comments

 
Being a preschool teacher, I'm partial to anything that has to do with kids. So when I saw this stamp set, I knew I had to have it!
Picture
How cute are these stamps?!? I've had these stamps for a while, but I never took them out to play with. Until now! I got a new paper pad and I knew the bright colors and bold designs would go perfectly with these stamps!
Picture
A perfect pairing, don't you think?
Picture
Picture
I used some foam tape to pop up some of the elements to add dimension and interest, but other than that, it's just the paper and the stamp. No techniques, no inks, no special tools.
Picture
It was fun to just play with paper again. That's what I worked with years ago when I started scrapbooking and card making. Just paper. I love playing with the colors and patterns.

Hmmm... I think I'm going to have to dig out all my papers again!

Happy Crafting!
0 Comments

Wedding Invitations: Katie & Peder

2/9/2016

0 Comments

 
Last August was full of weddings for me. My husband and I went to 3 weddings in the span of 4 weeks! You may recall a couple of the cards I made for them.

One of the weddings was for Katie and Peder. I've known Katie since I was 10. My family moved into a new house and pretty quickly met Katie and her 2 sisters who lived next door. She and my younger sister became close friends and have stayed in touch all these years. So of course we were all ecstatic when she announced her and Peder's engagement!
Picture
Shortly after she got engaged, Katie got in contact with me and told me that after seeing the invitations I made for my sister's wedding in 2014, she knew that I had to make her invitations, too! Of course I said yes!

The wedding colors were pink, coral, and yellow, with grey for the boys, so I found a pale grey and pale coral for the invitations.
Picture
Katie chose to go with a paper-lace design with K&P watermarked behind the text. It is difficult to see in the photos, but it shows up better on the RSVP back.
Picture
The back of the invitation featured a pocket to hold the RSVP, envelope, and insert card with map and directions. Everything tucked neatly inside so nothing got lost when you opened the envelope.
Picture
Katie and Peder's wedding was gorgeous! The ballroom was so elegant, the decorations were fun and colorful, and the dancing was highly entertaining! And I wouldn't have expected anything less from such a fun-loving couple. Especially since their wedding party had 22 people in it!
Picture
Congratulations to Katie and Peder!
And thank you for letting me be a part of your special day!

Happy Crafting!
0 Comments

Just a Little Note Special Order

2/2/2016

0 Comments

 
Every year after Thanksgiving, I bring my cards into work to sell in the break room. I always sell a few, and it gets my name and work out there. This year, I was approached by a fellow teacher asking for some custom cards for a gift. She wanted some music themed cards. Easy!

I used this stamp on ivory paper to make the background paper, along with some distress ink to make it look older. That paper was then adhered to a black card base.
Picture
For the sentiment, I used this stamp on more ivory paper distressed with ink. I mounted it on black paper, cut a banner edge, and mounted it on the card with foam tape to give some dimension. I also added some die cut leaves behind the sentiment banner.
Picture
I really like how these cards came out. I made 4 for the special order (which she used for a holiday party gift game) and 4 extra which sold at work in just days! I think I'll have to make some more!

Happy Crafting!
0 Comments

    RSS Feed

    Blogs I read:

    Becky Higgins
    Bits & Pieces
    KWerner Designs
    Jennifer McGuire Ink
    I Could Make That
    Linny's Vault
    Pintester


    Categories

    All
    #30DaysofCreativity
    Baby
    Baby Shower
    Binder
    Calendar
    Cards
    Christmas
    Coupons
    Craft
    Distress Ink
    Etsy
    Fabric
    Family
    Feedbackplease
    Field Trip
    Flashback Friday
    Food
    Gift
    Haul
    Home
    Inspiration
    Internet
    Invites
    Magnets
    Organization
    Paint
    Photos
    Planner
    Project
    Project Life
    School
    Scrapbook
    Special Order
    Special Order
    Storage Solutions
    Thinking Of You
    Tips And Tricks
    Top5friday
    Tutorial
    Wedding


    Archives

    February 2016
    January 2016
    November 2015
    October 2015
    September 2015
    August 2015
    July 2015
    June 2015
    May 2015
    April 2015
    March 2015
    February 2015
    January 2015
    September 2014
    August 2014
    April 2014
    February 2014
    January 2014
    August 2013
    July 2013
    August 2012
    July 2012
    June 2011
    January 2011
    December 2010
    August 2010
    July 2010
    June 2010
    May 2010

Powered by Create your own unique website with customizable templates.