Little Paper Creations
  • Blog
  • About
  • Portfolio
  • Etsy Store
  • Quest for Kisses

Garage Sale Mini Haul & Play Time!

6/30/2015

0 Comments

 
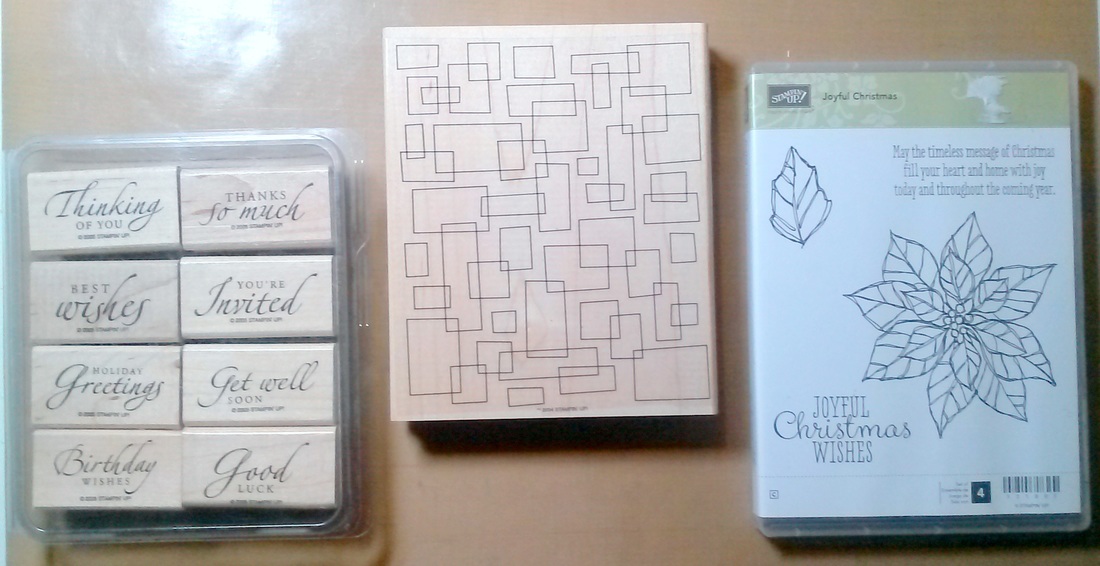
Last week I saw a garage sale sign advertising a stamp and scrapbook sale that weekend. So of course I went! It turned out to be several Stampin' Up demonstrators selling parts of their collections. And there was a TON of stamps and other craft items there! I ended up buying a large geometric background stamp, a Christmas stamp set, and a set of sentiments.
Picture
I could not wait to get home and start experimenting with my new supplies! I have plans for the Christmas set to make my Christmas cards this year, so I wasn't ready to do anything with that one quite yet, but I wanted to try out the background stamp. I've only recently started using larger stamps like this, and they are still a bit intimidating to me.

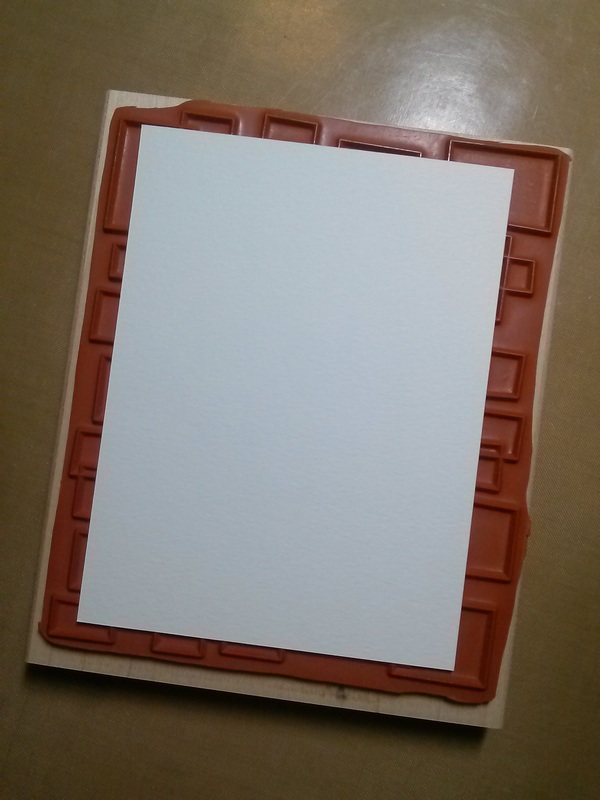
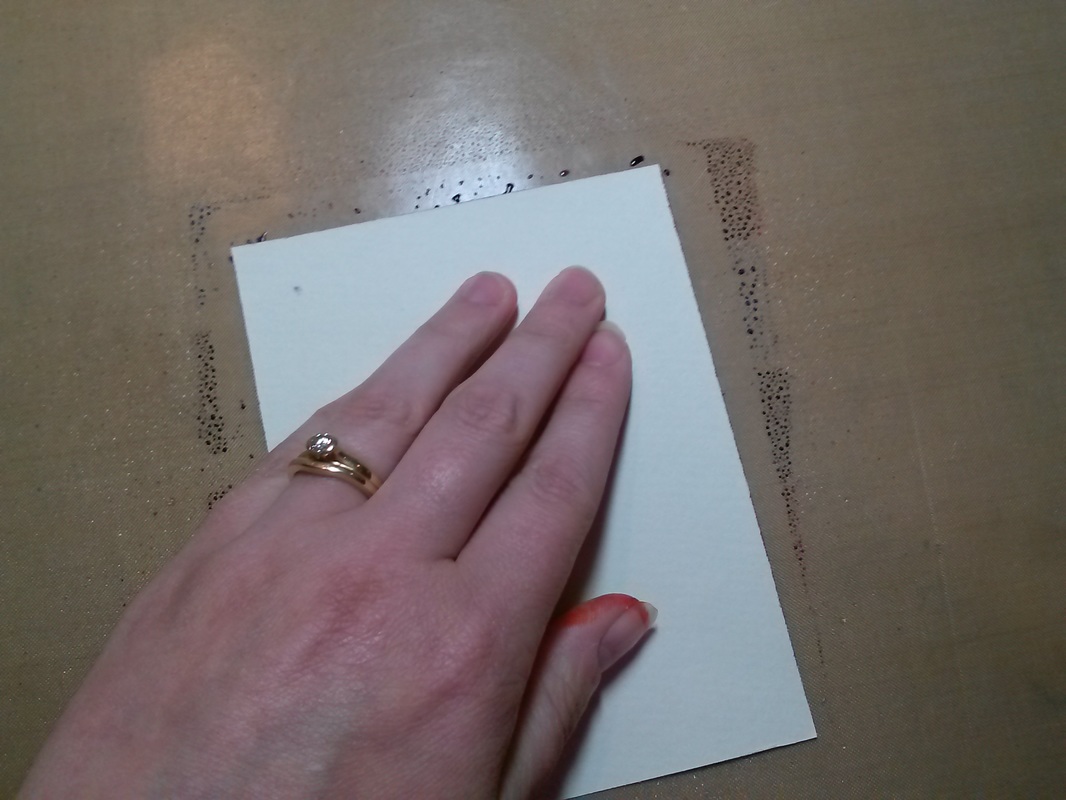
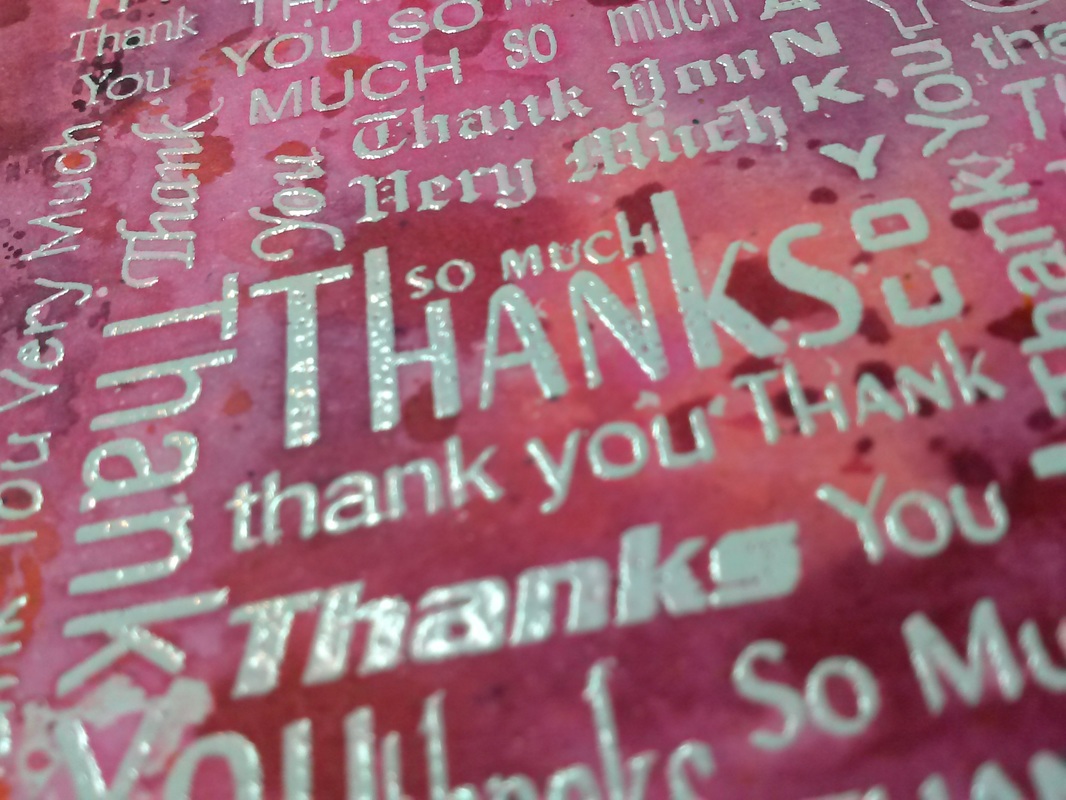
I learned from watching card making videos on You Tube that the best way to stamp with these over-sized stamps in to put the paper down on top of the stamp instead of the stamp down on the paper. So I tried it and it worked really well.
Picture
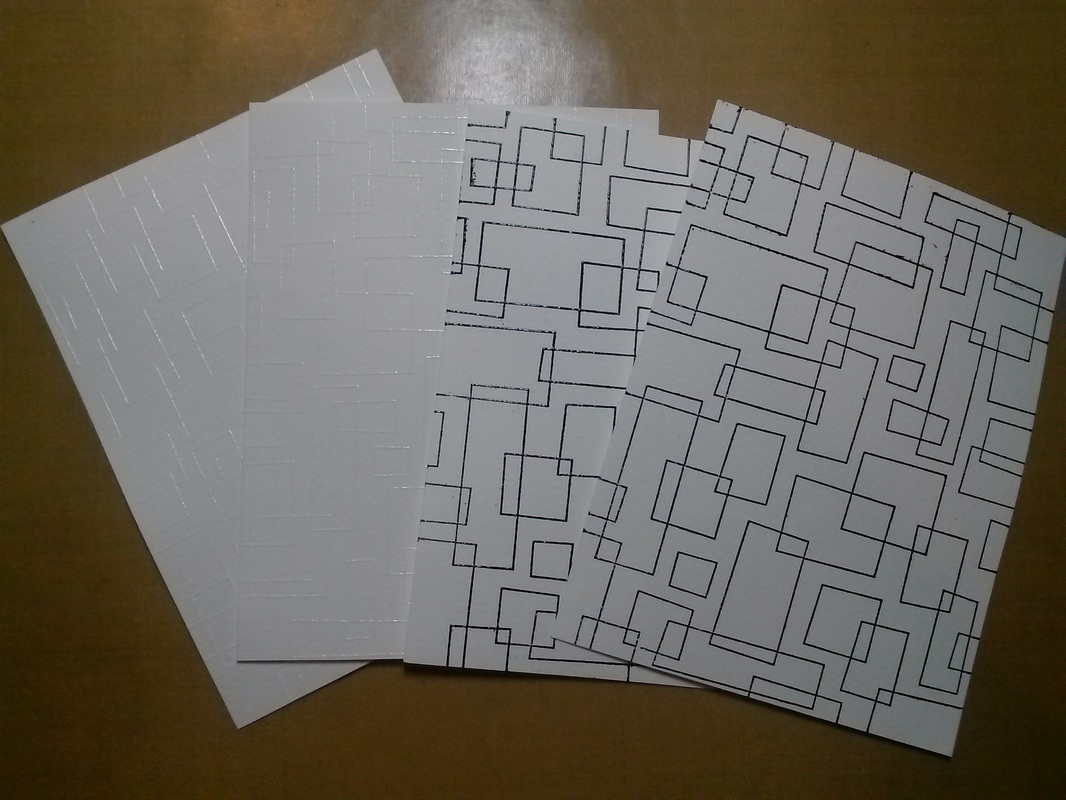
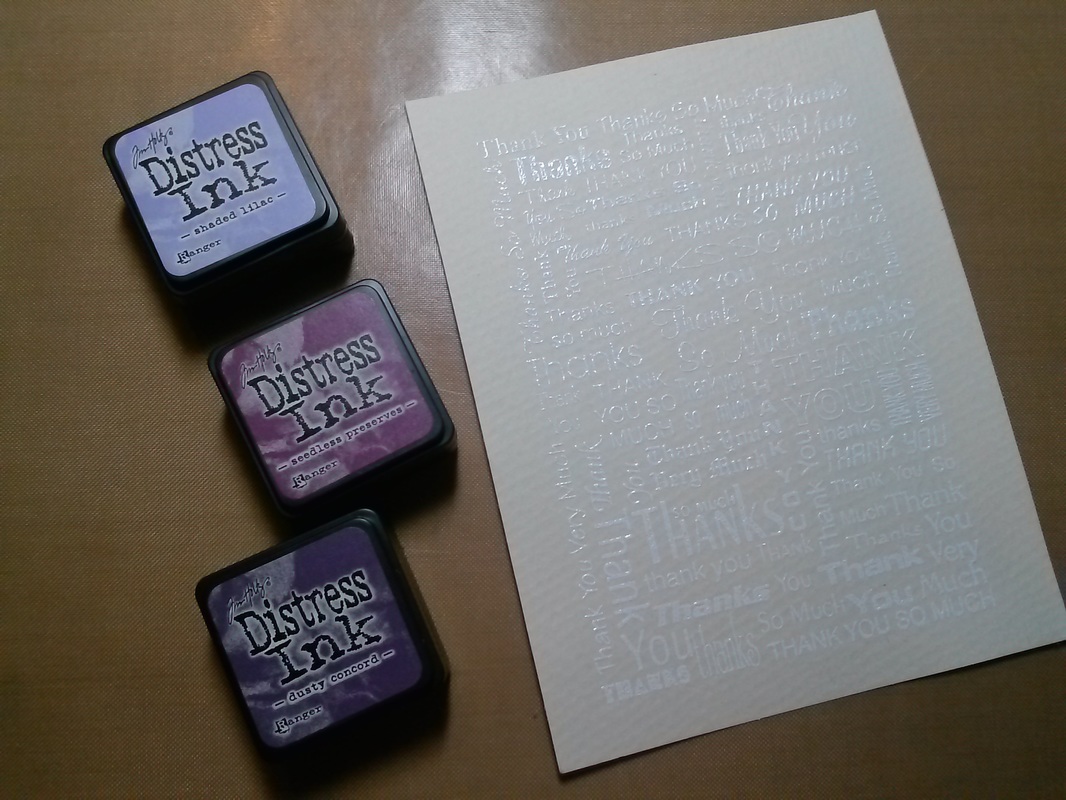
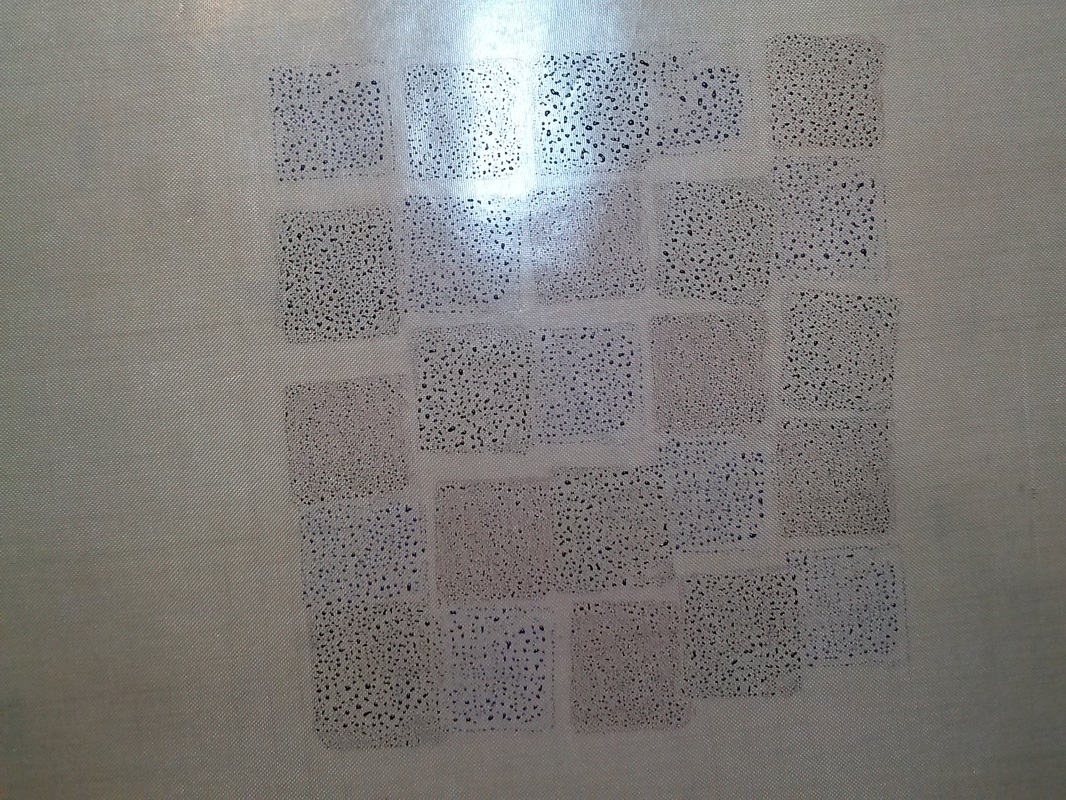
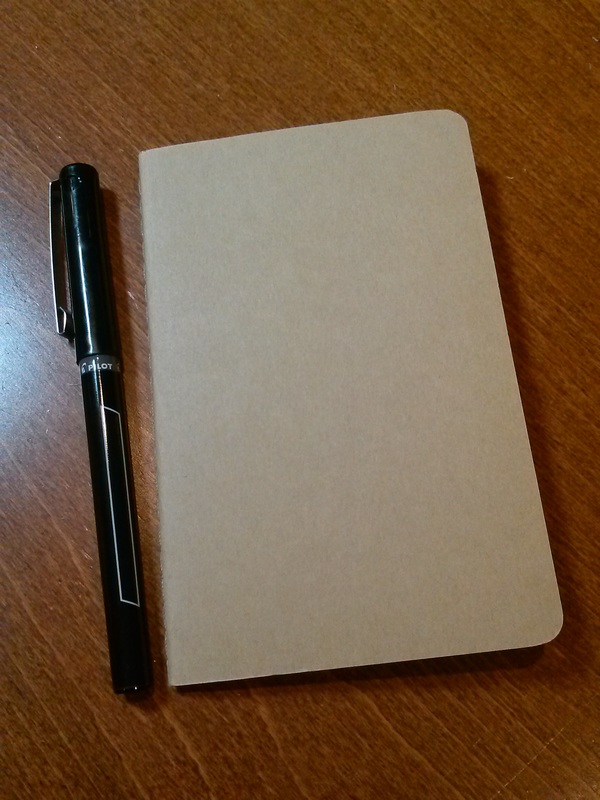
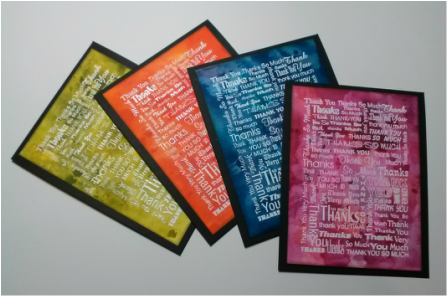
I used watercolor paper and made 2 white embossed background and 2 black embossed backgrounds.
Picture
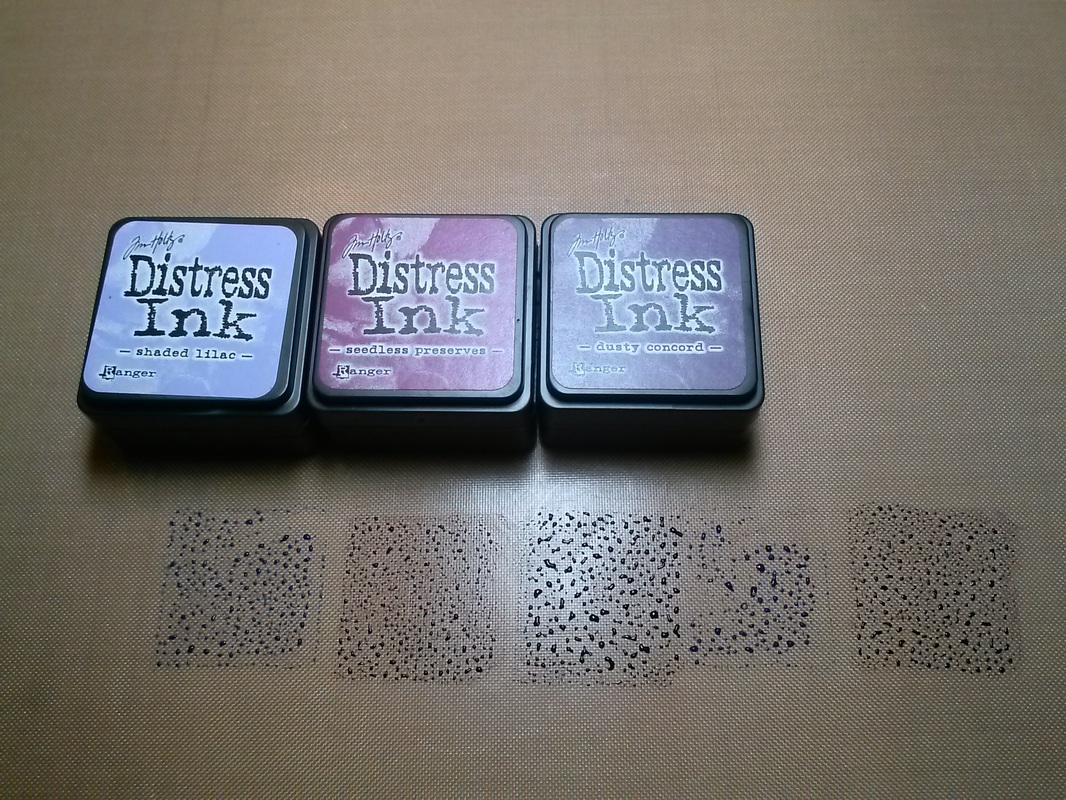
Then I pulled out my distress inks and started playing!
Picture
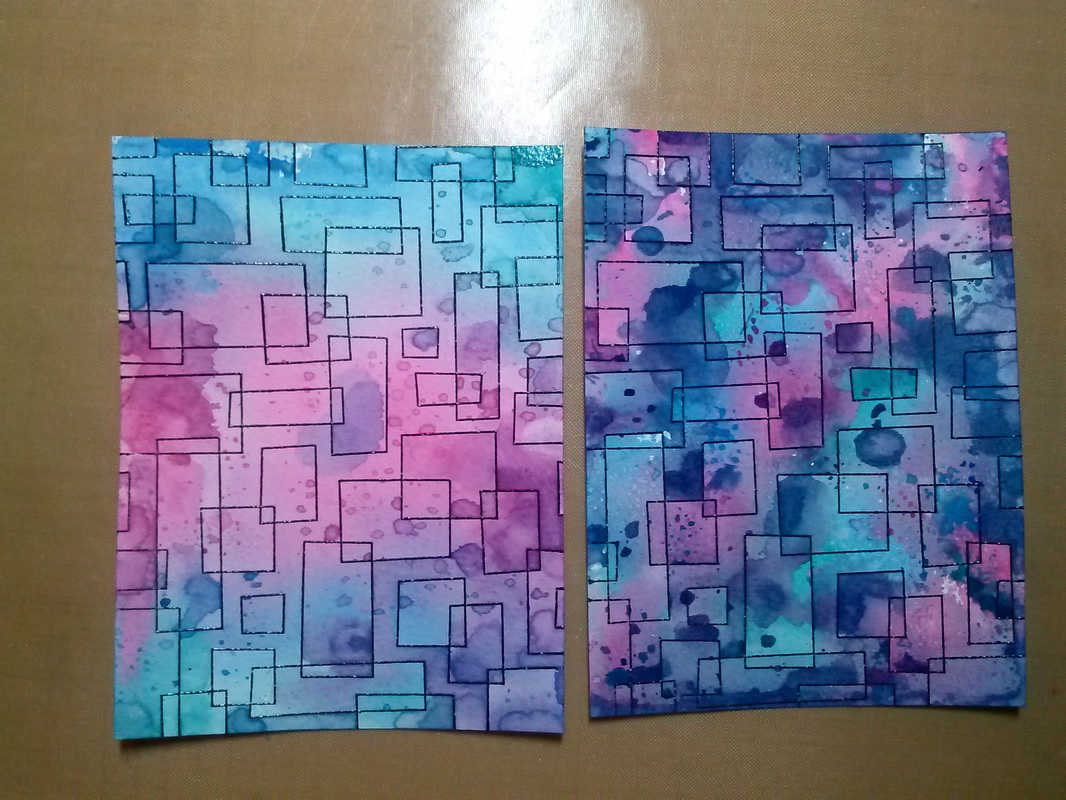
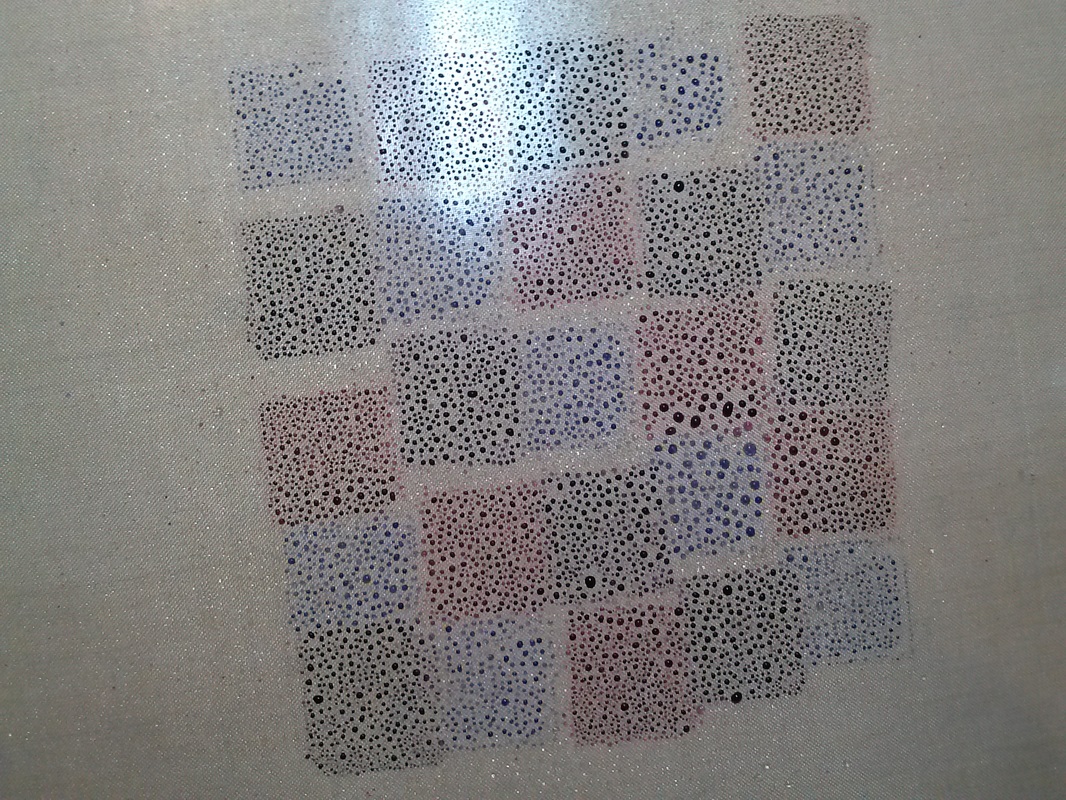
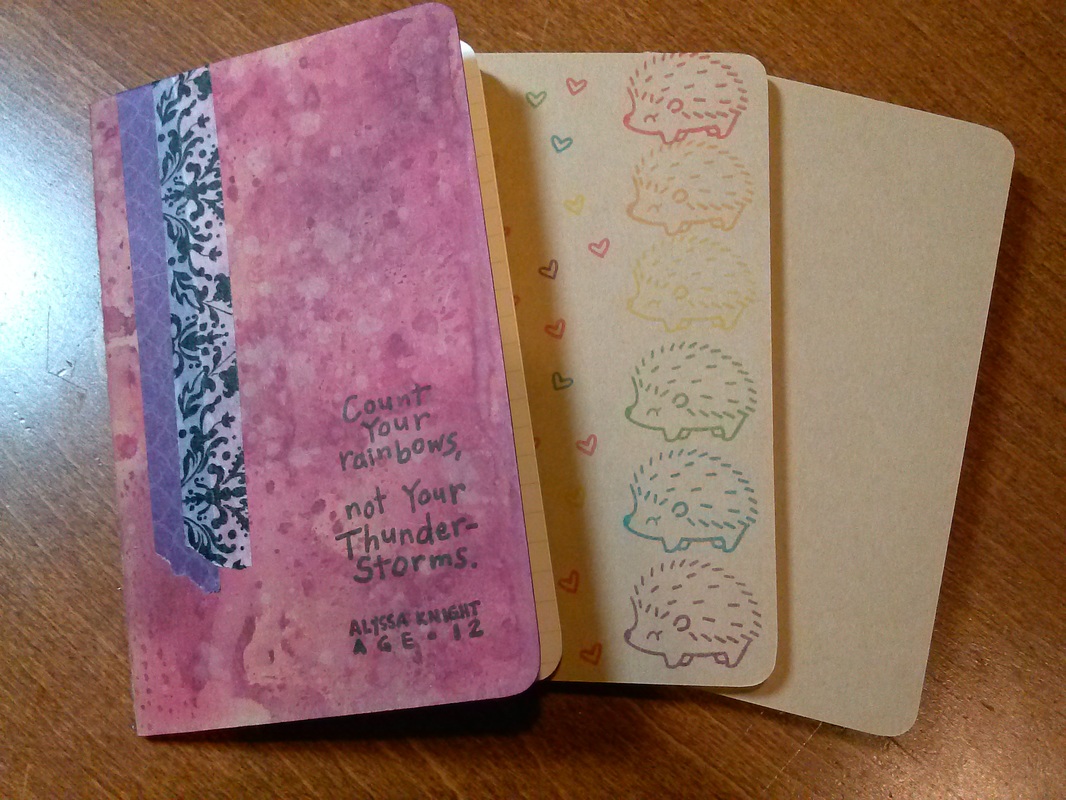
The two background above were made using the same colors (Picked Raspberry, Peacock Feathers, and Chipped Sapphire). They were both done using the smooshing technique I wrote about last week. The one on the right had the colors in grid formation, as I showed in last week's tutorial, and the one on the left had the colors in blocks/stripes. I think they are both very pretty, but the background stamp definitely shows up better on the left one. It's less busy.
Picture
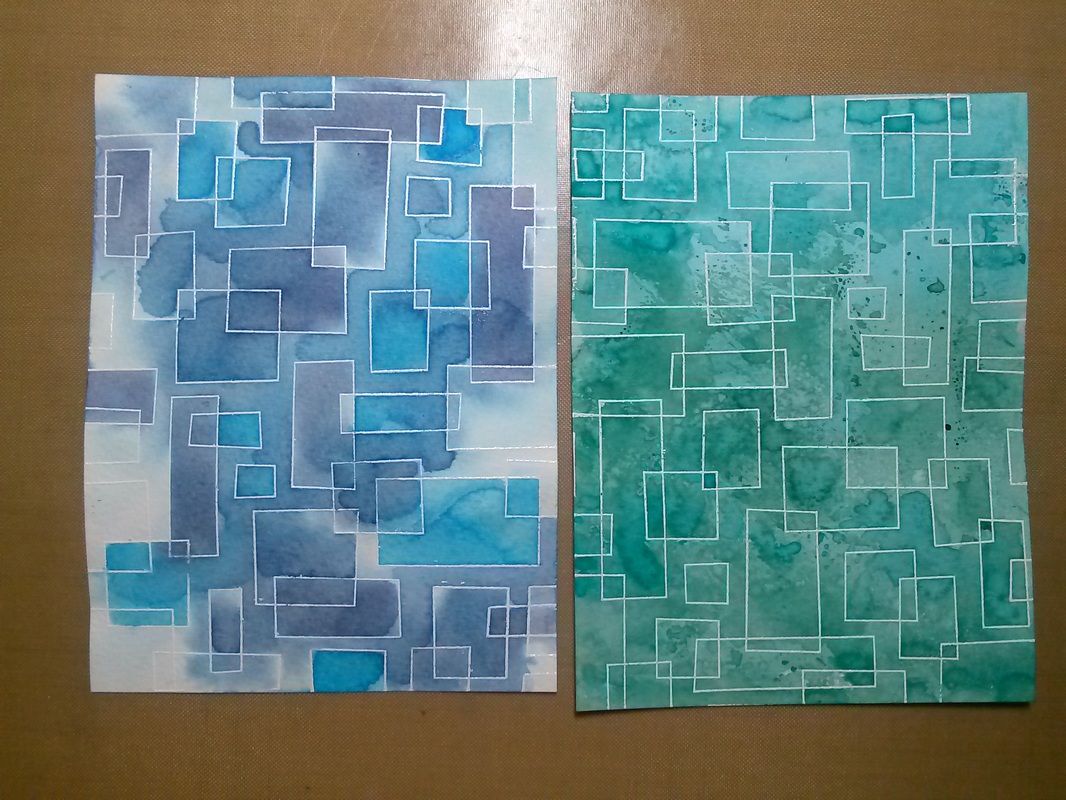
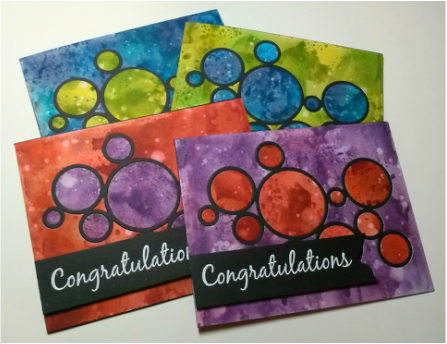
I learned from the two multi-colored backgrounds and simplified the colors for these two backgrounds. The one on the right used 3 greens (Mowed Lawn, Pine Needles, Iced Spruce) and the smooshing technique.

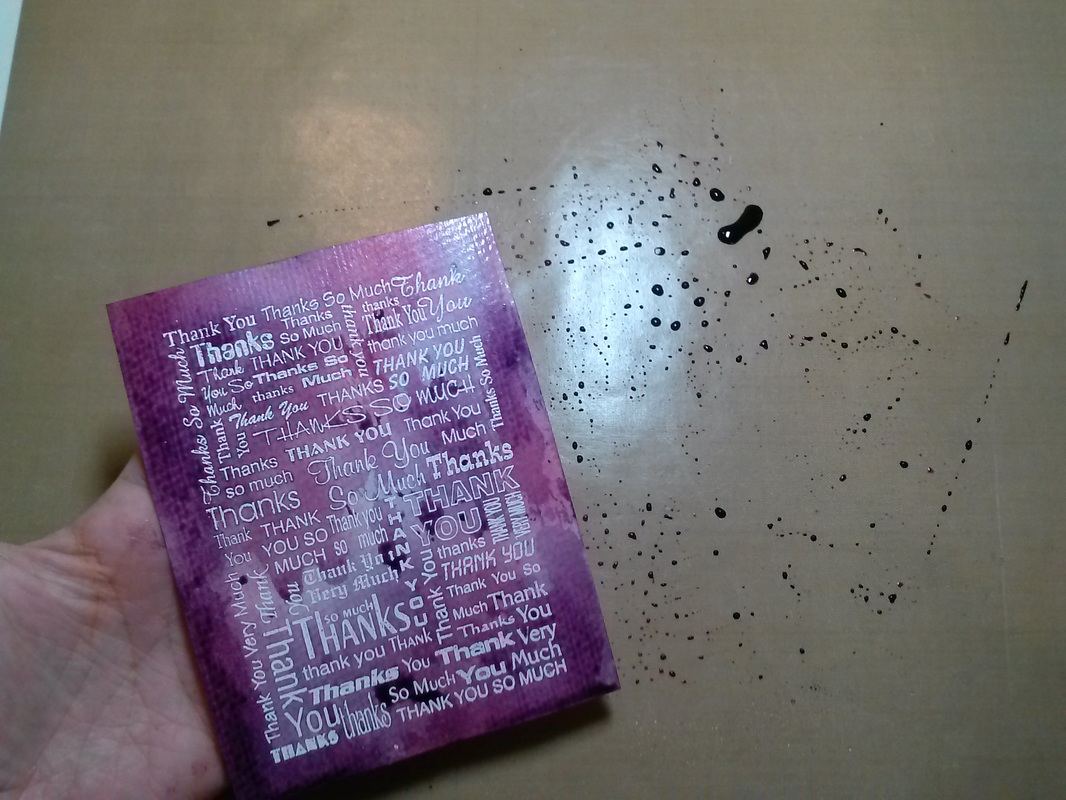
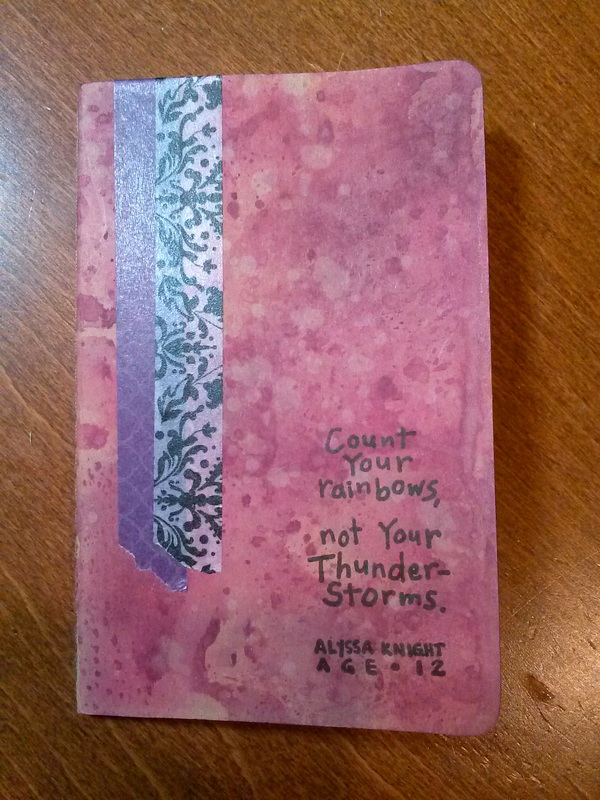
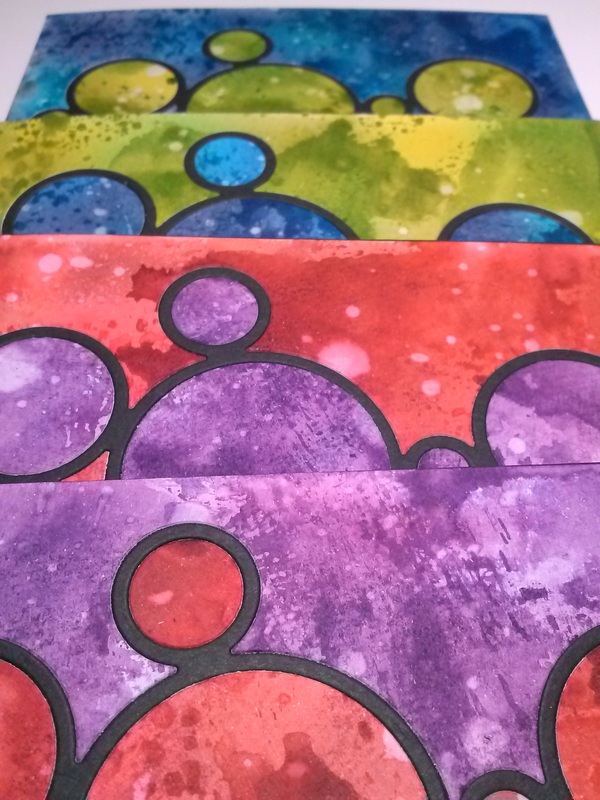
The one on the right I used 3 blues (Tumbled Glass, Salty Ocean, and Chipped Sapphire) and tried out a different technique. I wet the paper before adding ink, then used a paintbrush to 'drop' color into different areas on the background. I love that some of the blues stayed in their box, but some bled out and mixed into other areas. I tried not to control it too much, just let the colors go where they wanted to. I also sprayed more water on as I worked to get the colors moving more. I was really skeptical while I was making it - it looked really muddy and messy - but when it dried, it looked great! That is always the case with distress inks - you'd think I'd know that by now!

I have plans for one of these backgrounds (I chose the colors for a specific reason), and I'll show that in the next couple weeks, but the rest of these backgrounds will be available for any cards I need to make. I can't wait to make them into something!

Happy Crafting!
0 Comments

Tutorial: Distress Ink Watercolor Background

6/23/2015

0 Comments

 
Isn't smoosh a fun word? Smoosh!

Go ahead say it, it's fun!

I've had some questions about how I create the watercolor-looking backgrounds on some of my recent cards, so I thought I'd do a little tutorial here. I've named it the smooshing technique. Because that's what you do - you smoosh the paper into the ink to create the blended watercolor look.

I will say that I did not make this up, I learned this technique from Kristina Werner. She is a master at using distress ink to create unique cards.
Picture
To begin, I cut a piece of watercolor paper to 4x5.25 inches, stamped an image with Versamark Ink, covered the ink with white embossing powder, and heat-set it. I also chose 3 colors of distress ink that are from the same color family. Here I'm using Shaded Lilac, Seedless Preserves, and Dusty Concord. You can also do this technique with very different colors, just make sure they will mix well (red and blue mix well to make purple, but red and green make brown).
Picture
On my craft mat, I pressed my distress ink pads down right next to each other, then began repeating the patterns till it was a little wider than my paper.
Picture
I did the same thing on the next line down, starting with a different color, till I had as many rows as I needed. For the size paper I'm using (4x5.25) I find that 5 ink pads across and 5 or 6 down works the best.
Picture
Then I spray the whole thing with water. You can see the ink starting to bead up, but there's not so much water that it's all running together.
Picture
When the ink is wet, I take my stamped piece and place it image-side down onto the ink. I move it around a little and make sure to press all the edges into the ink to get full coverage.
Picture
When I lift it up, this is what I get! The embossed image resists the ink, so whatever you stamped on the paper will show through the ink colors. I dry the piece with my heat tool so I'm ready for the next step.
Picture
After one smoosh into the ink, you can see the pattern of colors on the paper. That may be the look you're going for, but not me - I like it more organic looking, so I take my dried piece and smoosh into the remaining ink again and again. If it gets too wet during the smooshing, I dry it and keep going till I get a mix that I like.
Picture
I dry it one last time, then use a rag to wipe the embossed image to get rid of any ink that may have stuck there. At this point, the paper is usually pretty warped from all the water and drying, so I usually put it under some heavy books for a few days. Then I can make it into a card, an embellishment, or whatever I want!

I've been busy with new cards, so keep an eye on my Etsy store for a new line of cards in a variety of colors!

What color would you like to see?

Happy Crafting!
0 Comments

Altered Notebook Covers

6/16/2015

0 Comments

 
I picked up some cute little notebooks the other day to stick in my bag when I'm out and about (without my planner!!!) this summer. They are Moleskine notebooks with a kraft cover, they come in packs of 3, and they measure 3.5 x 5.5.
Picture
They are perfect for throwing in my pocket or bag and jotting down any ideas or notes that come to mind.

But they are boring.

So of course, I started playing...

The first one I stamped on with a cute little hedgehog stamp using a rainbow of distress inks.
Picture
I liked how it turned out (because hedgehogs!), but it wasn't quite my style, so I kept going with the distress inks and came up with this one.
Picture
I added a cute saying and some washi tape and I love it!

Now I just need to figure out what to do with the third one.
Picture
Any ideas?

Happy Crafting!
0 Comments

Playing with Distress Ink: 3

6/9/2015

0 Comments

 
My last day of school was on Friday, so I had to say goodbye to many of my assistants and paras that worked in my classroom this year. And I also needed to say thank you. I could not run my classroom the way I do without the support, knowledge, and humor of my support staff. They are amazing! So I knew I needed to make some special cards just for them.

I have really been loving my distress inks, so I decided to pull them out again for these cards.
Picture
The first set I made was very easy, but they turned out so striking!
Picture
I started by heat embossing with a giant thank you stamp from Hampton Arts (retired - I found it at Goodwill). Then I pressed my ink colors onto my craft sheet and sprayed with water. When everything was nice and wet, I pressed the embossed image into the puddle of color and mushed it around (technical term). I dried, re-mushed, and dried, again and again till I got the mix of colors I liked. Then I just mounted the stamped image on a black card base and that was that!
Picture
The next set used the same distress ink technique (mushing and re-mushing), but I didn't emboss on it first, I die-cut after.
Picture
I used this die from Simon Says Stamp to cut into each inked piece of paper, saving the circles from the insides. I also cut the frame from black card stock so the contrasting colors would pop even more. I adhered the background to a black card base, then in-laid the frame and all the inside circles, using opposite colors for each card pair.

I love the inlay paper technique - it looks like you did a lot more work than you really did! Plus, it lots be use both the positive and negative space of the die cut, which reduces waste. I don't like to throw away any of my beautiful inked papers!
Picture
To finish off these cards, I added a flag with a white embossed Congratulations  with a stamp from Verses Rubber Stamps.

I really liked how these cards turned out! I'm going to make more of them and post them on Etsy, so if you'd like some of your own, head over to my shop and pick one (or two, or ten!) out for yourself!

Happy Crafting!
0 Comments

Storage Solutions: Cardstock Paper

6/2/2015

0 Comments

 
For years, I didn't care about cardstock. I cared about patterned paper; followed certain companies, hoarded my favorite patterns, envied those that could afford entire lines. But cardstock? Who cares? It was just there to mat my photos and provide a base for the pretty patterned stuff anyway.

But now that I've grown away from patterned paper, now that I've gotten into stamping and card making, now that I need consistent quality and exact matches for my invitations, now I care. A lot. And now I realize that my method for storing my cardstock was poorly lacking.

My method for storing cardstock in the past was basically a bin with all the paper thrown in. If I needed white, I'd shuffle through till I found some. Black? Same thing. I usually only had 1 or 2 sheets of specialty colors on hand, which meant when I made a card or invitation, I would have to go out and try to find the paper again in order to make more. And of course nothing was ever labeled, so it was a pain in the you-know-what to try and find that particular paper again.

But I've learned. And I've developed a method that works for me now.

Storage Solution: Cardstock Paper Edition
Picture
I use hanging file folders to store my cardstock. I label each folder with the color and weight of the paper on the front and the company and store on the back, so it's always easy to go buy more.
Picture
I keep the paper I use most (and have the most of) on top of a set of drawers in a filing box. These are the papers that I know brands and stores for, the ones I reach for on a daily basis or the ones I'm using for a special project.
Picture
In the bottom drawer of the cart, I keep miscellaneous colors of cardstock. This is paper that I have only 1 or 2 sheets of and I may or may not know the brand or store. These are the paper I reach for when I'm just making a fun card or other project that I will not have to duplicate.
Picture
I also keep my sets down here. Michaels has packs of papers with a variety of colors that all go together very nicely. I use these for cards when I'm looking for a lot of color. Since the packs are already matched so nicely, I don't want to break them up, so they go in one folder together. Besides, they don't list the individual colors!
Picture
So there's a quick look at my cardstock storage system! It may change in the future as I collect more colors and brands, but for now, this works for me! Now I just have to figure out how to store my patterned papers...

How do you store your paper? Is it working for you?

Happy Crafting!
0 Comments

    RSS Feed

    Blogs I read:

    Becky Higgins
    Bits & Pieces
    KWerner Designs
    Jennifer McGuire Ink
    I Could Make That
    Linny's Vault
    Pintester


    Categories

    All
    #30DaysofCreativity
    Baby
    Baby Shower
    Binder
    Calendar
    Cards
    Christmas
    Coupons
    Craft
    Distress Ink
    Etsy
    Fabric
    Family
    Feedbackplease
    Field Trip
    Flashback Friday
    Food
    Gift
    Haul
    Home
    Inspiration
    Internet
    Invites
    Magnets
    Organization
    Paint
    Photos
    Planner
    Project
    Project Life
    School
    Scrapbook
    Special Order
    Special Order
    Storage Solutions
    Thinking Of You
    Tips And Tricks
    Top5friday
    Tutorial
    Wedding


    Archives

    February 2016
    January 2016
    November 2015
    October 2015
    September 2015
    August 2015
    July 2015
    June 2015
    May 2015
    April 2015
    March 2015
    February 2015
    January 2015
    September 2014
    August 2014
    April 2014
    February 2014
    January 2014
    August 2013
    July 2013
    August 2012
    July 2012
    June 2011
    January 2011
    December 2010
    August 2010
    July 2010
    June 2010
    May 2010

Powered by Create your own unique website with customizable templates.