Little Paper Creations
  • Blog
  • About
  • Portfolio
  • Etsy Store
  • Quest for Kisses

Storage Solutions - Wafer Dies

2/24/2015

1 Comment

 
I love binders. I really do. Someday I will write a post sharing all the binders I have at my house and at school. The number is firmly in the double-digits, I assure you.

But today, I want to show you one particular binder.
And I just finished setting it up!
Picture
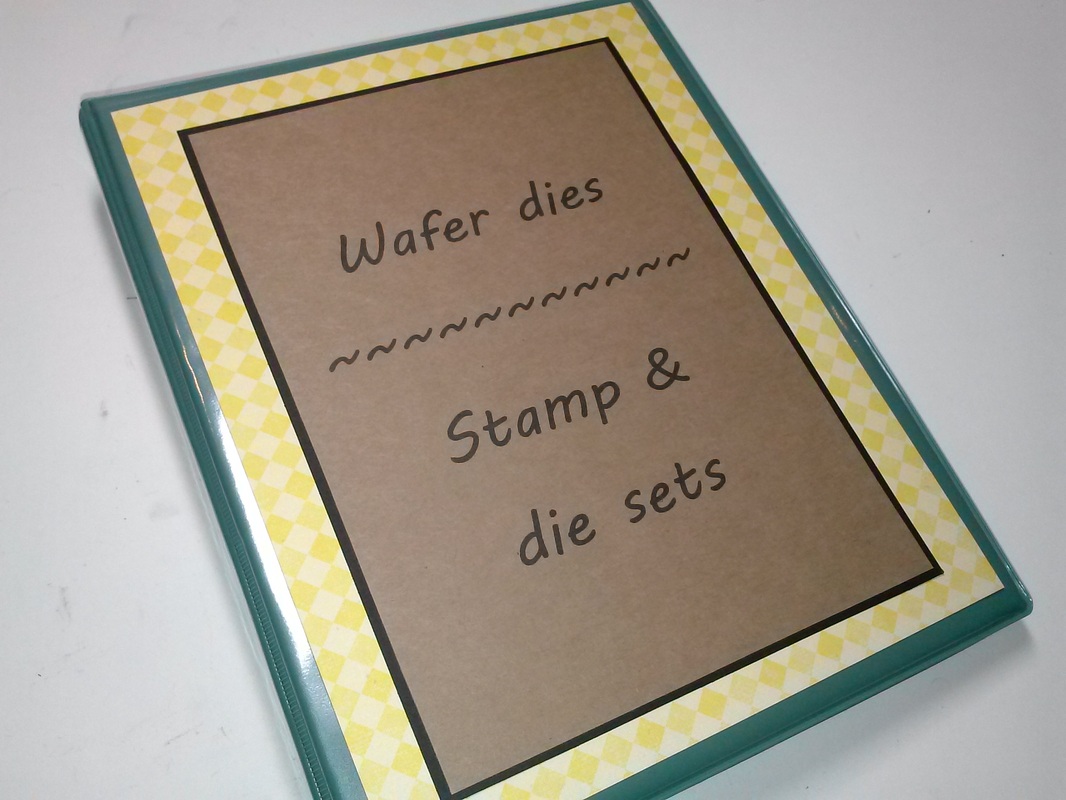
It's my wafer-thin die storage binder!
It's a mini binder, which means it's 8 1/2 x 5 1/2 (half-sheet size), which means it's the perfect size for most dies and stamps!
Picture
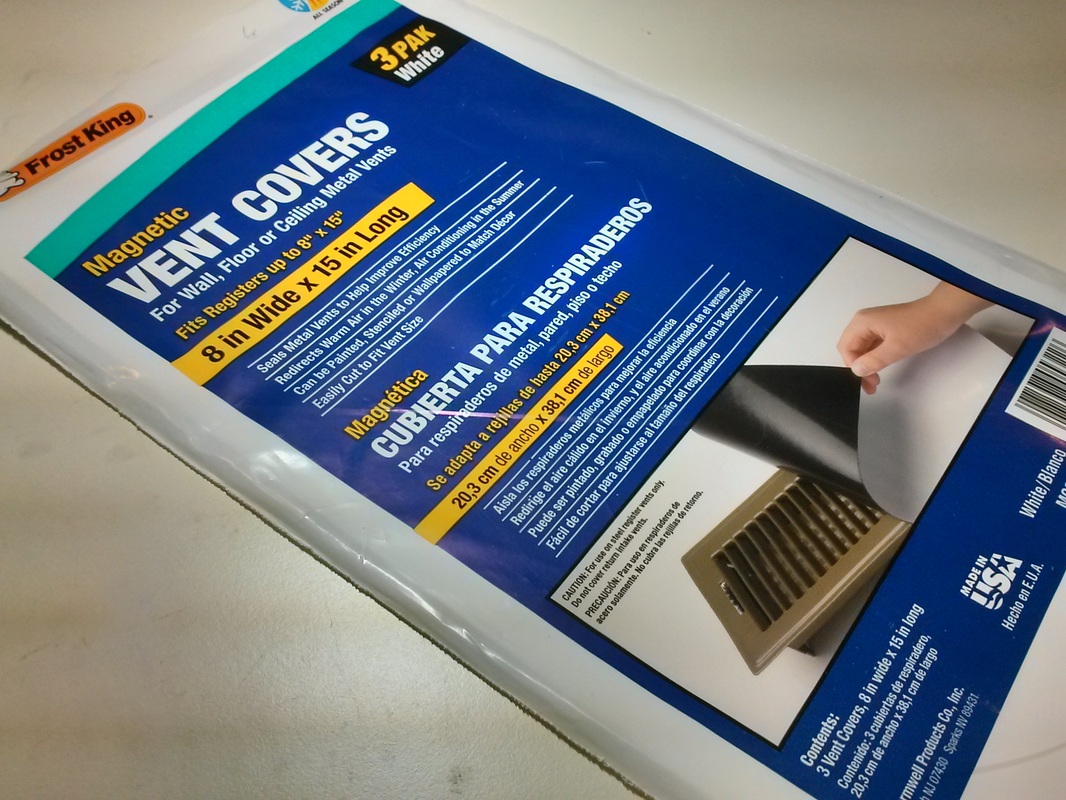
As I started collecting more dies, I realized that if I had no way to organize and access them efficiently, I would soon lose track of what I had, or worse, lose the dies themselves! Some of them have very small pieces. Plus, I wanted to be able to keep some stamp and die sets together. I searched online and came across several crafters that use magnetic sheets for die storage and while I loved that idea, I did not love the price of the magnetic sheets that were sold for that purpose. So I did some digging and found magnetic vent covers at my local hardware store!
Picture
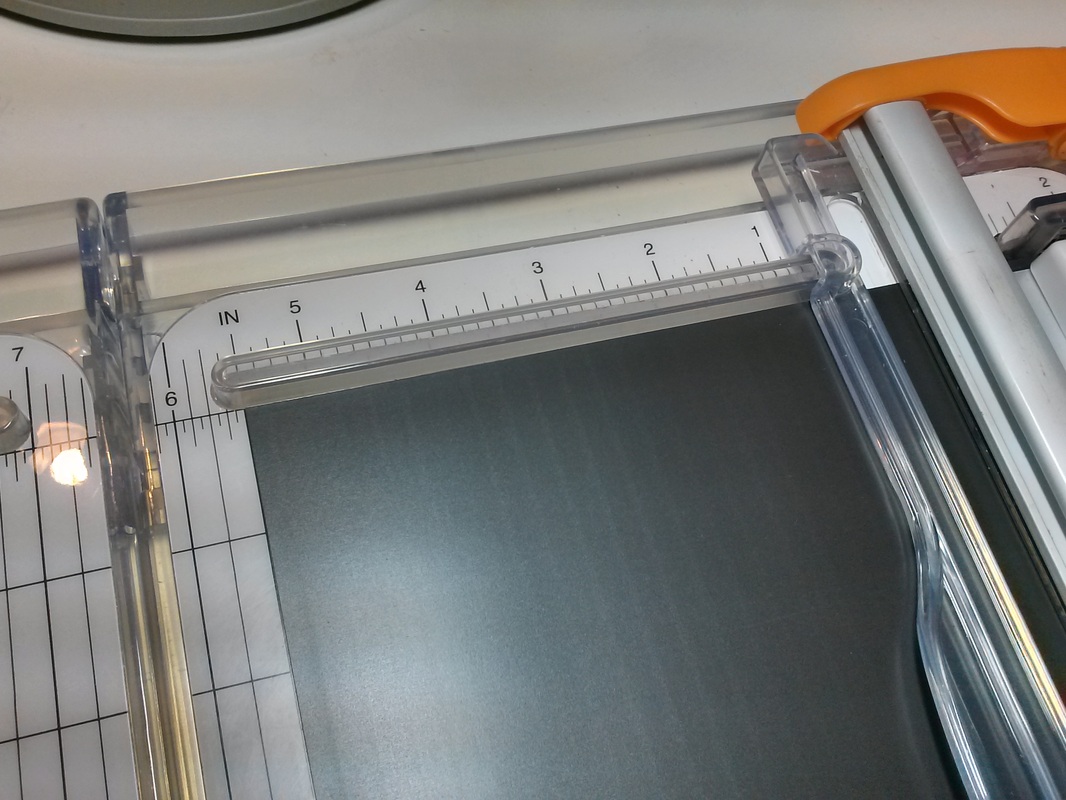
They come in packs of 3 sheets for $4.47. The sheets measure 8x15 inches, so I cut them up. They cut very easily with a paper trimmer.
I was able to get 2 large pieces of 8 x 5 1/2, one medium piece of 5 1/2 x 4, and one small piece of 4 x 2 1/2.

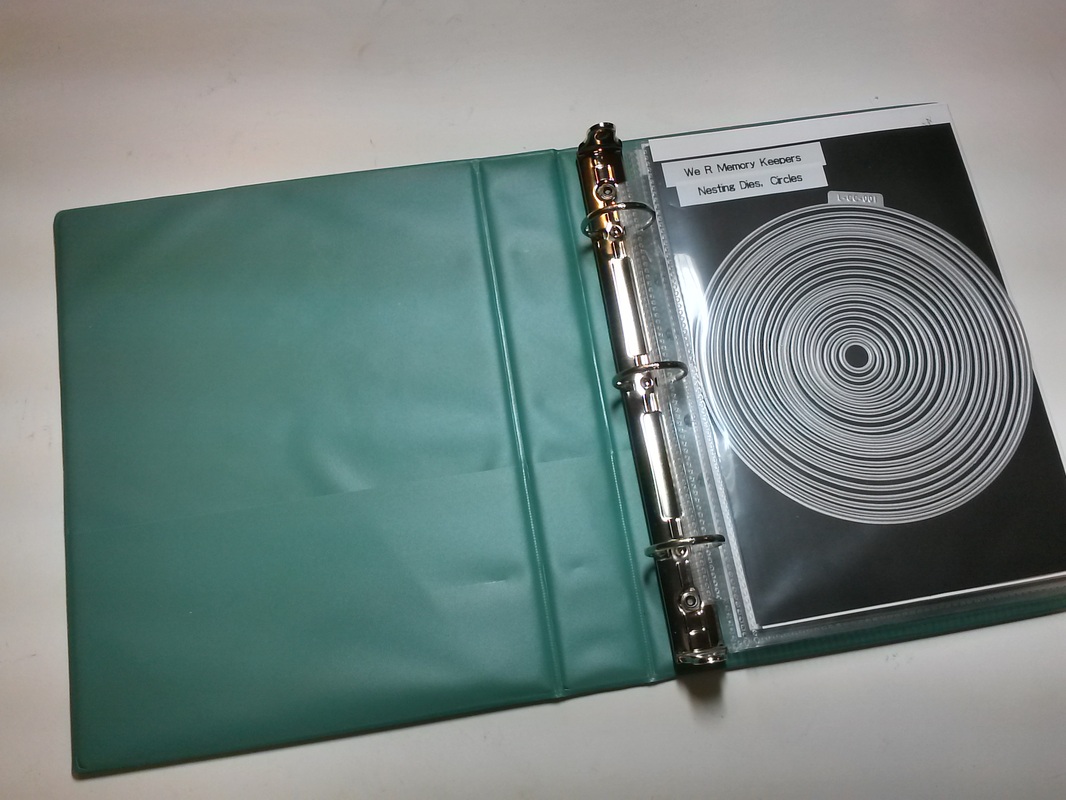
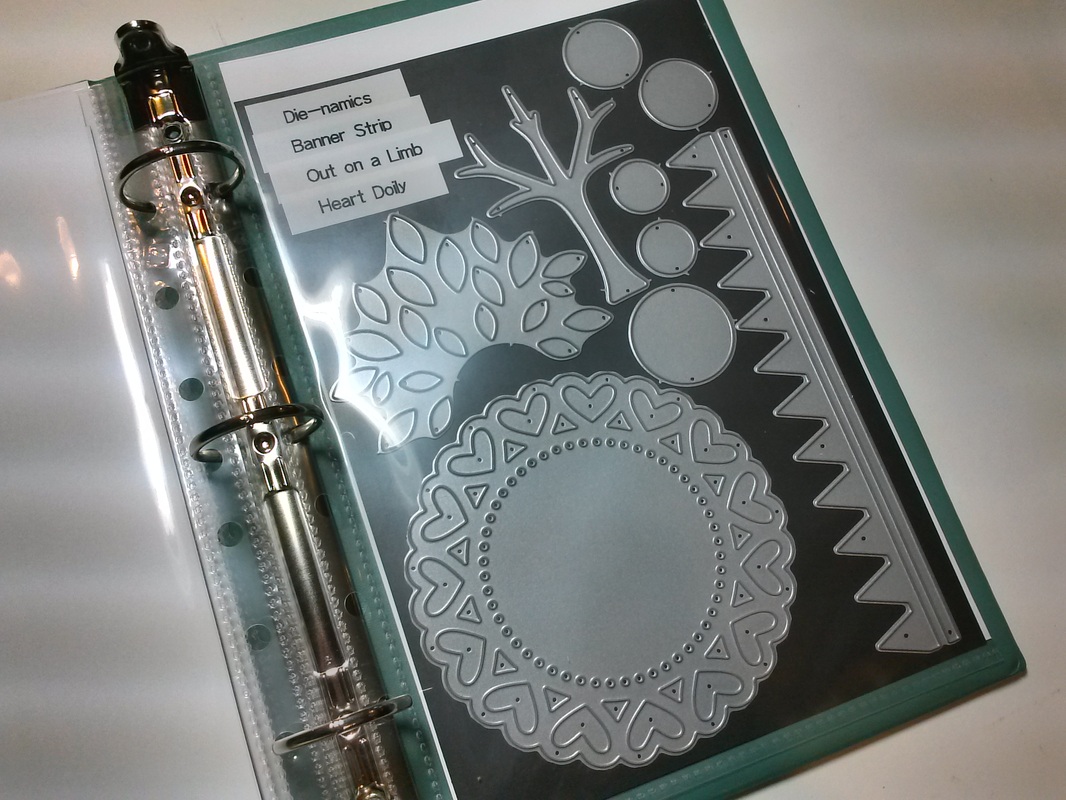
I use the large pieces as full magnet sheets for large sets or multiple sets.
Picture
Picture
Picture
Picture
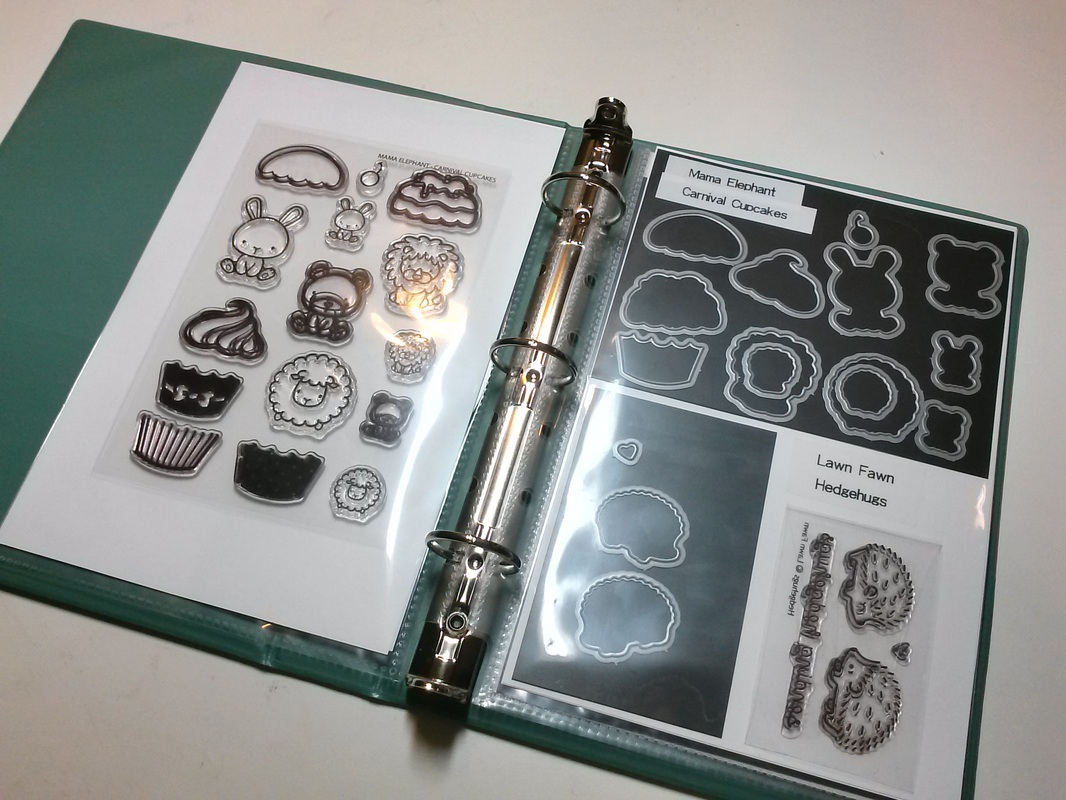
I use the medium and small pieces for sets of small dies.
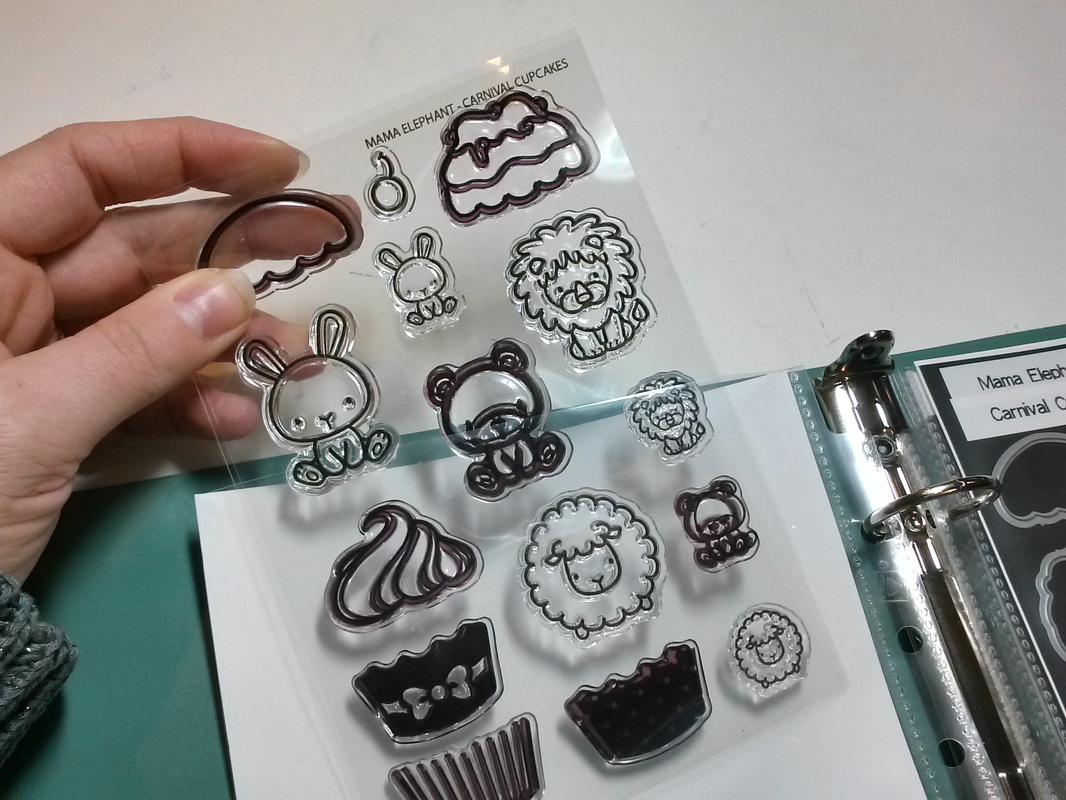
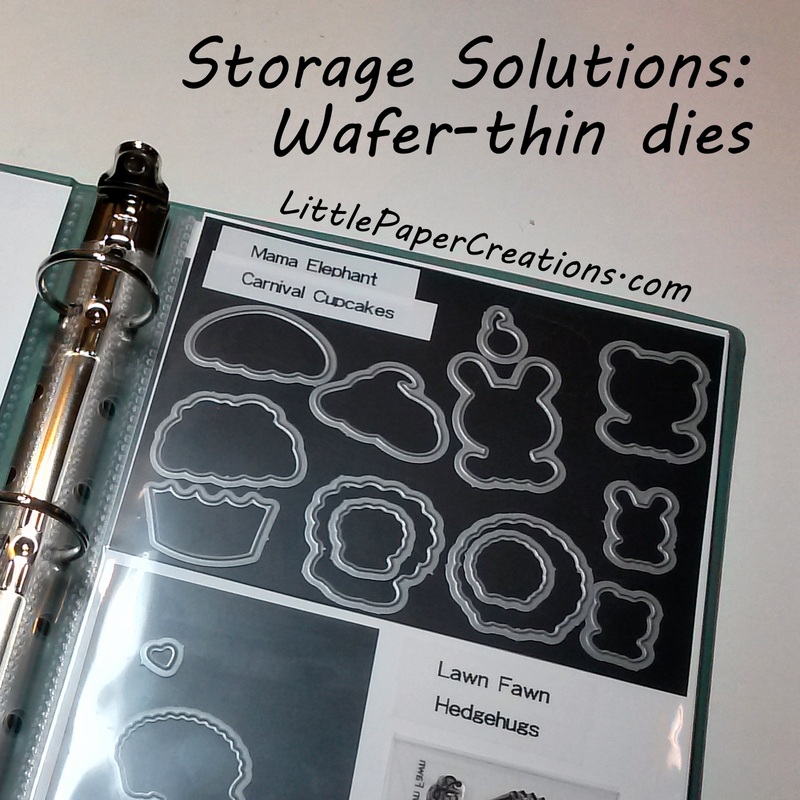
These two sets have matching stamps, so I made sure to store the stamps and dies together. The Hedgehugs stamp set is taped onto the paper next to the dies so they stay in place together and the Carnival Cupcakes stamps just slide into the back of the pocket on the left.
Picture
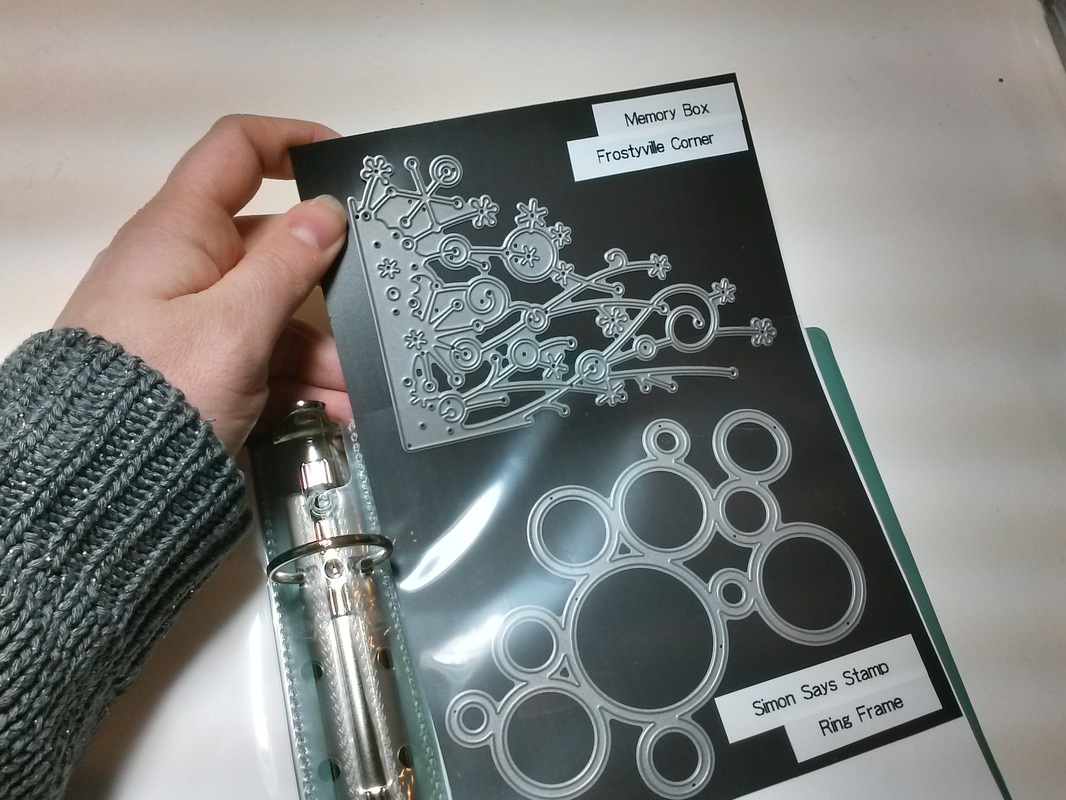
All the magnetic pieces can slide in and out of the pockets easily so I can just take what I need when I want to work on a project.
Picture
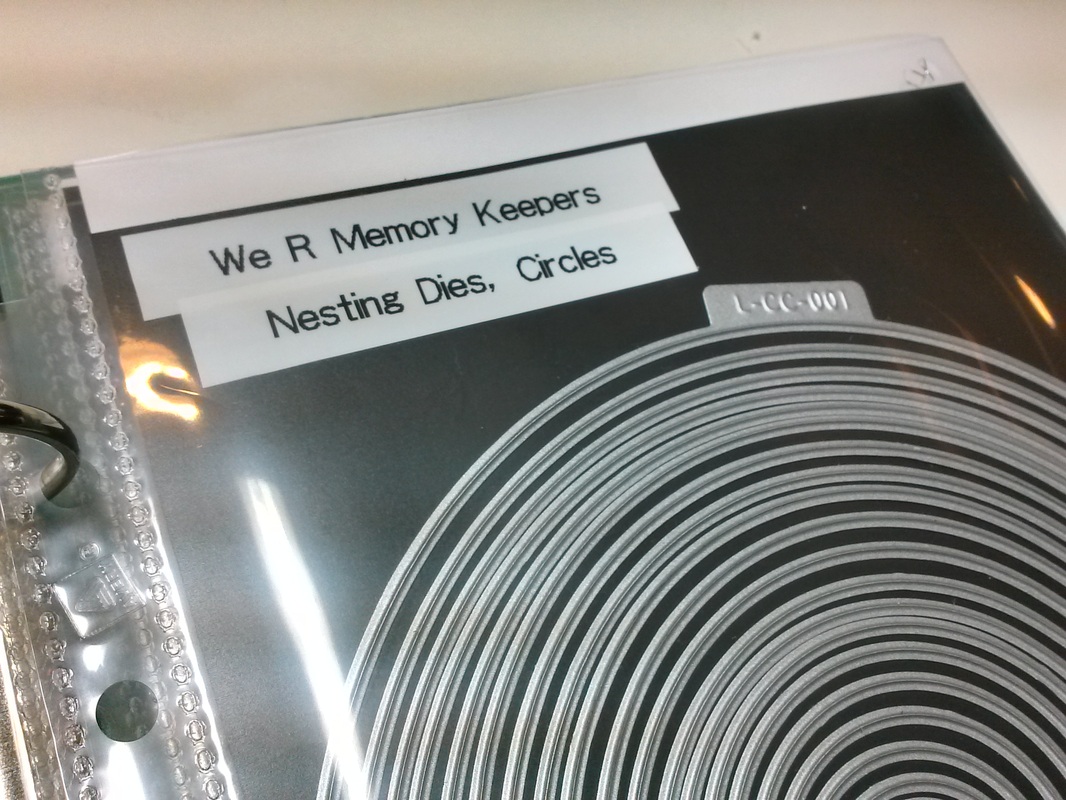
I used my label maker to label each die/set on the magnetic sheets. I didn't want to put the labels on the page protectors because I didn't want to worry about getting everything back exactly where it needed to. And I want to be able to change the order of things when I get new dies. Labeling the magnet sheet keeps it flexible. I make one label for the company and one for the name of the die/set.
Picture
I love having everything in one place and easily accessible!
I love my binders!

Do you use binders in your craft storage? What do you use them for?
If you don't use a binder, how do you organize your dies?

I'll be adding more Storage Solutions posts over the next few months. I know storage and organization are a big topic among crafters (and others) and I hope that my solutions inspire you to get your supplies more organized. Is there something in your craft area (or kitchen, or classroom, or office, etc) that is unorganized? Something that you need a solution for? Let me know and it may be the next Storage Solutions topic!

Happy Crafting!
1 Comment

A Red Banner Day

2/18/2015

0 Comments

 
I'm always up for trying a new craft, so when a co-worker asked me if I'd ever made a banner, I said no, but I'd love to try!
Picture
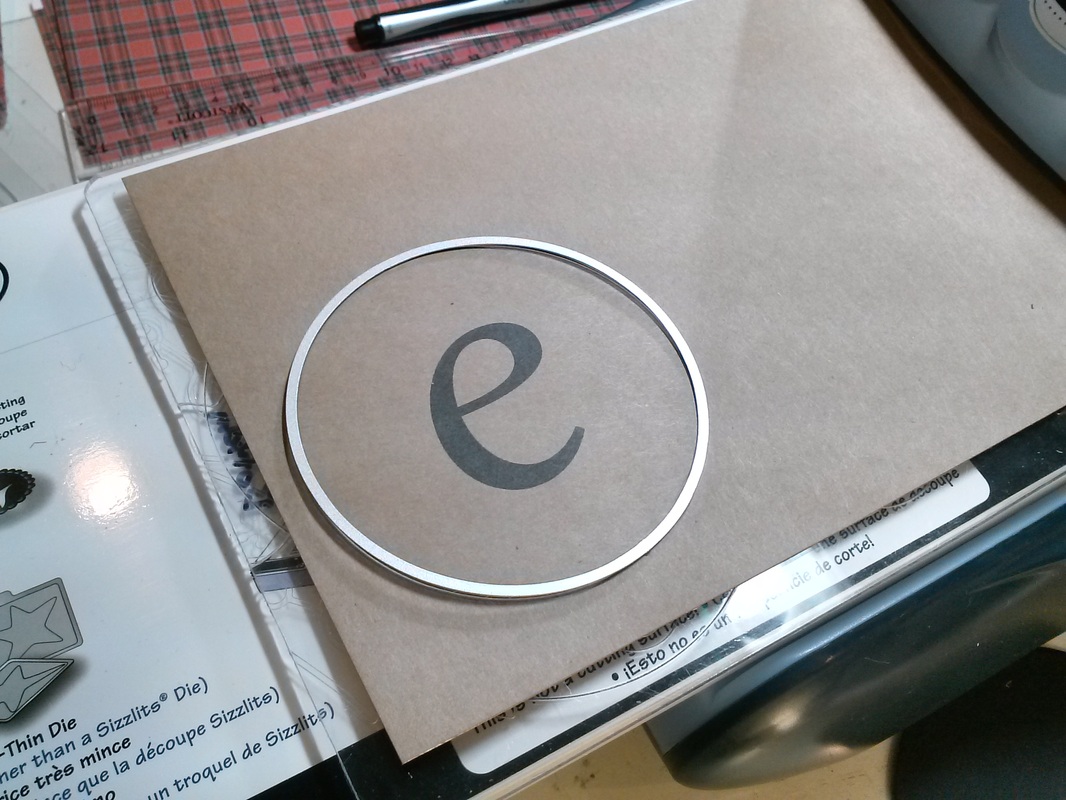
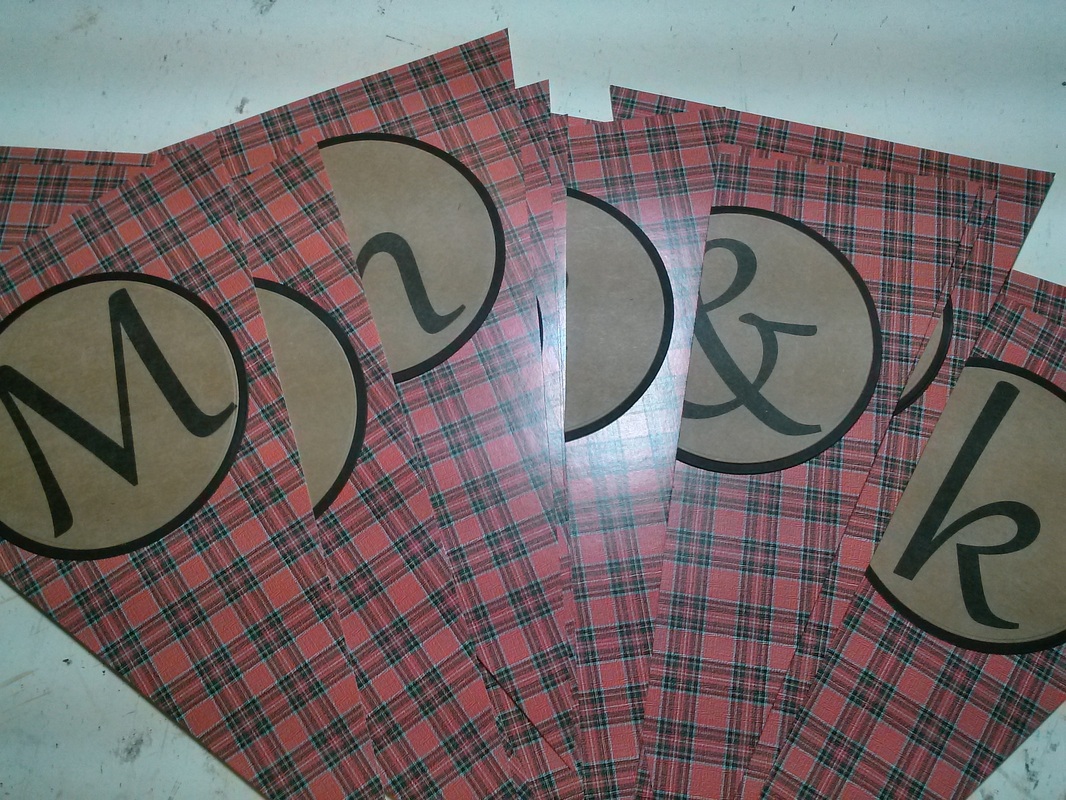
Since I have a new die-cut machine, I thought I'd try out some die-cutting with the banner. I printed the letters on cardstock and used a circle die to cut them out.
Picture
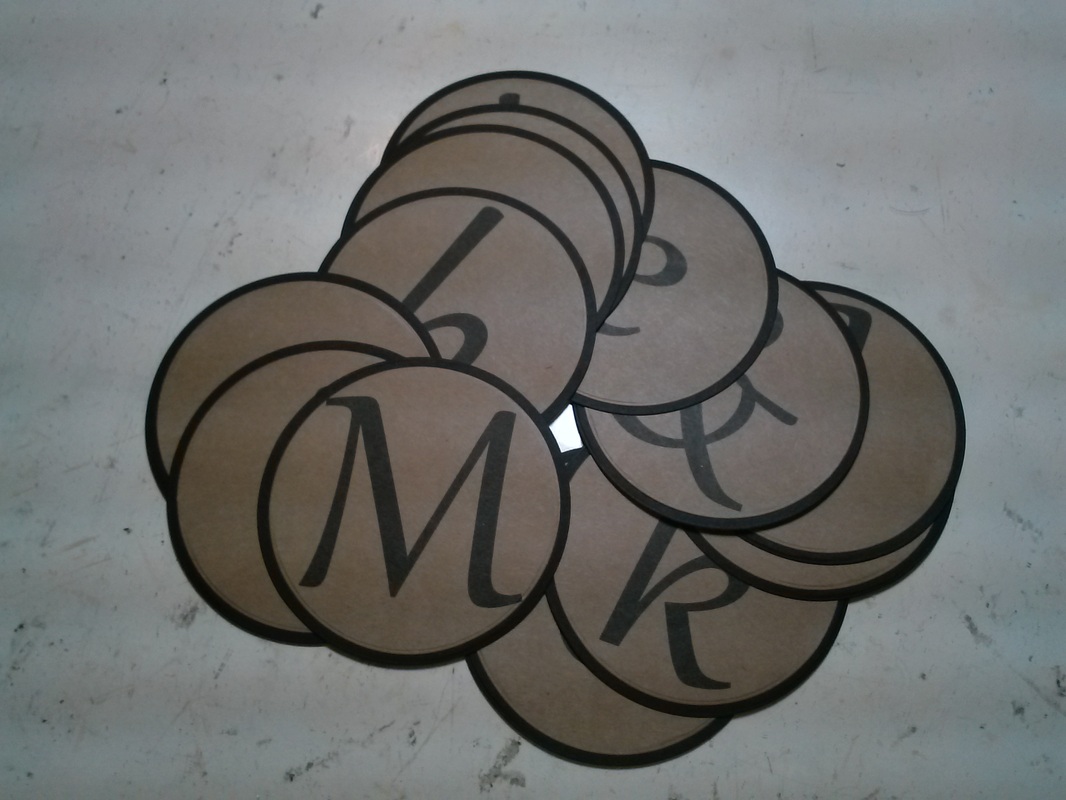
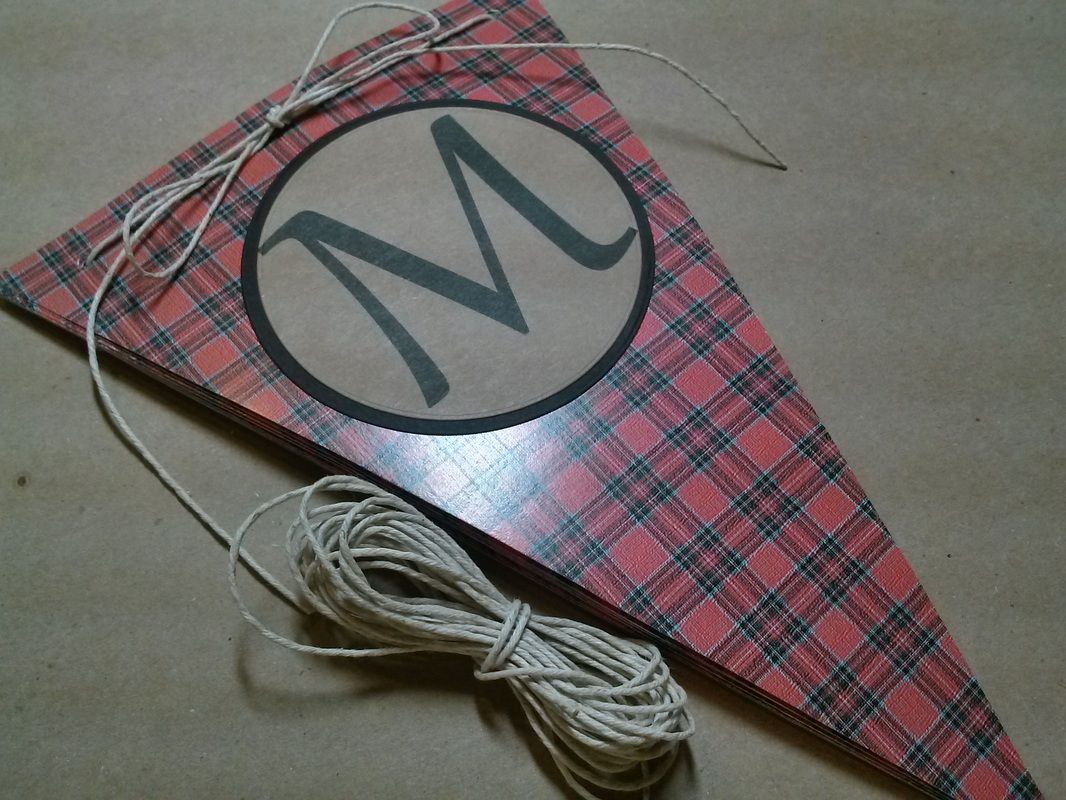
After they were cut out, I matted the letters on black cardstock cut from the next largest circle die.
Picture
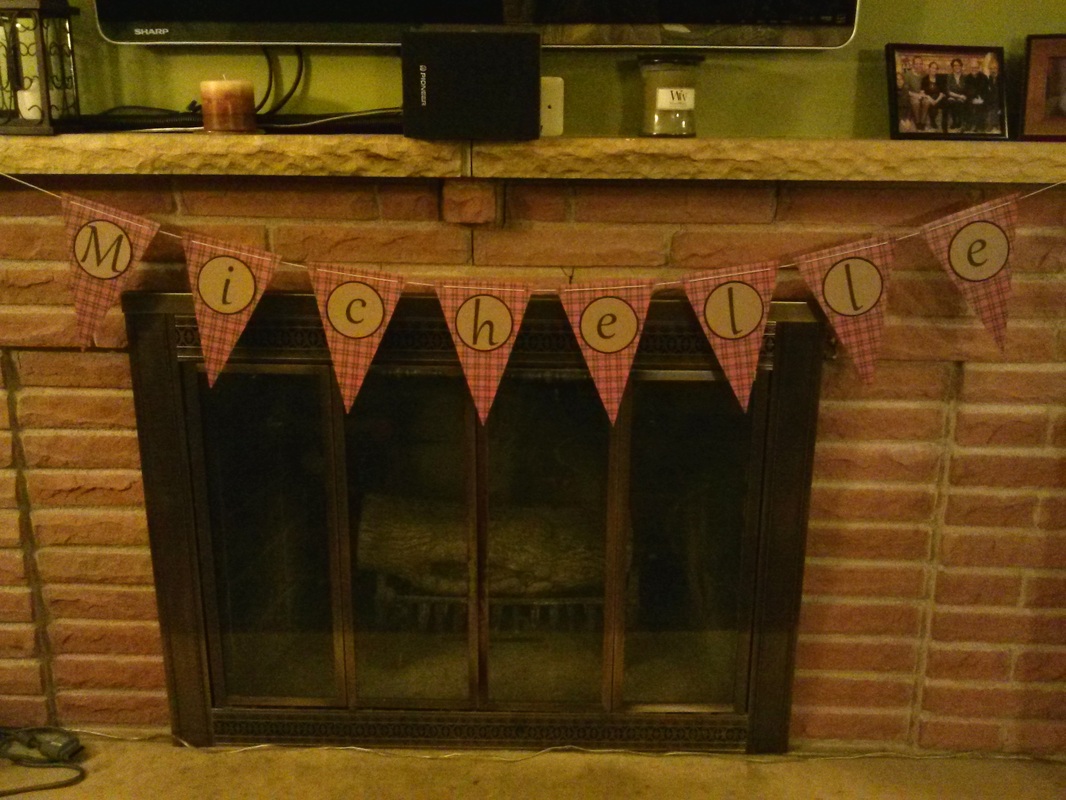
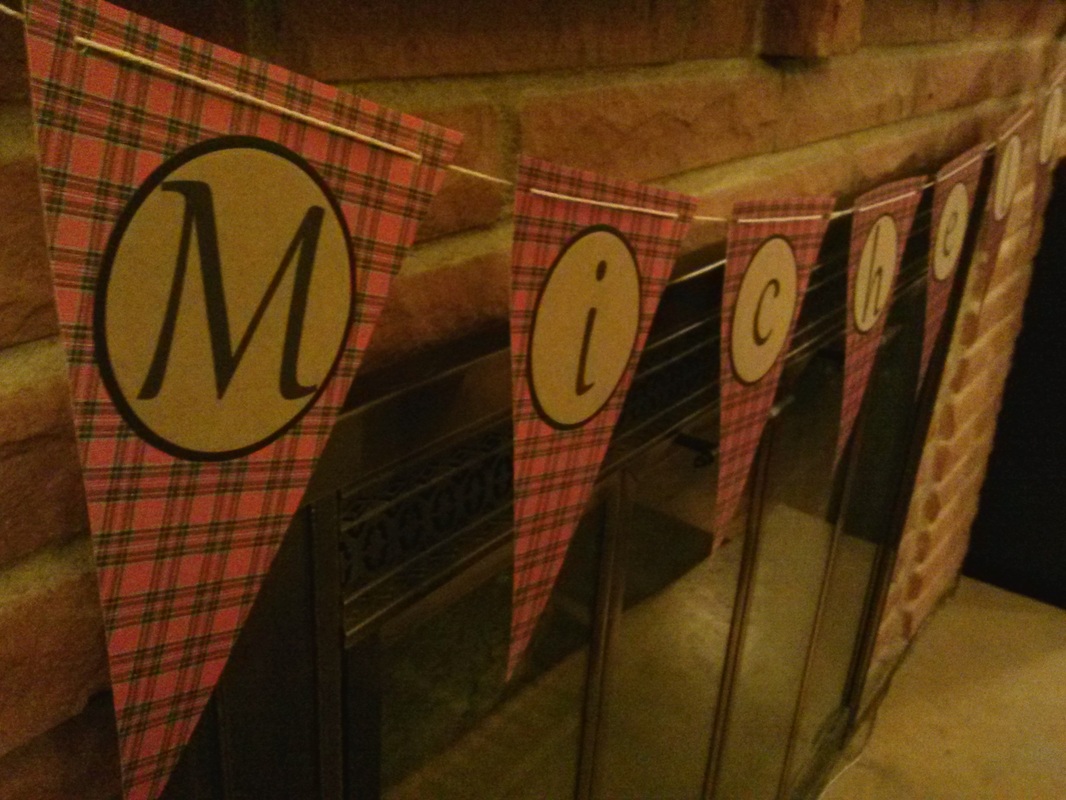
I popped the letters on the triangles I had cut from some fun plaid paper, and the banner was done!
Picture
I really like how it came out!
Picture
Picture
I love trying new things!
Happy Crafting!

0 Comments

Happy Valentine's Day!

2/13/2015

0 Comments

 
I teach preschool.
I teach a lot of preschool.
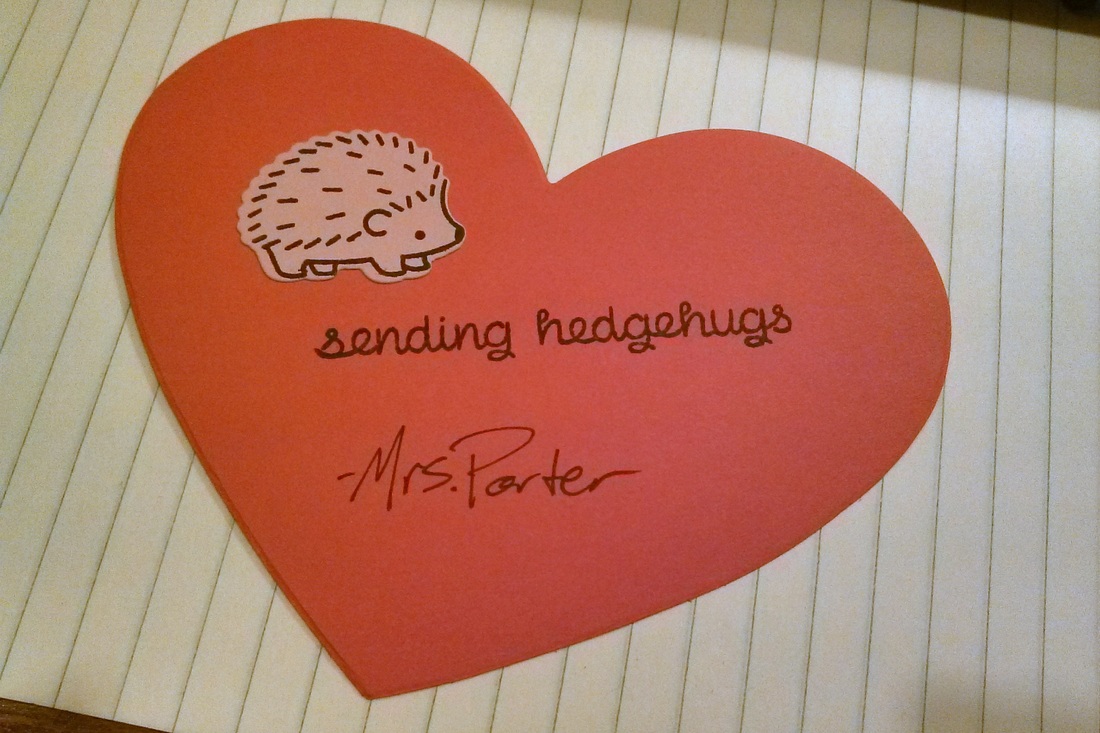
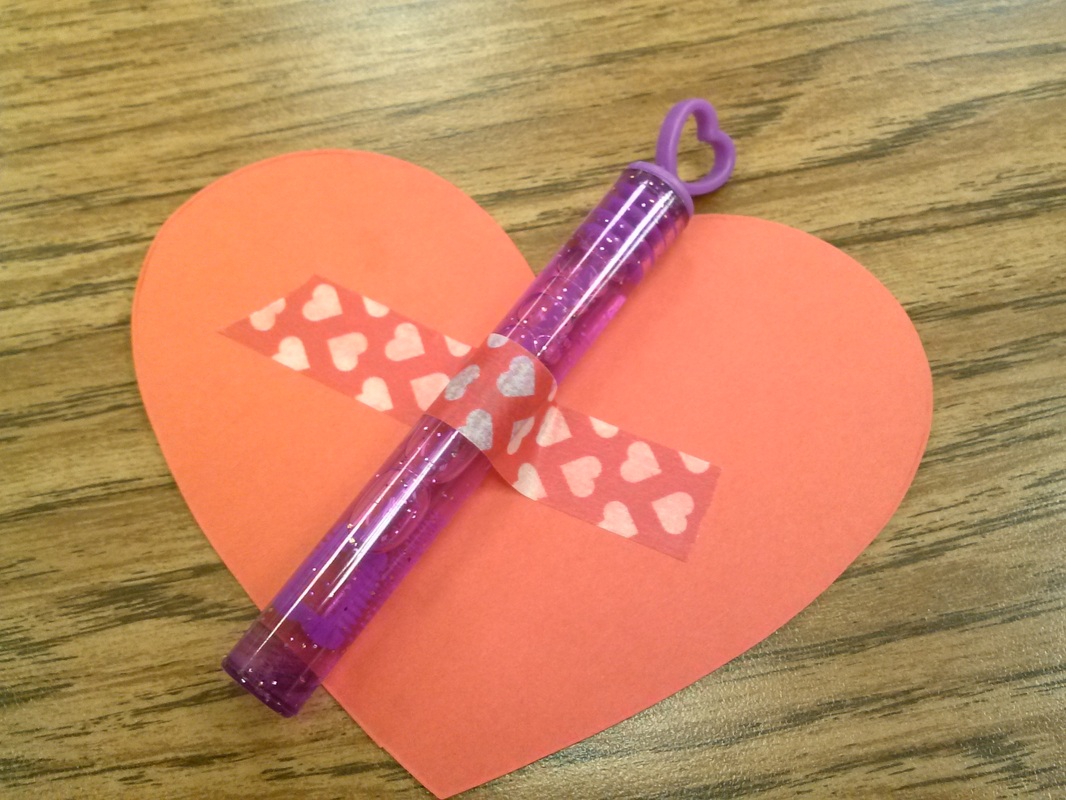
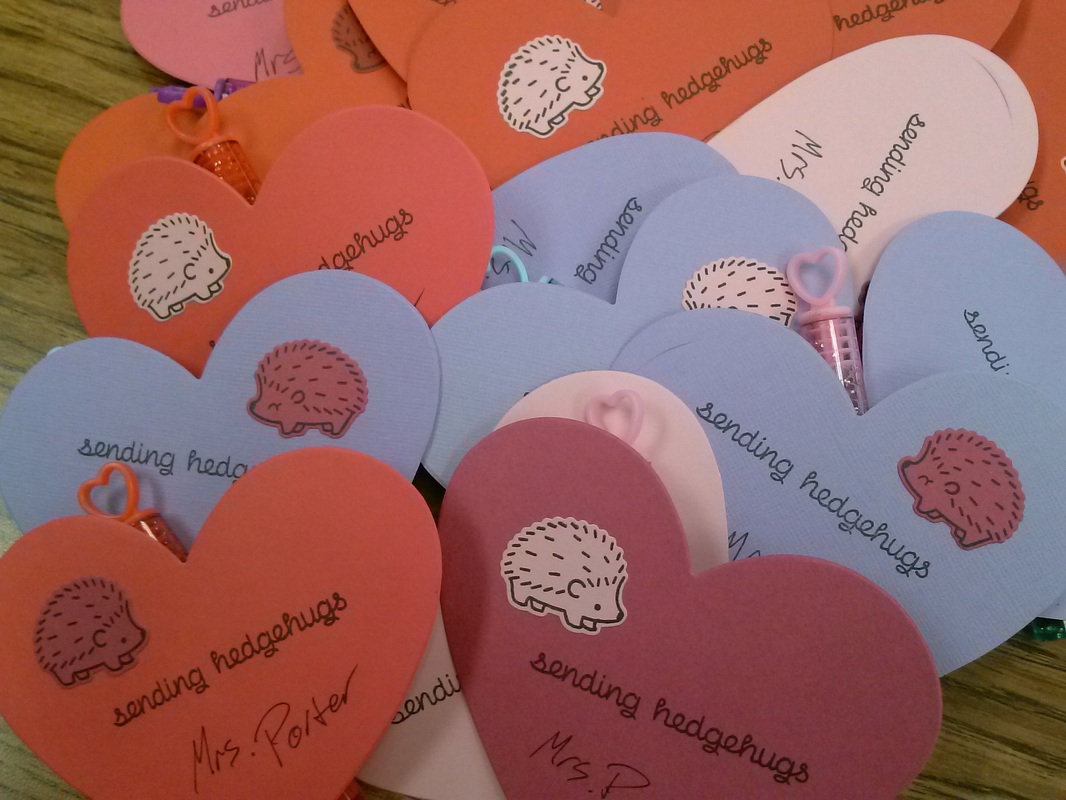
I have 56 students, so when I give gifts or cards, I have to give a lot. I usually make Valentine's Day pretty easy. I stamp a pun-ny valentine sentiment on a piece of red cardstock, sign it, and add some bubbles.

Easy! Done!
But this year, I have a die-cut machine. And new dies. And apparently  only half a brain. Because this year, I hand-made each valentine.

Now don't get me wrong, I'm not completely crazy so they are not overly complicated. But it's still more than I normally do.
Picture
Die-cut hedgehog and stamped sentiment from Lawn Fawn.
Die-cut heart from school.
Bubbles from Michaels.
Picture
Picture
Do you give Valentine cards? How many do you give?
Do you make them or buy them?

Happy Crafting!
0 Comments

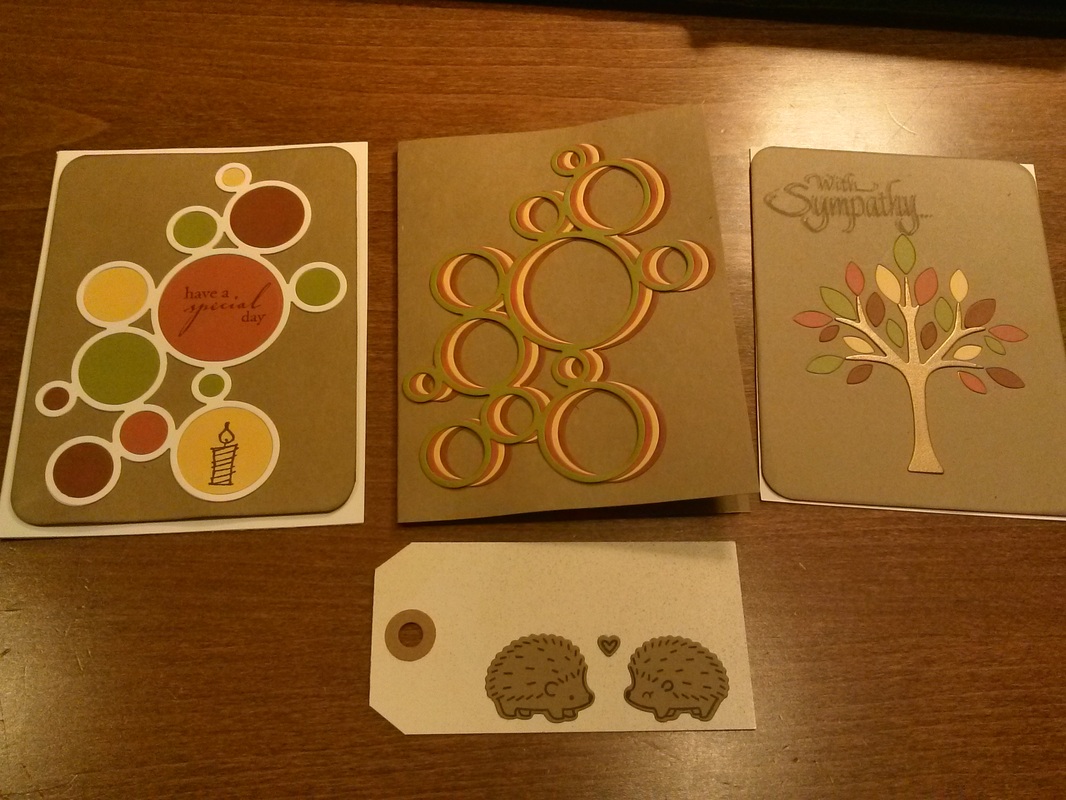
A Step in a New 'Die'-rection

2/10/2015

0 Comments

 
Have you ever seen a tool or a piece of clothing or a decor item that you really like, you really wanted, but you were too afraid to commit to?
"Will I really use it as much as I say I will?"
"Will it just end up collecting dust like that other tool/skirt/lamp?"
"Is this just a fad that I'm going to forget about in a few months?"
"What if I can't use/wear/display it right and I hate it?"

Yeah, I'm sure you've been there.

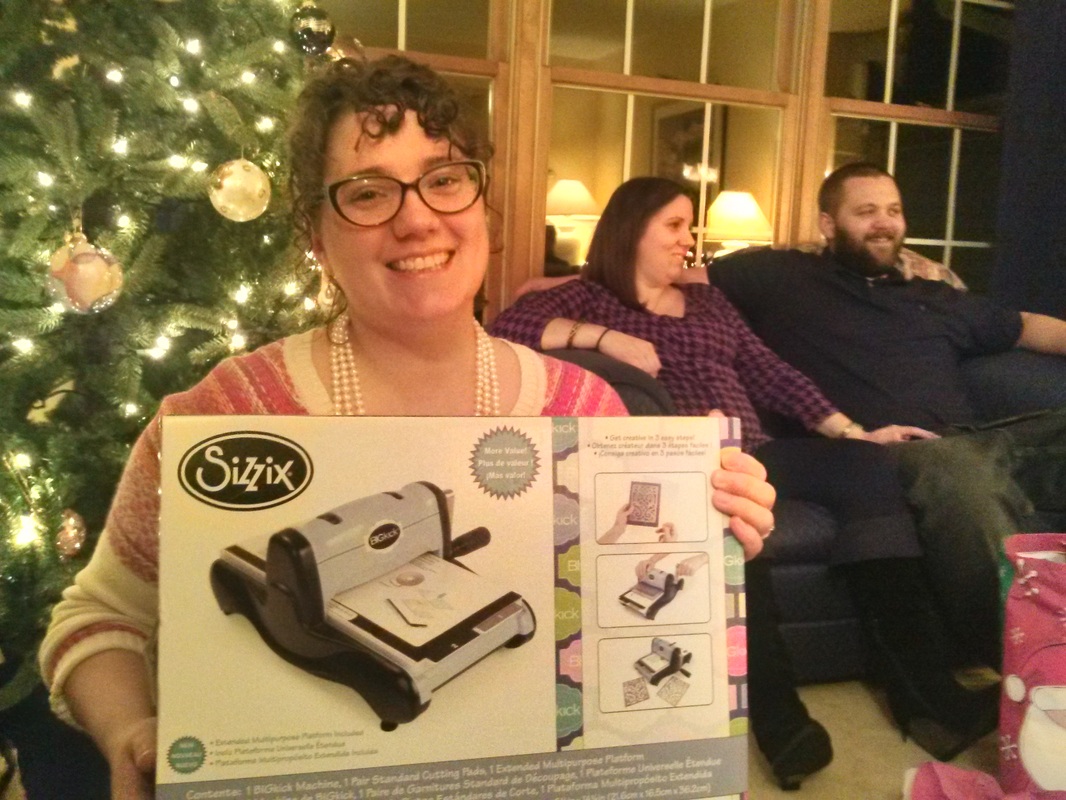
Most recently for me (because let's face it, I do this ALL THE TIME!), it was the Big Shot die-cutting machine. I've been watching a lot of videos of card-makers lately and all of them seem to use their die-cut machines almost constantly. I wanted one. But did I need it? Would I really use it as much as they did? Was die-cutting really my style? I researched brands and styles and all the millions of dies. I found more videos on different techniques that did seem more my style. And when Thanksgiving rolled around and it was time to send my family my Christmas wish list, I bit the bullet and put down "Big Shot die-cutting machine" and a whole list of dies from different websites.

And lo-and-behold, on Christmas Eve, there under the tree was a rather large, Big-Shot-shaped box! My sister had come through for me! It was mine!
Picture
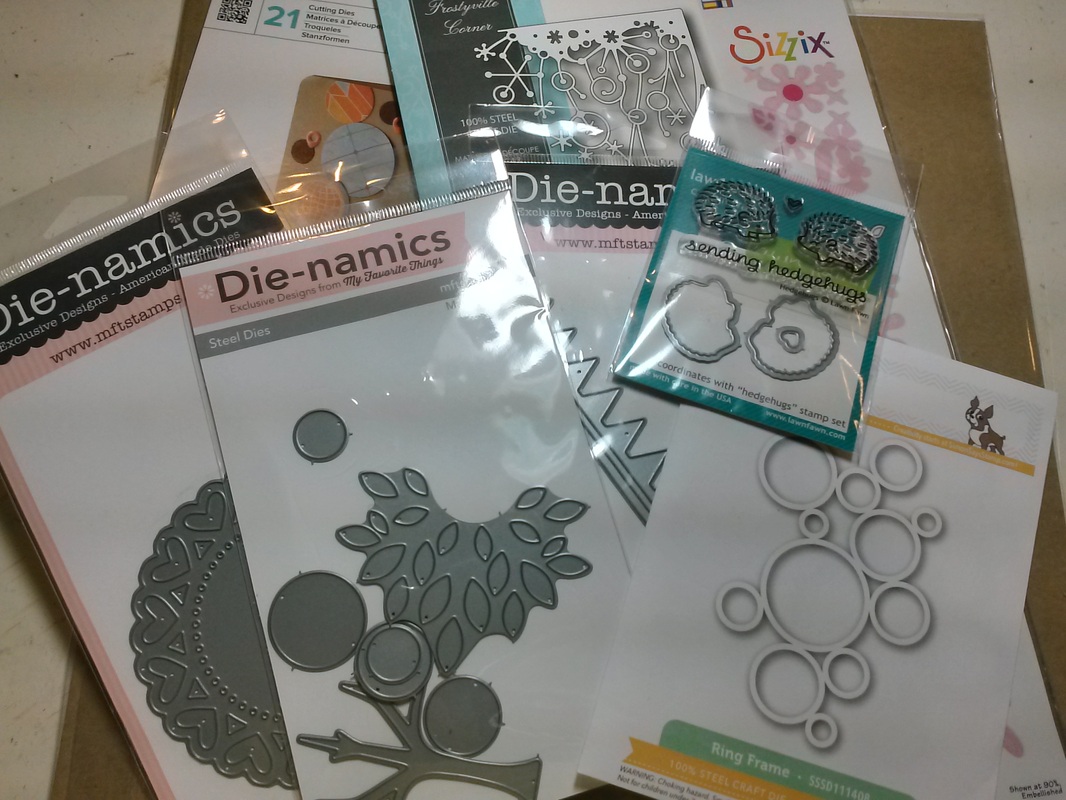
But wait, no one got me dies!? So I've spent the last few weeks buying and trying dies and techniques. Because I want to get good at this. I want to use it. I don't want it to collect dust or be forgotten. And most of all, I don't want it to be a waste of money!
Picture
I've made a few thing with my new dies. Nothing fancy, just playing around. They have glue marks and small rips and off-centered designs and inking gone wrong. But they are a start. A very fun start!
Picture
So a big thank you to my sister for taking the leap and buying me a new toy to play with. Your next birthday card is going to be very fancy. :-)

Happy Crafting!
0 Comments

Magnetic Attraction

2/3/2015

2 Comments

 
I love photos.
If you haven't figured that out by now, there's something wrong with you.
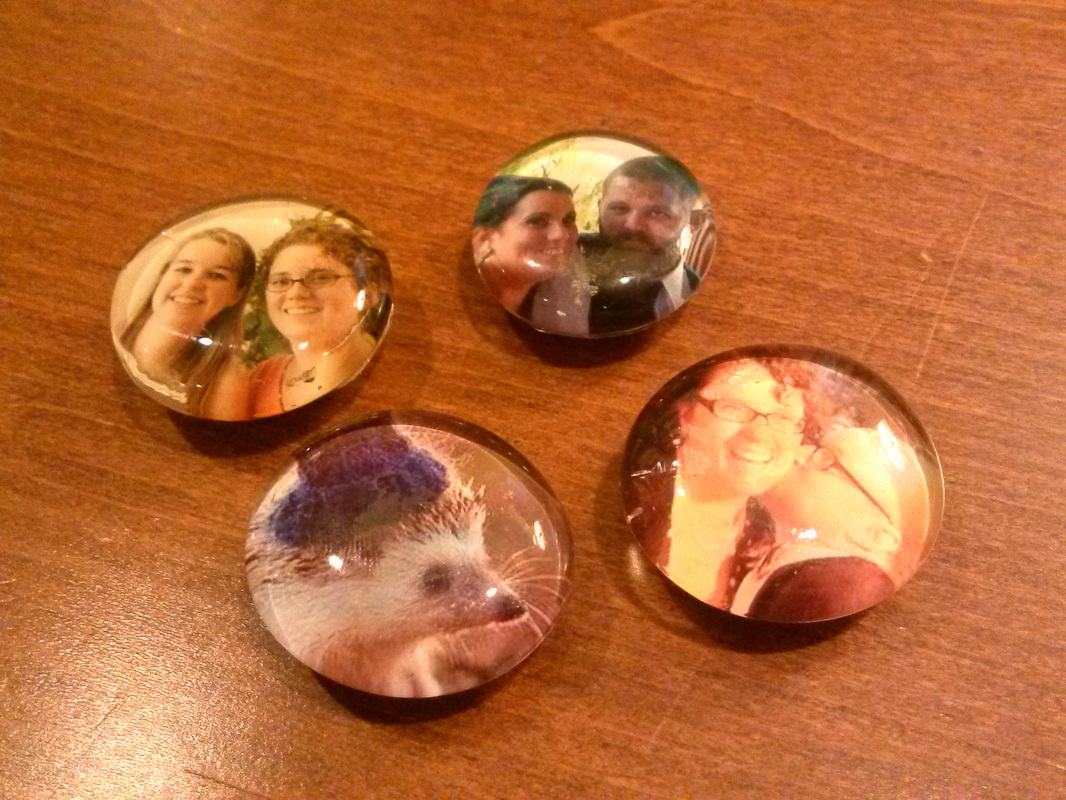
I love to make things out of photos, not just scrapbooks, so I started making personalized photos magnets!

They are pretty easy to make, all you need is some small photos, some strong, clear glue (I use Aileen's Clear Gel Tacky Glue), some flat marbles, and some small magnets.

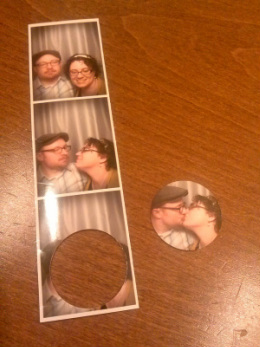
Start by selecting or finding the photos you want to make into magnets. You have to be aware of the size of your marbles because if the photo doesn't fit inside it, it will look wrong. I usually make a collage in Picasa and get it printed as a 4x6 so each of my photos are 2x2. My marbles are about 1.25x1.25, so the center of the photos fits nicely. I've written about making collages in Picasa before - it's very easy!
I've also used photos from photo booths, greeting cards, Christmas cards, or even just some fun scrapbooking paper!
Picture
Picture
You can cut out your photos one of 3 ways;
1) Use a circle punch. This is what I do - I happen to have a circle punch that perfectly matches the marbles I buy, so it works perfectly.
2) Trace around the marble and cut out with scissors.
3) Glue the marble down, then cut around the edges once the glue is dry.

When your photos are ready, glue them onto the marbles! It takes some getting used to how much glue you need, but more is better - you can always wipe away extra, They may need a lot of drying time, depending on the glue you use (ps, hot glue will not work to adhere the marbles to the photos- it dries too fast and warps the photos. but it works great to adhere the magnets to the backs!), so keep an eye on them while they dry. My photos sometimes like to slide off the marbles while they are drying.

When they are dry, glue a magnet on the back.
More drying.
Time to use your new magnet!
Picture

I've made these mostly for myself, but I did make a couple sets as Christmas gifts last year. I got photos off Facebook and Flickr and made magnets from those. That's the great thing about these small magnets, you don't need great photos!

The only caution I put out there is that printing on regular paper does not work - the ink dissolves and smears when it comes in contact with the liquid glue. I would always recommend getting these photos printed on photo paper.

Now you know!
Happy Crafting!

2 Comments

    RSS Feed

    Blogs I read:

    Becky Higgins
    Bits & Pieces
    KWerner Designs
    Jennifer McGuire Ink
    I Could Make That
    Linny's Vault
    Pintester


    Categories

    All
    #30DaysofCreativity
    Baby
    Baby Shower
    Binder
    Calendar
    Cards
    Christmas
    Coupons
    Craft
    Distress Ink
    Etsy
    Fabric
    Family
    Feedbackplease
    Field Trip
    Flashback Friday
    Food
    Gift
    Haul
    Home
    Inspiration
    Internet
    Invites
    Magnets
    Organization
    Paint
    Photos
    Planner
    Project
    Project Life
    School
    Scrapbook
    Special Order
    Special Order
    Storage Solutions
    Thinking Of You
    Tips And Tricks
    Top5friday
    Tutorial
    Wedding


    Archives

    February 2016
    January 2016
    November 2015
    October 2015
    September 2015
    August 2015
    July 2015
    June 2015
    May 2015
    April 2015
    March 2015
    February 2015
    January 2015
    September 2014
    August 2014
    April 2014
    February 2014
    January 2014
    August 2013
    July 2013
    August 2012
    July 2012
    June 2011
    January 2011
    December 2010
    August 2010
    July 2010
    June 2010
    May 2010

Powered by Create your own unique website with customizable templates.