Happy crafting!
On April 22, 2015, my sister and her husband welcomed little Jason into the world. 
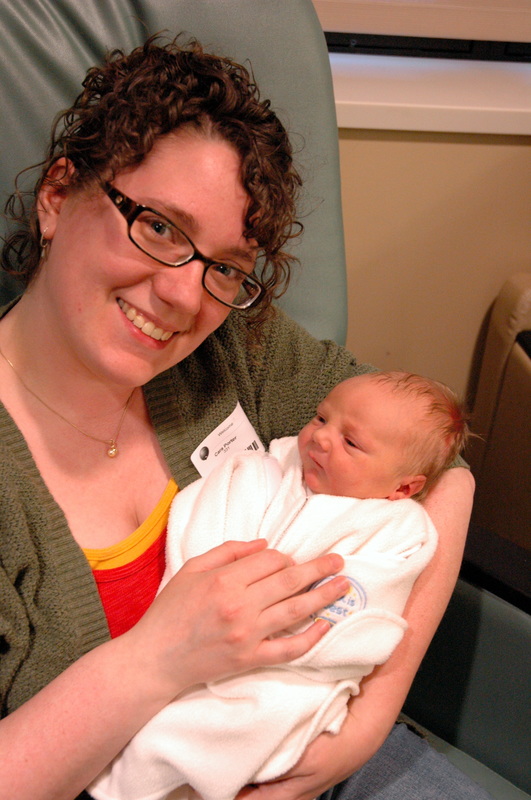
I got to visit them in the hospital, but everyone was exhausted I didn't stay long and I didn't get many photos. I did get a photo of me holding Jason for the first time! This little man has made me an aunt, and I am so excited! 
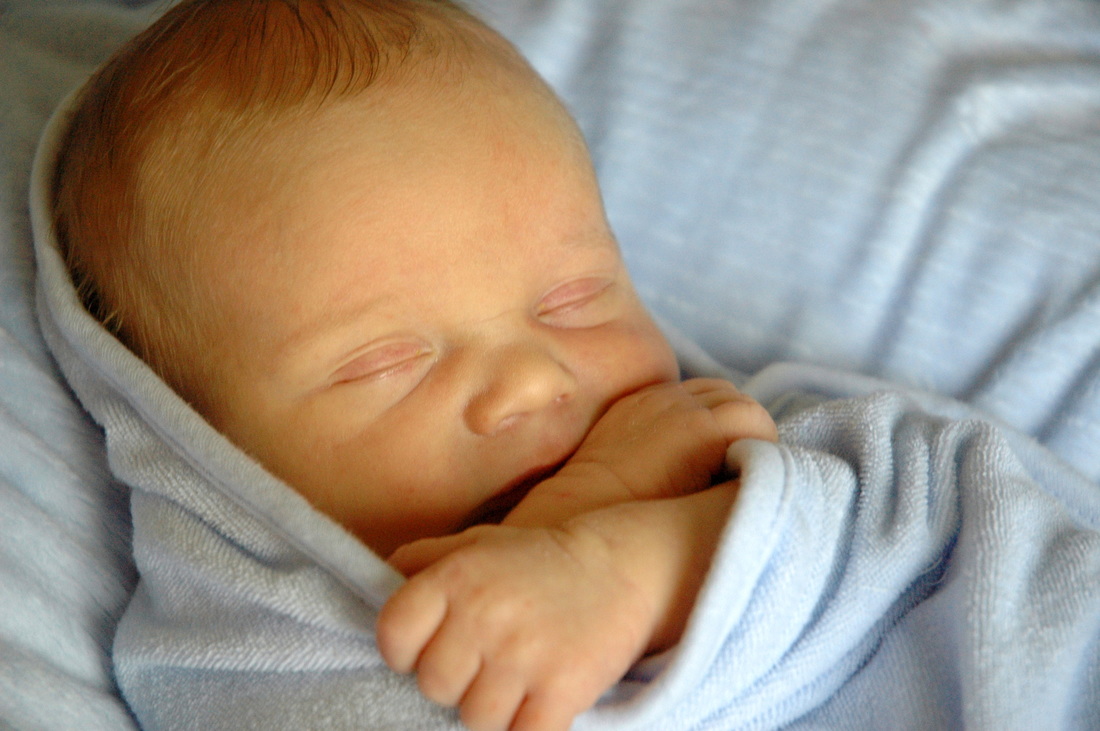
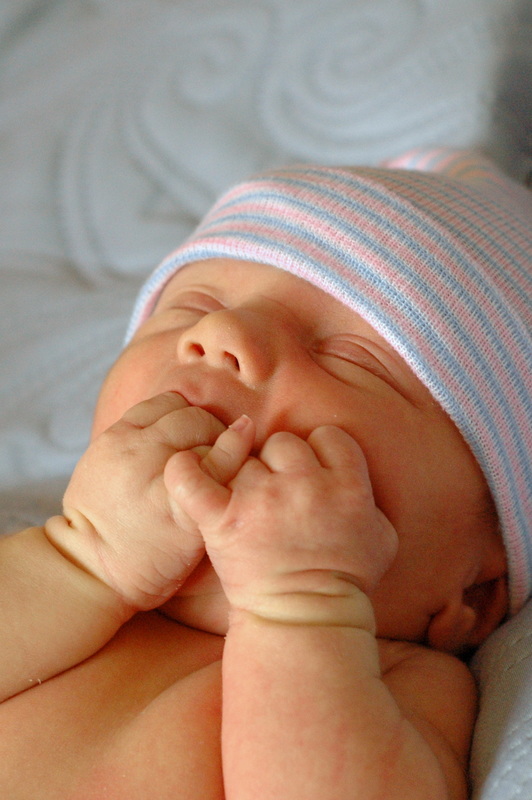
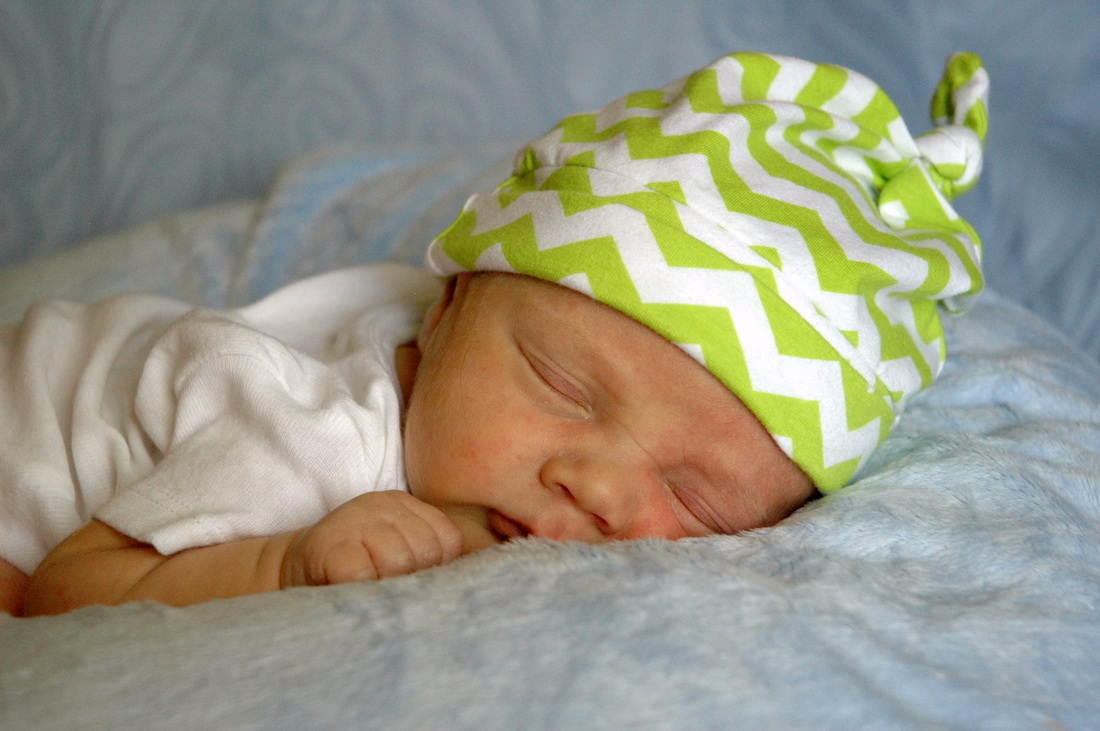
A few weeks later, I went over to my sister's place to take some newborn photos. They were mostly for me, as I am not a professional photographer and I didn't want my sister to rely solely on my photos for announcements, portraits for their walls, etc. However, these photos came out soooo much better than I had even hoped! Once we got him asleep, we could put him in any number of positions, so I had a blast posing and snapping away. Here are a few of my favorites: 
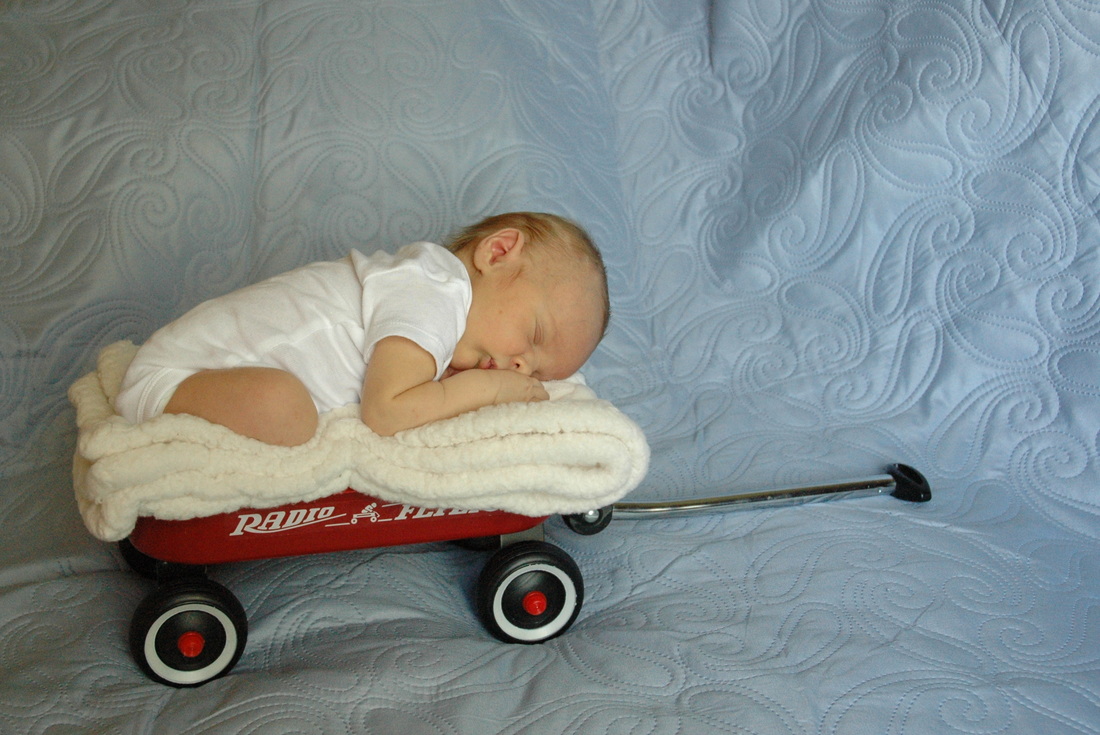
My sister loves Radio Flyer wagons, so of course we needed a photo of Jason in a wagon. 
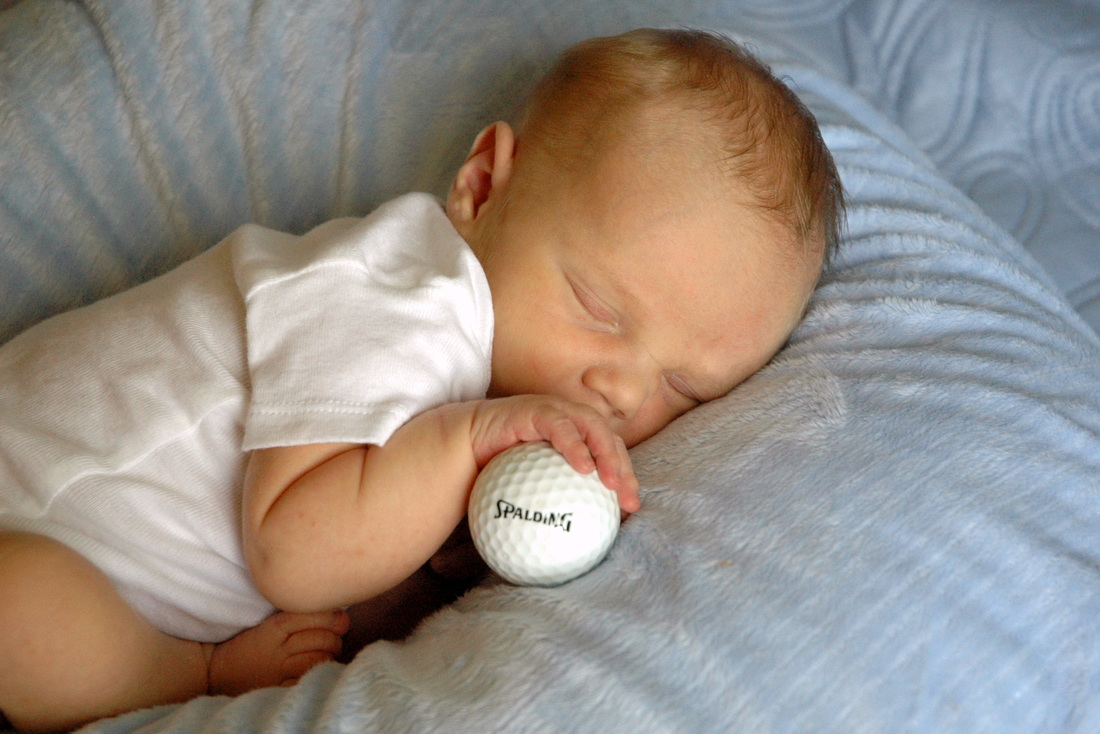
Dad loves golf, so we got a photo of his future caddy. 
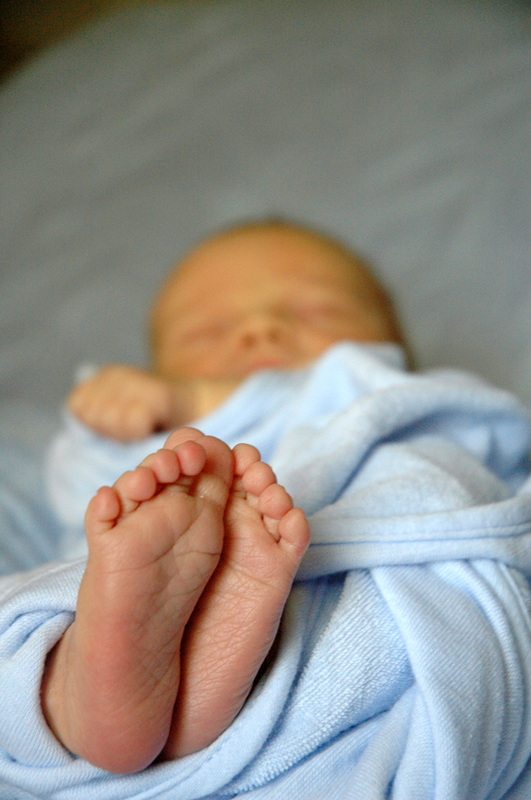
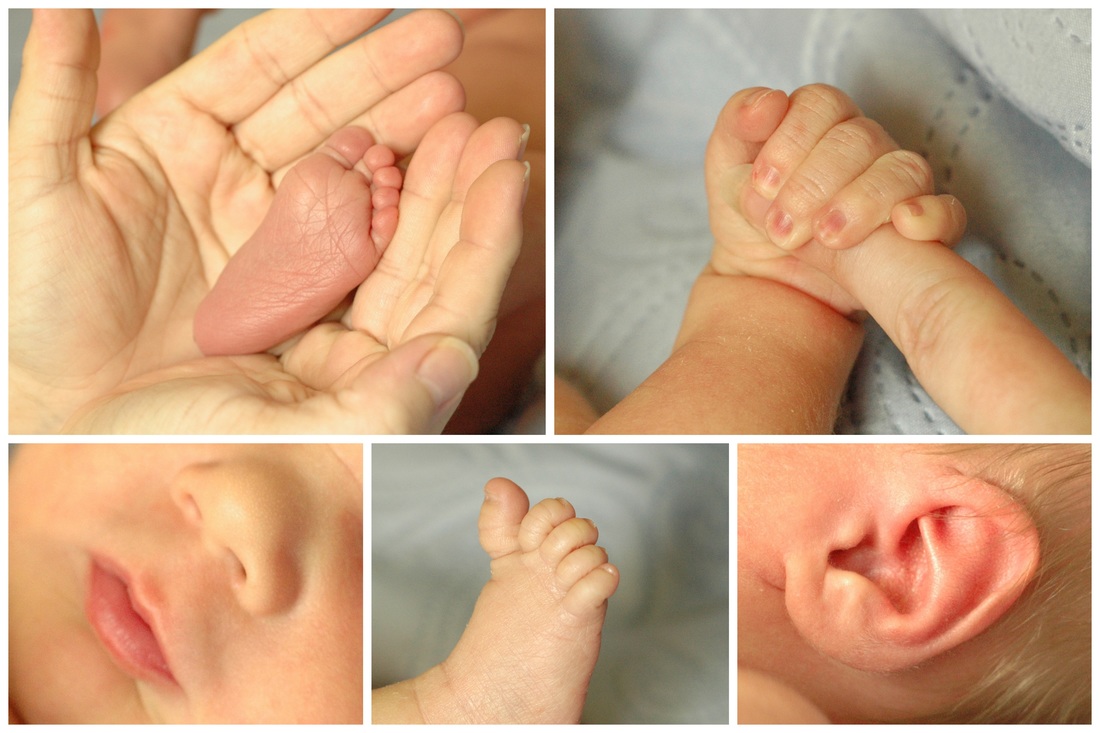
And no newborn photo shoot would be complete without the detail shots of all the teeny-tiny baby parts! I can't wait to see what kind of a person my little nephew grows up into! I have a feeling he's going to be pretty awesome, though I may be slightly biased...
Happy crafting!
0 Comments
I've been hard at work lately on some exciting projects! I have 3 weddings this summer that I have the privilege of designing for. I can't reveal their designs yet, but I can offer a great big CONGRATULATIONS to the newest Little Paper Creations couples. My sister-in-law Emily and her fiance Lindsay are getting married this August. I made their save-the-dates a few months ago, and now I'm hard at work on their invitations. Here's a sneak peek at their design: A childhood friend is also getting married this August, and I was flattered and thrilled when she said she wanted me to design her wedding invitations! Katie and Peder are having a large wedding, so I'm working really hard on their many, many invitations, but I'm having a blast! Here's a sneak peek at their design: The third wedding I'm creating for is actually a reception, not s full wedding. The couple was married a few months ago out of state and they are having a local reception, so they asked me to create some invitations for that. It's coming up soon, so I'll have a full post on the invitations later, but until then, here's a sneak peek of their design: For every event I am asked to create for, I make 3-5 samples for the client to choose from. When they choose a design, we tweak it so it's perfect and then I can make the entire order. I really enjoy making a unique, personal design for each person. And every time I make a new design, I learn something new. I love to learn, I love to create, and I love to share my creations with the world.
I'll have more details about these invitations as they happen. I do not post about one of my designs till they are in the hands of the guests or the event has happened. The guests should always see them first. Do you have any big events coming up this summer? We've got 3 weddings, our anniversary, 5 family birthdays, Father's Day, and 4th of July, plus whatever else comes up. And oh yeah, we have full time jobs too. Wow, this is going to be one busy summer! Happy Crafting! When I first starting making cards, I stuck to the supplies I knew from scrapbooking; patterned paper, cardstock, adhesive, and a little ink to distress the edges of my papers. Then I started using stamps. And washi tape. And die-cuts. And distress inks. And embossing powders. And each new supply created it's own unique storage problem. Because of course nothing could even be the same size or stack neatly together in a drawer. That would be too easy. So there I was with my few embossing powders and no way to store them! Keeping them in the small jars was great for storage, but not practical to use - I ended up losing a bunch every time I would try to pour it back into the small containers. Then I started following Jennifer McGuire and Kristina Werner. And when they both shared their embossing powder storage systems around the same time, a light bulb went off in my head! This is the perfect system for me, too! I could not afford to use the expensive containers and fancy tiny spoons they did, but I could buy cheap food storage containers and cheap plastic spoons! I use my label maker to label all 4 sides with the name/color of the powder so no matter which way I put it back on the shelf, I will always see the color. I label the bottom with the brand/company so if I ever need to list my supplies, I have the info because I throw away all the original containers. On the inside of the lid, I attach a small command hook and slip a spoon inside. This keeps the spoon out of the powder, so I don't have to clean it when I need to use it. I love having one spoon for each color, it saves a lot of time cleaning off the powder between colors. I only put powders in the containers if I use it a lot (like white, clear, gold, and silver) or if I use it for a big project (like the red tinsel powder for my Christmas cards). I do have other colors that I keep in their small containers if I only use them occasionally. I use it over a piece of copy paper and pour the extra back in the bottle. It's working well so far because I only have a few, but I will likely have to find another place to store them if/when I get more colors.
Maybe I should keep the bottles for the project colors and put them back into the small bottles when I'm done with the project. Then I would only have my most-used colors in the big containers, that would save space. Does anyone here use embossing powder? How do you store it? I'd love to know what works for you! Happy Crafting! Today is Teacher Appreciation Day! We all know how much extra effort teachers put into their students and their classrooms each and every day. We know because we are products of those teacher. Because our children are products of those teachers. Because we have friends or relatives who are teachers. Because we are teachers ourselves and we know how deeply we invest ourselves in every child that comes through our classroom. Everyone go write a nice note or email to a teacher you know. Go ahead, I'll wait... Done? Ok good. I am a preschool teacher. I have been for 10 years now (10 years? Can it really be 10 years already?!?) And as a preschool teacher, I know how important those early years are. And I know how much energy is needed to get through even a half-day class with those tiny balls of boundless energy. And I know how little time I have during the day to plan and prep and get ready for the next class or the next day. Which is why I also know the vital importance of a really good planner. And that's why I know that most of the pre-made planner out there are crap. Yeah, I said it. Seriously though, teacher planners are just not made for preschool teachers!!! Especially those of us who teach multiple classes each day. So after years of making do and muddling through with the store-bought teacher planners, I made my own. Is anyone here surprised? Didn't think so! ^_^ Every year, my planner morphs a little based on what I am teaching and what worked or didn't work the year before. I go back through my previous year's planner and see what kinds of notes I made on a regular basis that maybe need a dedicated space in next year's planner. I also color-code my classes, so I can see at a glance what my week looks like. So let's do a quick break-down of what my 2014-15 planner looks like. Above is the weekly layout, in all it's messy-handwriting glory (seriously, I write like a fidgit-y 9-year-old). The left-hand page is where I write the weekly themes for each age group and all my whole-room setup information (sensory table, science table, dramatic play center, etc). I also keep a running list of To Do items here. And since I'm also in charge of our school website and other tech duties, I keep a small tech section at the bottom. The right-hand page is where all the daily planning takes place. I have AM classes and PM classes, so I break the day into 3 sections: Notes/Events (birthdays, fire drills, meetings, special events), AM, and PM. I have certain activities during the day that I need to plan for like what to do at large group, small group, art, or table time. So I put those sections in each class area. Because if I don't have the prompt, I may forget to plan the activity, and there's nothing worse to not know what you're doing in the middle of a transition in a preschool classroom. I finish out my planner with a pen loop and monthly tabs. Then I bind it and I'm done!
I love my planner! It helps keep everything organized and in one place so even my assistant and paras can look at it and know what's going on for the day! I've had quite a few of my co-workers ask about my planner when I take it out at meetings, so I've actually designed some for my coworkers as well! I customize them for each of their unique schedules and planning needs. I've gotten really good feedback from them and even some repeat customers! I also sell some blank designs in my Etsy shop as well, so if you'd like your very own planner, you can stop by and download a 2-page printable for only $5! And for $8, I'll customize it with the colors, words, and sections you need. And starting at $30, I'll even print out your full (customized!) planner, bind it, and ship it to you! This planner was designed for preschool, but it would work well for home-schooling, day-care, or nannies also! Please let me know if you have any questions about my planner or if you have questions about customizing one of your own. Happy Planning and Happy Crafting! |
Blogs I read:
Becky Higgins Bits & Pieces KWerner Designs Jennifer McGuire Ink I Could Make That Linny's Vault Pintester Categories
All
Archives
February 2016
|