Isn't smoosh a fun word? Smoosh!
Go ahead say it, it's fun!
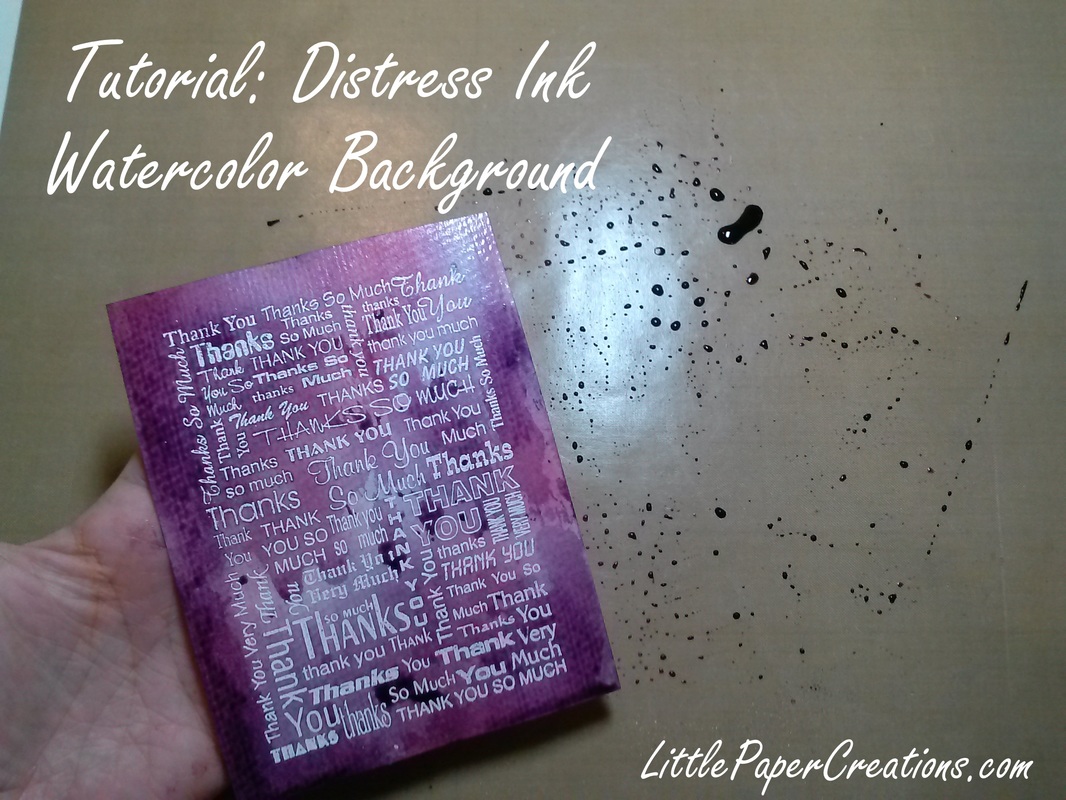
I've had some questions about how I create the watercolor-looking backgrounds on some of my recent cards, so I thought I'd do a little tutorial here. I've named it the smooshing technique. Because that's what you do - you smoosh the paper into the ink to create the blended watercolor look.
I will say that I did not make this up, I learned this technique from Kristina Werner. She is a master at using distress ink to create unique cards.
Go ahead say it, it's fun!
I've had some questions about how I create the watercolor-looking backgrounds on some of my recent cards, so I thought I'd do a little tutorial here. I've named it the smooshing technique. Because that's what you do - you smoosh the paper into the ink to create the blended watercolor look.
I will say that I did not make this up, I learned this technique from Kristina Werner. She is a master at using distress ink to create unique cards.
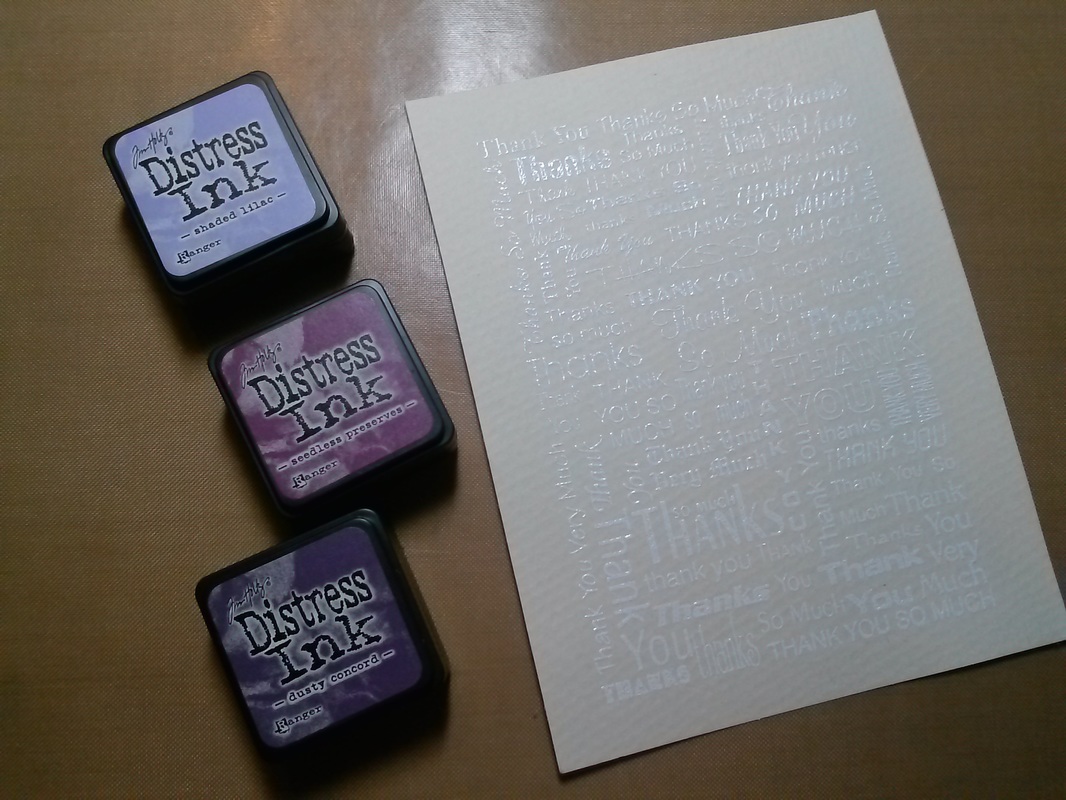
To begin, I cut a piece of watercolor paper to 4x5.25 inches, stamped an image with Versamark Ink, covered the ink with white embossing powder, and heat-set it. I also chose 3 colors of distress ink that are from the same color family. Here I'm using Shaded Lilac, Seedless Preserves, and Dusty Concord. You can also do this technique with very different colors, just make sure they will mix well (red and blue mix well to make purple, but red and green make brown).
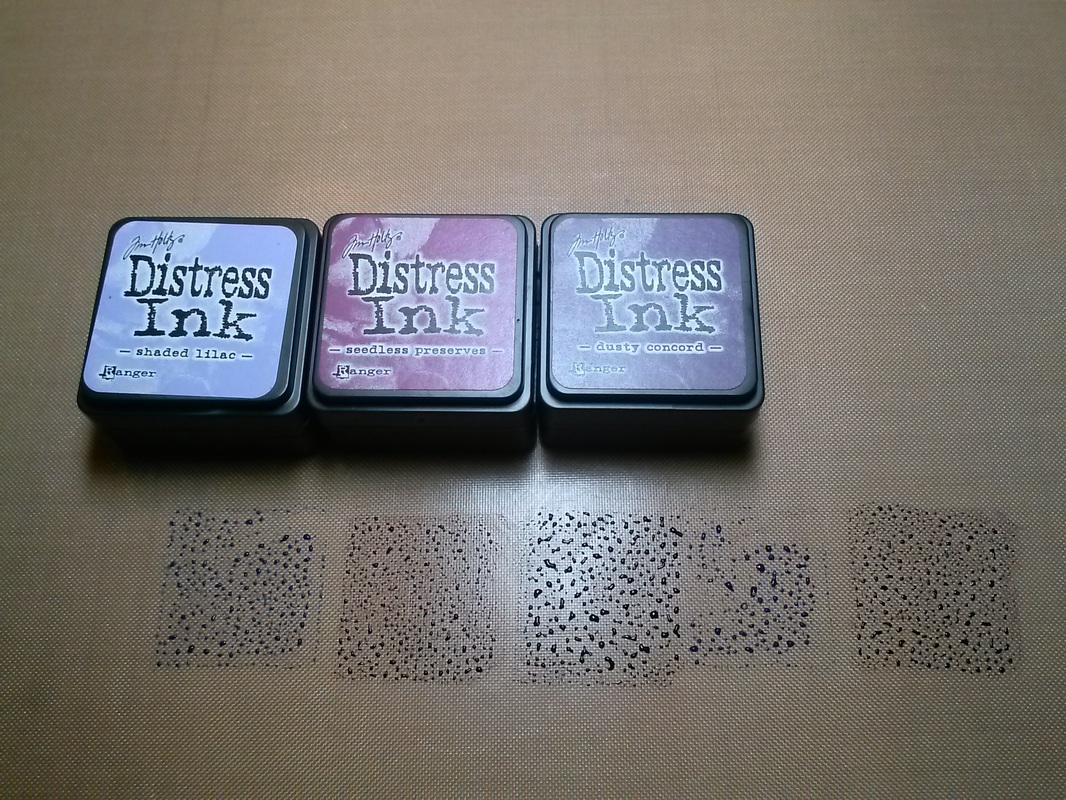
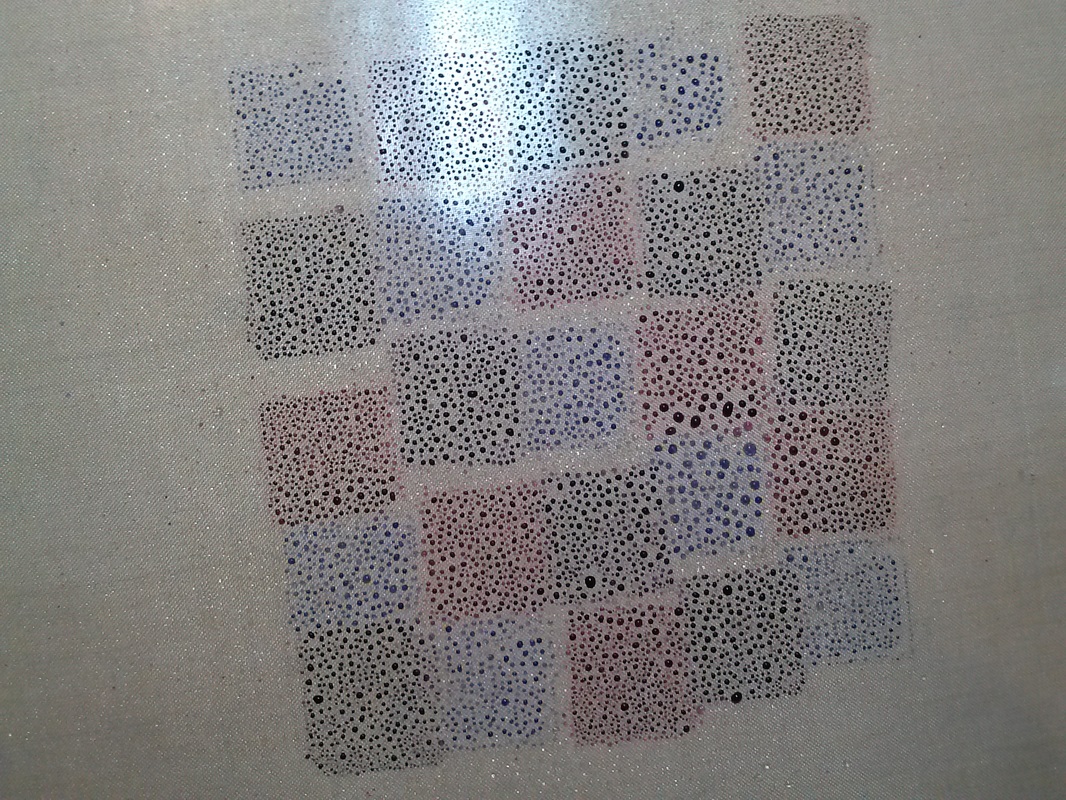
On my craft mat, I pressed my distress ink pads down right next to each other, then began repeating the patterns till it was a little wider than my paper.
I did the same thing on the next line down, starting with a different color, till I had as many rows as I needed. For the size paper I'm using (4x5.25) I find that 5 ink pads across and 5 or 6 down works the best.
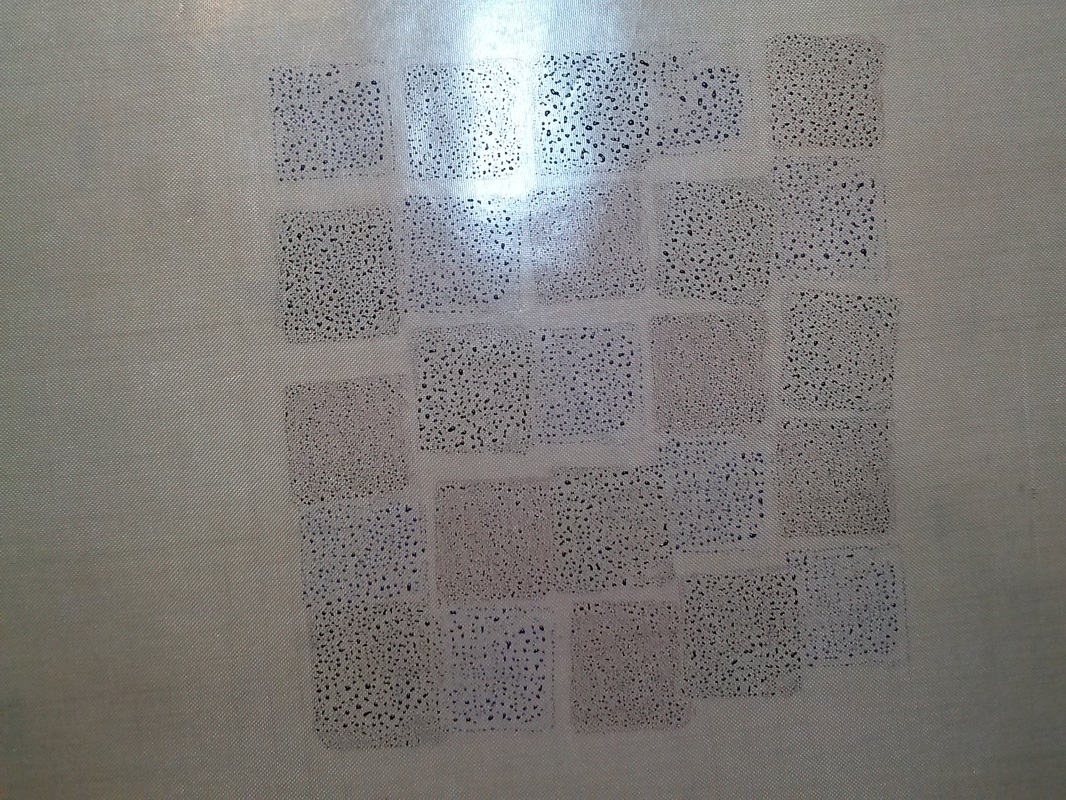
Then I spray the whole thing with water. You can see the ink starting to bead up, but there's not so much water that it's all running together.
When the ink is wet, I take my stamped piece and place it image-side down onto the ink. I move it around a little and make sure to press all the edges into the ink to get full coverage.
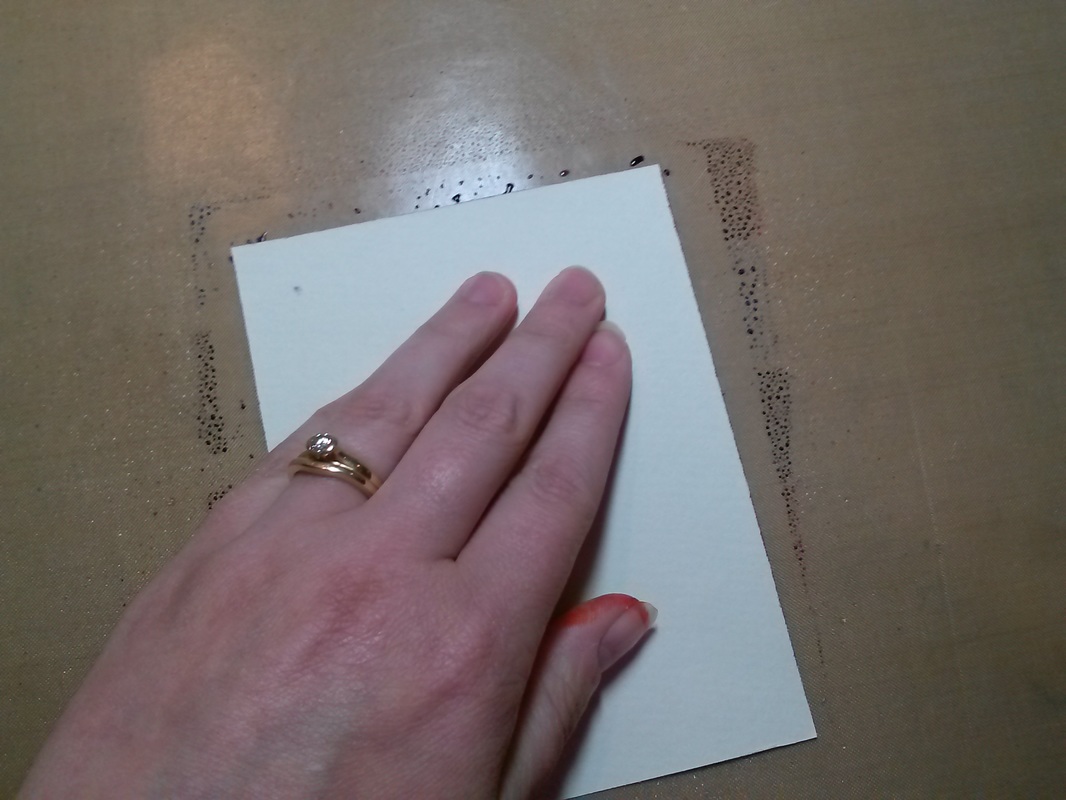
When I lift it up, this is what I get! The embossed image resists the ink, so whatever you stamped on the paper will show through the ink colors. I dry the piece with my heat tool so I'm ready for the next step.

After one smoosh into the ink, you can see the pattern of colors on the paper. That may be the look you're going for, but not me - I like it more organic looking, so I take my dried piece and smoosh into the remaining ink again and again. If it gets too wet during the smooshing, I dry it and keep going till I get a mix that I like.
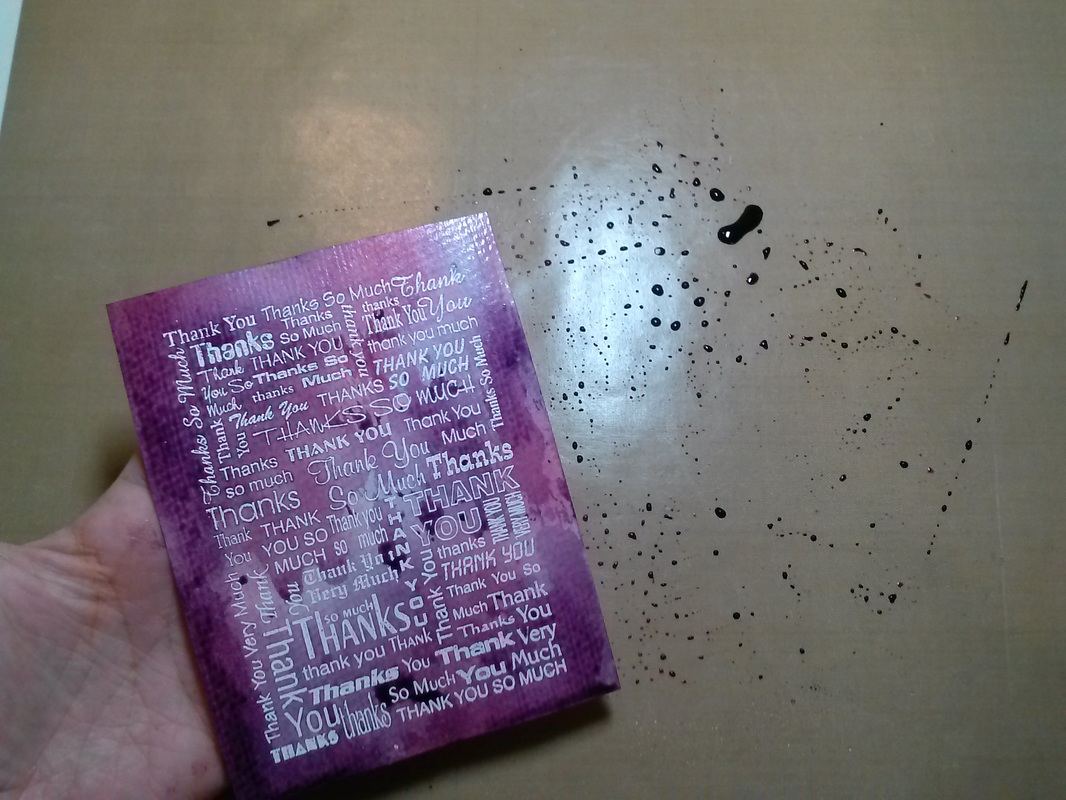
I dry it one last time, then use a rag to wipe the embossed image to get rid of any ink that may have stuck there. At this point, the paper is usually pretty warped from all the water and drying, so I usually put it under some heavy books for a few days. Then I can make it into a card, an embellishment, or whatever I want!
I've been busy with new cards, so keep an eye on my Etsy store for a new line of cards in a variety of colors!
What color would you like to see?
Happy Crafting!
I've been busy with new cards, so keep an eye on my Etsy store for a new line of cards in a variety of colors!
What color would you like to see?
Happy Crafting!

 RSS Feed
