Little Paper Creations
  • Blog
  • About
  • Portfolio
  • Etsy Store
  • Quest for Kisses

Project Life tips & tricks; Photos 2

8/19/2013

1 Comment

 
Did you survive that last post? And you're back for more? Awesome!

So, last time I talked about some fun things I do with Project Life photos. But what happens when you don't have any photos?

That happens a lot to me, so I've learned to improvise!
Picture
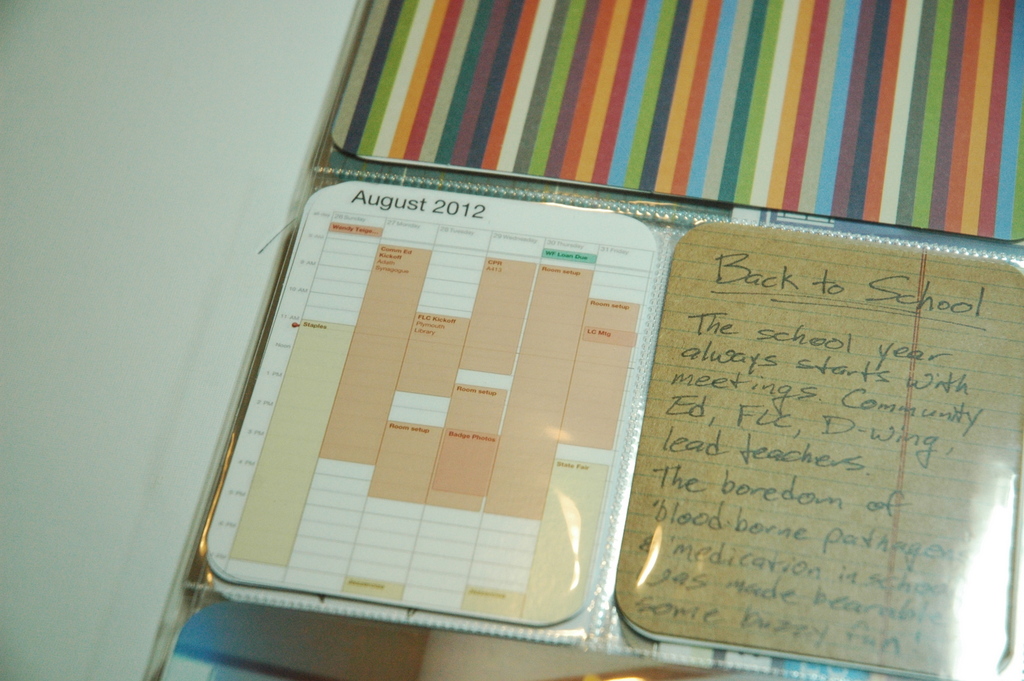
Every once in a while (thankfully not that often!), I have one of those weeks that is just so busy I don't have a lot of time for anything else. Which means no photos! So I sometimes take a screenshot of my calendar and include that.
Picture
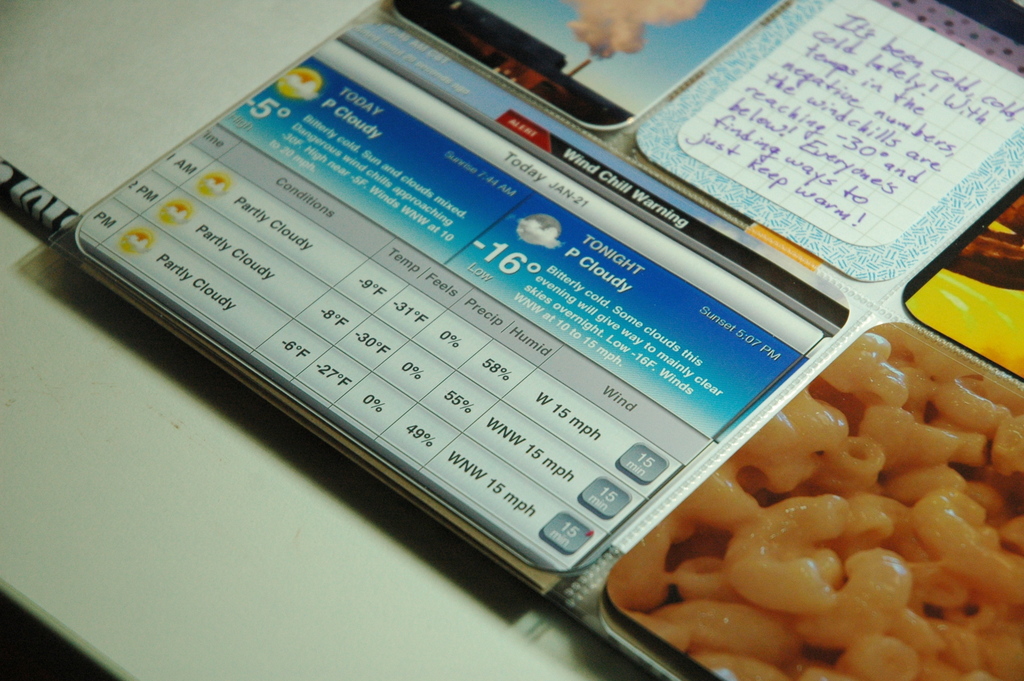
The same thing goes with weather. I'm not one to go out and take photos of poor weather (I tend to hide inside and obsessively watch the news), and really, how does one take a photo of oppressive heat or frigid cold? Anyway; screenshot!
Picture
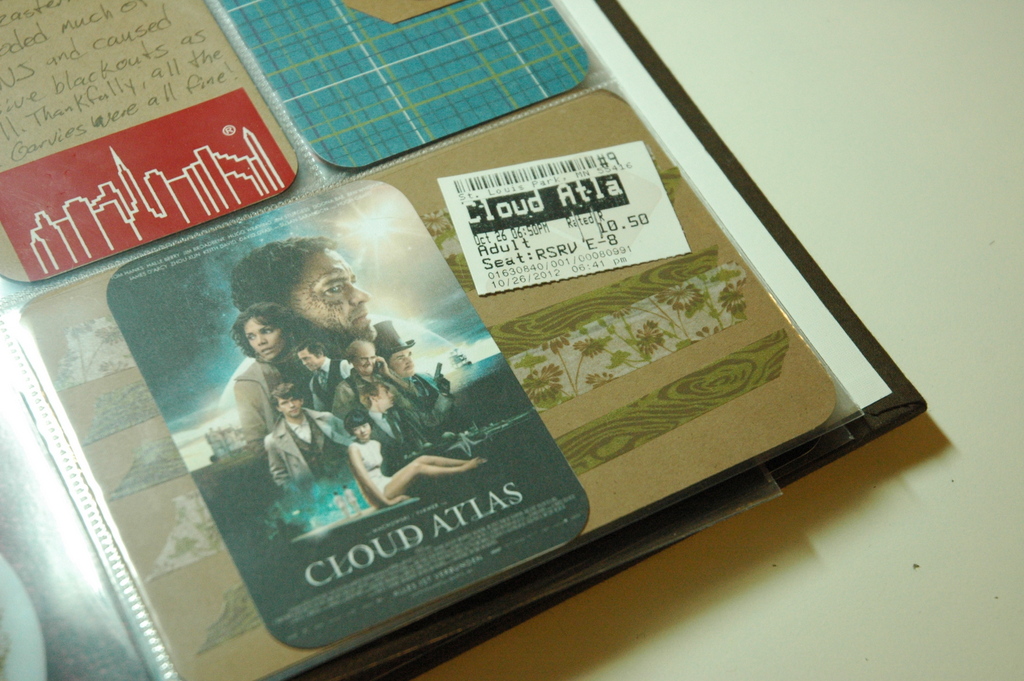
Go to many movies? I do! I save my tickets and print out a small movie poster. Instant 4x6 pocket insert!
Picture
Does anyone else binge-watch TV shows on Netflix? No? Just me? Ok then...

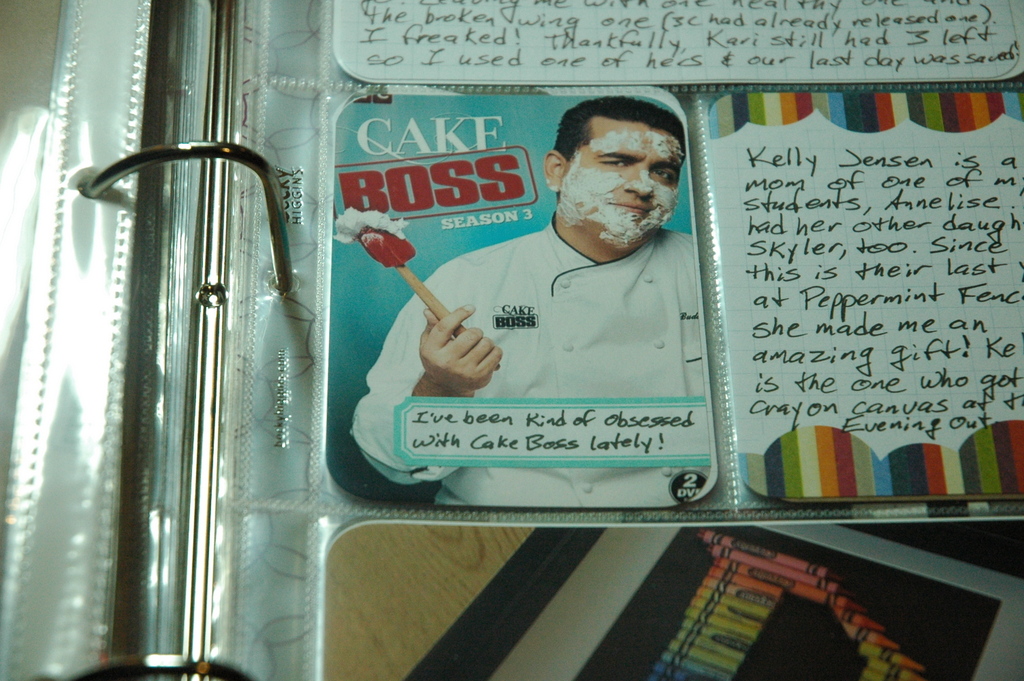
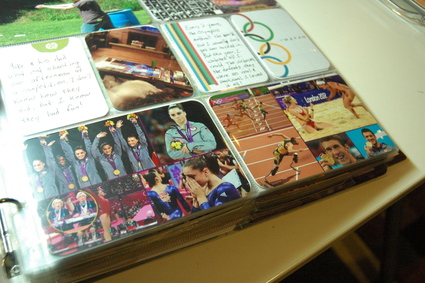
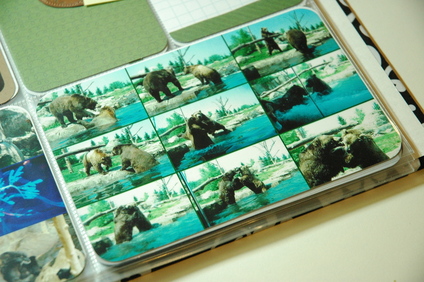
When I get into a new show, I print out a photo I find online, and journal about it! Same goes for new games or music I find.
Picture
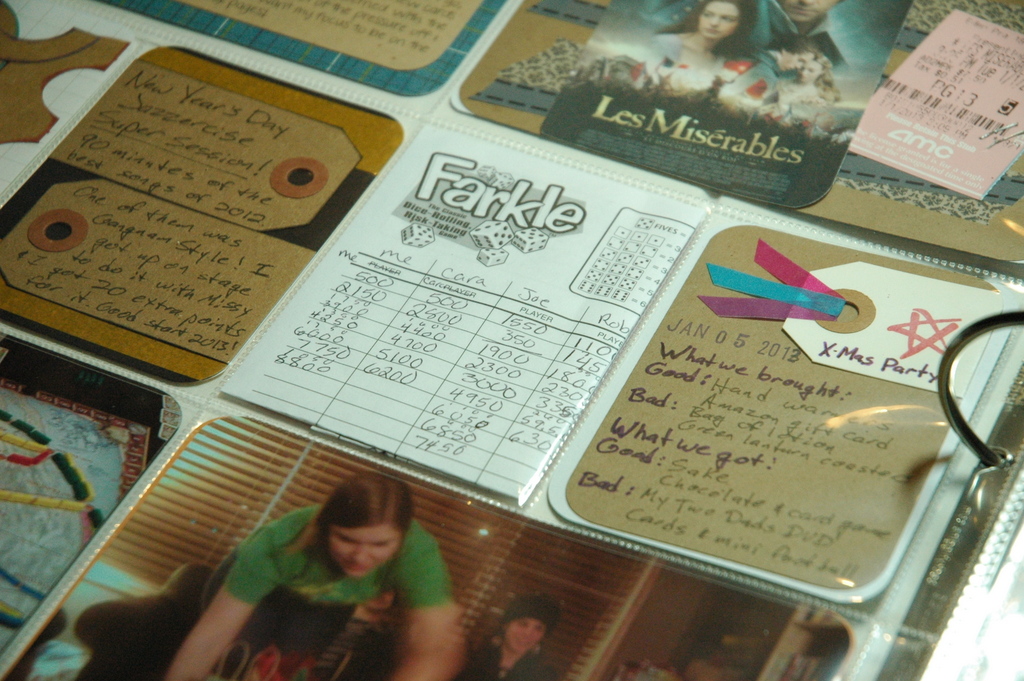
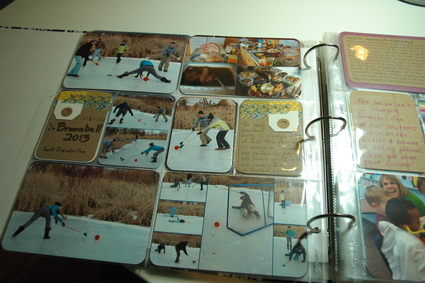
My friends and I like to play games, but they don't like it when I take photos of them. So I take the game cards and put those in my book instead!
Picture
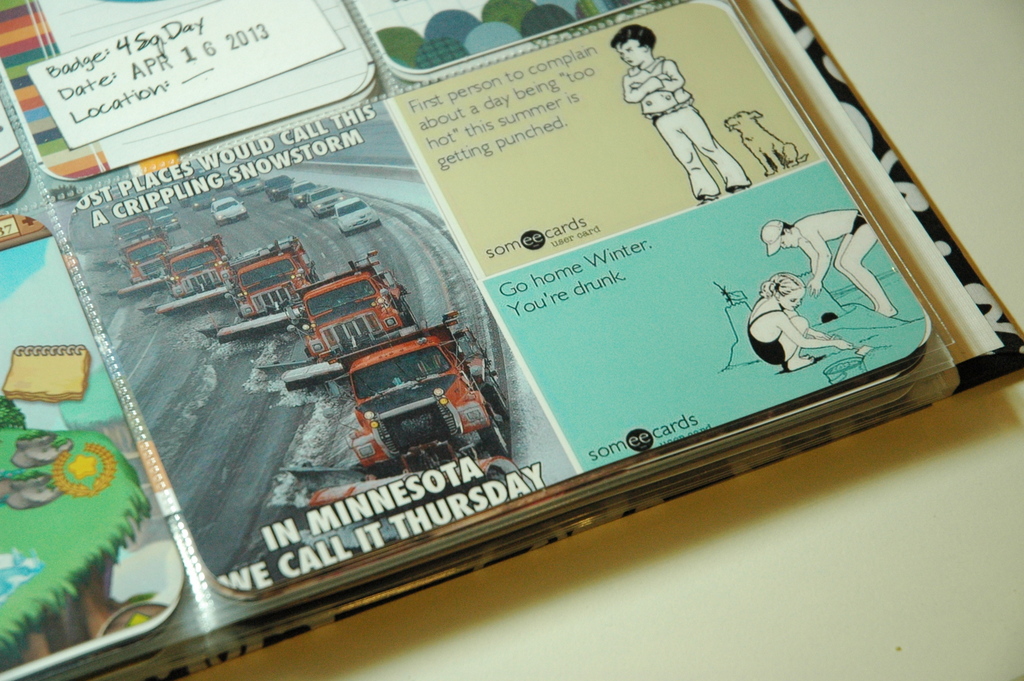
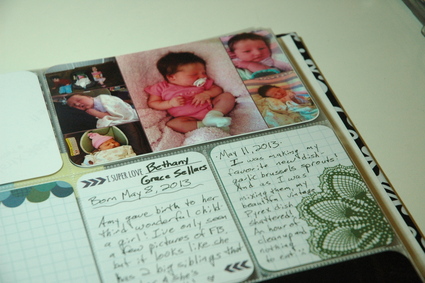
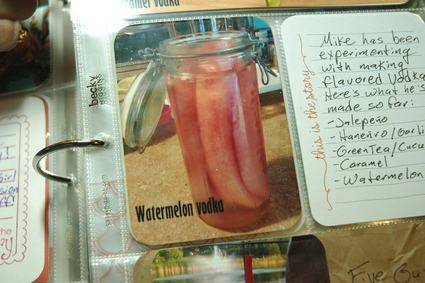
And sometimes I find things on Facebook or Pinterest that I just love. And so, print!
And that's about all for today. What about you? How do you scrap without photos? What kids of things do you print out and include in your books?

Come back next week for more of my tips about Project Life including journaling and what to do with all those non-photo or non-paper extras!

1 Comment

Project Life Tips &Tricks; Photos

8/12/2013

1 Comment

 
I, like a large portion of the scrapbooking world, have jumped on the Project Life train. And I am loving it! I have written a little about my 2012 Project Life once before, but today I wanted to share some tips and tricks I picked up along my journey. This post is going to be photo heavy and likely end up being more than one post. So lets jump right in!
I'll start with photos. Seems logical to me. After all, PL is all about our photos, right?
I use Picasa to upload and edit all of my photos. It's free, it's easy, and it seems intuitive to me. It's (obviously) not as sophisticated or tool-heavy as Photoshop, but I'm not a huge fan of editing photos, I just want it to be quick and easy and I don't really feel like putting in all the work of learning Photoshop. Though I do Own Elements and I have played a bit with templates, but that's another story...

Back to photos!
Picture
One of the big roadblocks I ran into when I first started Project Life was that not all of my photos were landscape. I took a lot of portrait photos and I didn't know how to include them. I quickly figured out that two 3x4 photos would fit into a 4x6 pocket, so all I needed to do was shrink them down. In Picasa, you just select the photos you want to combine (click one, then hold down the Ctrl key and click the other - they will both be highlighted), then click the Collage button on the bottom. You can mess with the settings as much as you want. I choose Mosaic layout, 4x6 size, landscape orientation, and sometimes I put some spacing in, if the photos are going in the same pocket. If I'm going to be cutting them apart, I don't put any spacing in. 

Picture
So what if you have multiple photos you want to include in one pocket (like the foods my mom and I ate at the State Fair)? You simply select more than two photos, and make a collage out of all of them! Same steps apply, just select all the photos you want, instead of just two. When I make a multi-picture collage, I always put in some spacing between the photos. You can see in this collage, I made the spacing the nacho cheese color. I like pulling colors from the photos with the eyedropper tool. Also, while you cannot change the size or ratio of the photos in the collage, you can change which photo is where by simply clicking and dragging it to where you want it. So if I prominent photo is stick in a tiny spot (like the photo of my mom eating the corn was way up in the upper right corner and I could barely see it), you can just move it!

Here are some other collages I have made:

Picture
When my friend have babies, I pull photos from their Facebook pages and make a mini collage celebrating their birth. Because I likely won't see the child till they are older and less scrunchy-new.

Picture
The Olympics was a big part of my summer, but I obviously wasn't there, so I got pics online and made collages of my favorite events and athletes.

Picture
I went to the zoo and was lucky enough to see the bears playing with each other and wrestling in the water. I loved the sequence of photos I got, but obviously didn't want to fill 9 full pockets with them, so I made another collage!

Picture
Here's a whole page I dedicated to my in-laws' annual Broomball party. You can see I included full 4x6 photos, half-sized 3x4 photos, and multiple collages in both the 4x6 and 3x4 pockets. It's fun to see so many photos together on one page!

Picture
Another fun thing to do in Picasa is adding text to your photos. I don't do it that often, I usually put a label on after it's printed, but sometimes I like to get fancy.  :-)

To add text in Picasa, open the photo you want to add text to, and click the text button to the left. Then type. Seriously, it's that easy. You can move the text around and change the size, font, and color, but it's seriously easy to figure out. Everything's right there for you. 

Just make sure when you're done and you've hit the 'Apply' button, that you 'Export' the photo to your computer (button on the bottom that looks like a file folder with an arrow on it) so you can print it with the text, otherwise, it's just a change within Picasa.

Picture
One more.

I often put my newly created 3x4 photos on a 4x6 card by themselves or with a bit or journaling and decoration. I like how they stand out more than they would being put alone into a 3x4 pocket.

Alright, enough for today. I have more tips and tricks to share with you, including journaling tips, what to do with ticket stubs and other ephemera, and some misc tricks that I like, but those will have to wait for another day. I'm tired of typing, and I bet you're tired of reading by now. 

If you have any questions about the tips and tricks you saw here, please feel free to comment or contact me. And if you have some photo/Picasa/PL tips and tricks of your own, please share!!

Till next time!
1 Comment

    RSS Feed

    Blogs I read:

    Becky Higgins
    Bits & Pieces
    KWerner Designs
    Jennifer McGuire Ink
    I Could Make That
    Linny's Vault
    Pintester


    Categories

    All
    #30DaysofCreativity
    Baby
    Baby Shower
    Binder
    Calendar
    Cards
    Christmas
    Coupons
    Craft
    Distress Ink
    Etsy
    Fabric
    Family
    Feedbackplease
    Field Trip
    Flashback Friday
    Food
    Gift
    Haul
    Home
    Inspiration
    Internet
    Invites
    Magnets
    Organization
    Paint
    Photos
    Planner
    Project
    Project Life
    School
    Scrapbook
    Special Order
    Special Order
    Storage Solutions
    Thinking Of You
    Tips And Tricks
    Top5friday
    Tutorial
    Wedding


    Archives

    February 2016
    January 2016
    November 2015
    October 2015
    September 2015
    August 2015
    July 2015
    June 2015
    May 2015
    April 2015
    March 2015
    February 2015
    January 2015
    September 2014
    August 2014
    April 2014
    February 2014
    January 2014
    August 2013
    July 2013
    August 2012
    July 2012
    June 2011
    January 2011
    December 2010
    August 2010
    July 2010
    June 2010
    May 2010

Powered by Create your own unique website with customizable templates.