Little Paper Creations
  • Blog
  • About
  • Portfolio
  • Etsy Store
  • Quest for Kisses

Storage Solution: Clear Stamps

9/29/2015

0 Comments

 
A few months ago, I shared with you my solution for wrangling my wafer-thin dies. I have been loving my mini binder idea for my dies, so I thought it would be a perfect solution for my clear stamps as well!
Picture
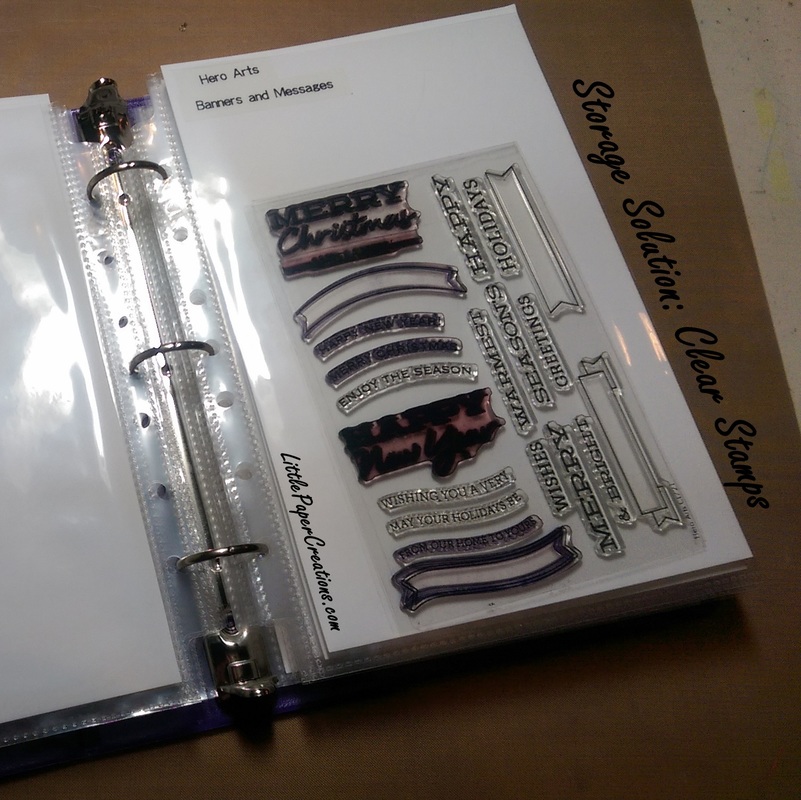
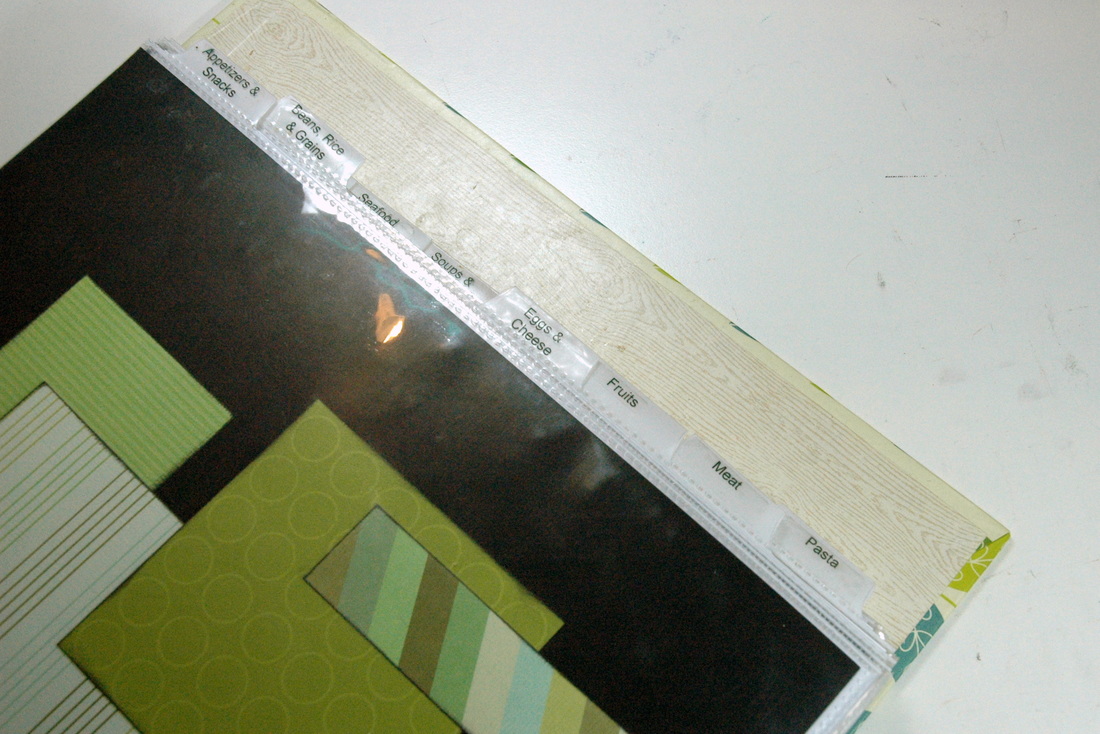
Supplies: half-size binder, half-size page protectors, white cardstock cut in half, and a label maker. Put it all together and you get a super easy, super accessible storage solution for clear stamps!
Picture
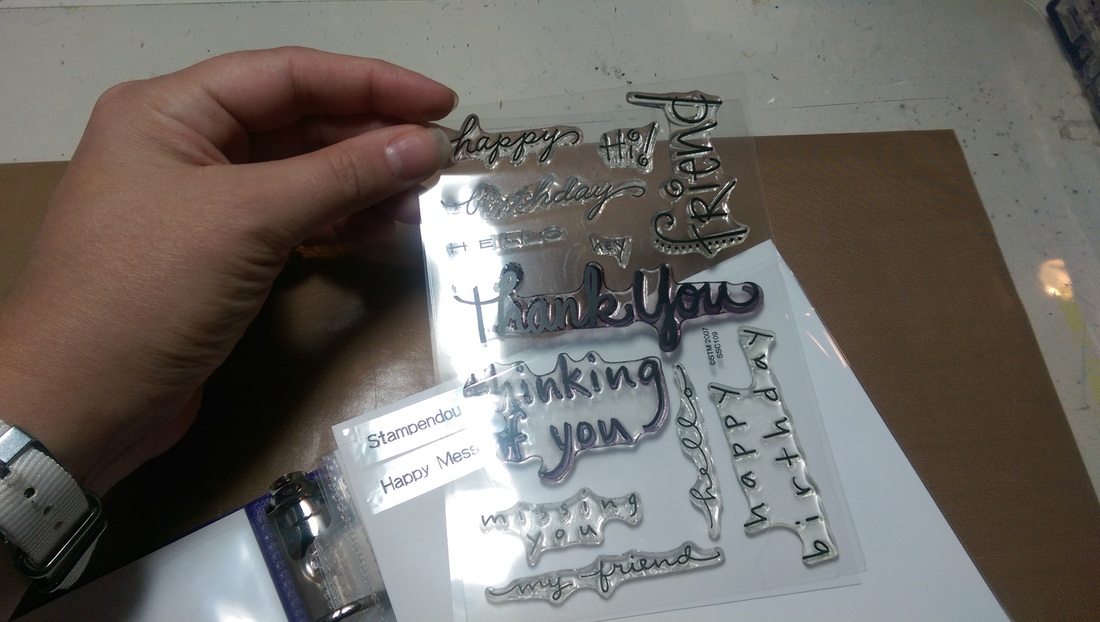
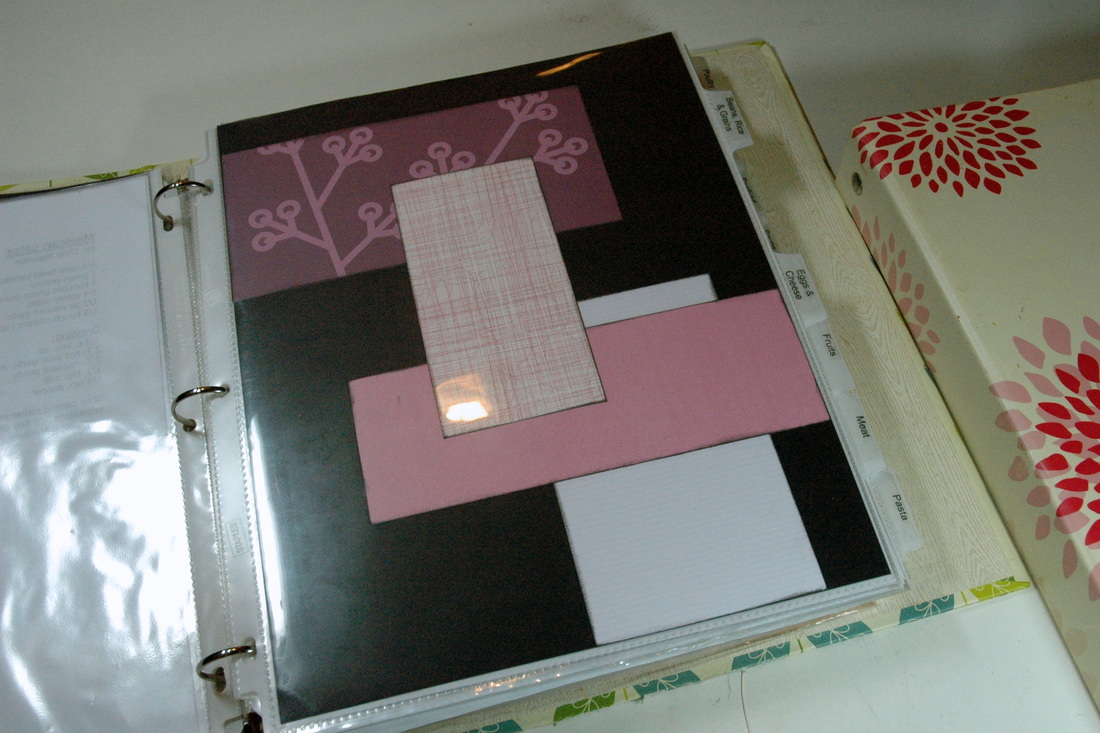
The stamps stay in the page protectors well and slide out easily when I need them. I have each page labeled with the name of the stamp set and the company so I can reference them later if I need to.

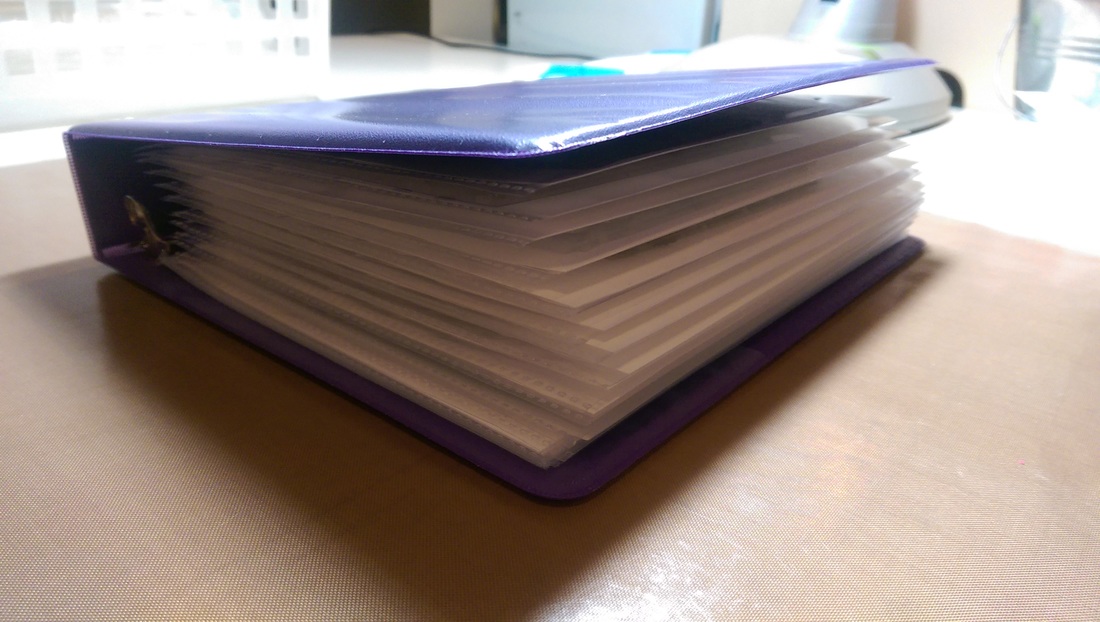
The only problem I ran into is that my mini binder is too full! I don't have that many stamp sets, so I thought they would all fit, which they technically do... But it looks like I'll have to get another binder and split them up.
Picture
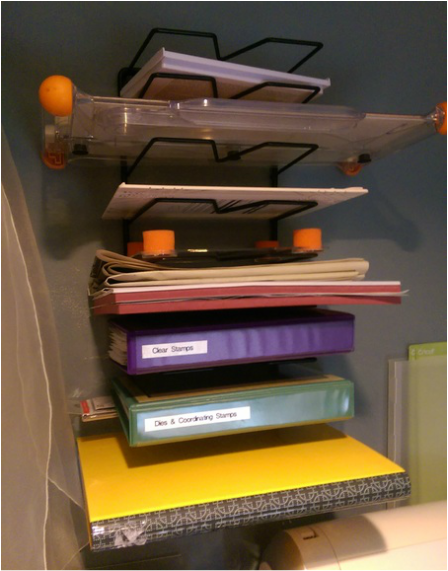
The binder fits nicely on my hanging file shelf in my craft room right next to my die binder.
Picture
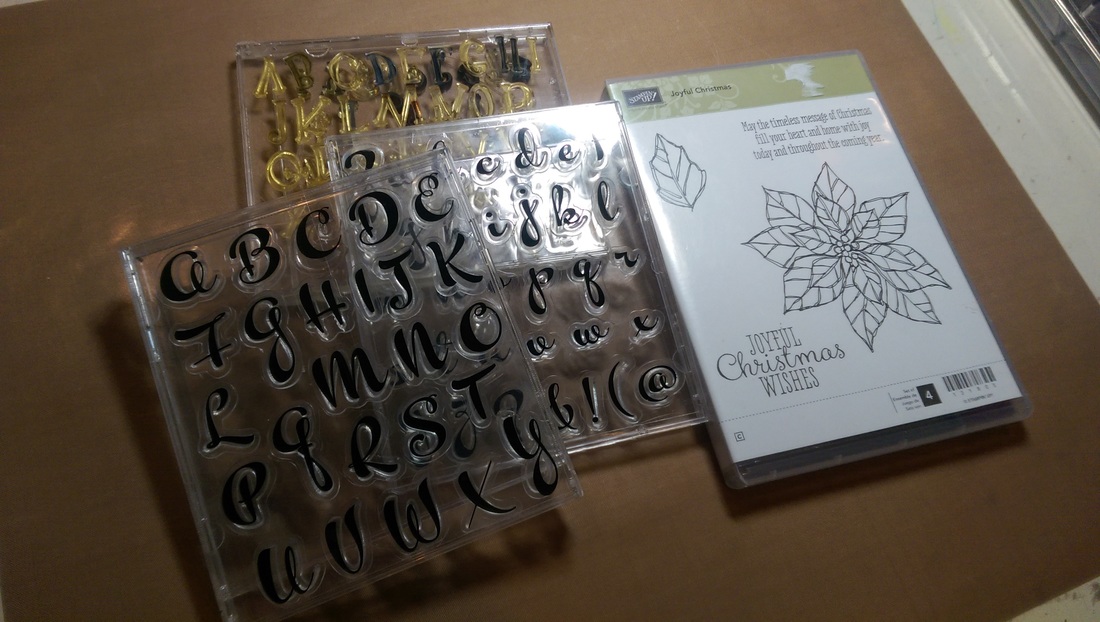
I do still have a few stamp sets that I did not put into the binder. One Stampin' Up set I just bought for Christmas and a couple alphabet sets that I put into CD cases years ago. As I rarely use these stamps, I figured a few in boxes on my shelf is no big deal.

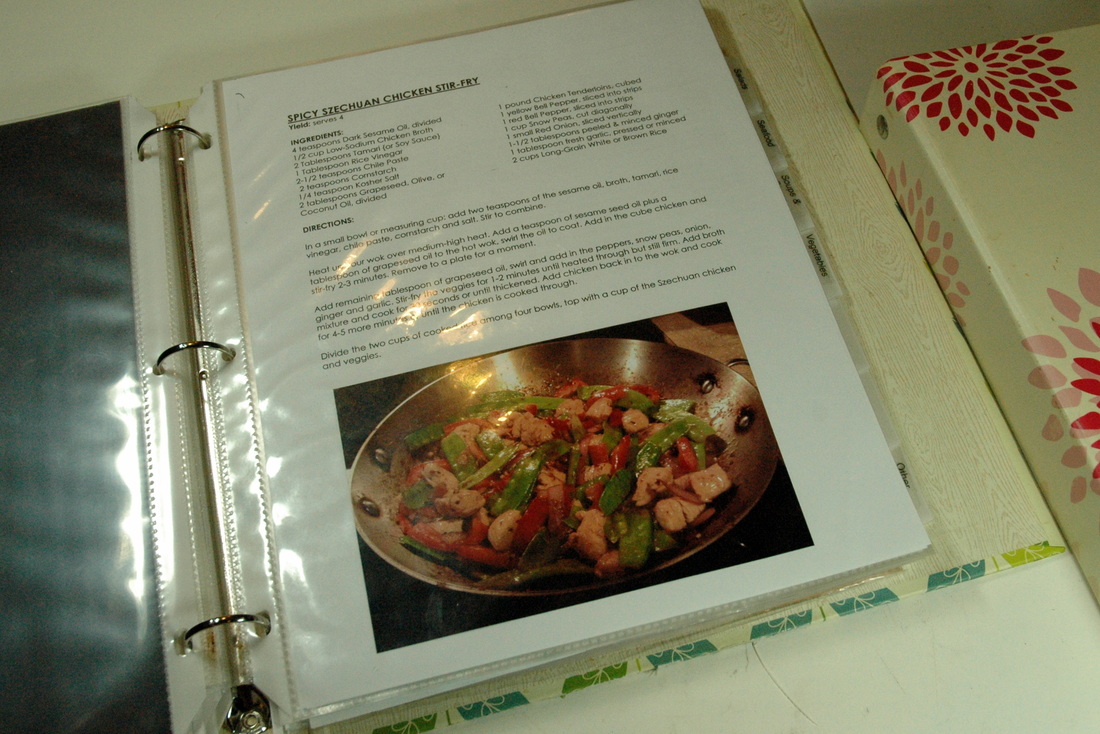
I'm hoping that by having the stamps accessible and visible, I will take them out more often instead of reaching for the ones I always reach for.
Picture
How do you store your clear stamps?

Happy Crafting and Happy Organizing!
0 Comments

The Wedding Card I Nearly Gave Up On

9/22/2015

0 Comments

 
Have you ever had a vision of how something would turn out and you got so excited you couldn't wait to get started and you worked really hard on it and then it didn't turn out anything like what you have envisioned?

If you said no, you're a liar.  ^_^

It happens to me all the time. And most of the time, I scrap it or start over or just walk away. But this time I couldn't. This time I had an out of town wedding that we were leaving for the next day and I had no more time to make another card. So I stuck with it.

The color I had envisioned kept alluding me. I could not get my distress inks to do what I wanted! But I kept adding more layers. I kept trying more colors. I pushed through till I got the result I had set out to get.

And you know what? It felt really, really good when the color finally showed up.
Picture
When I finally got what I wanted, I was too tired to come up with an all new design, so I stuck with the one I made for a previous wedding card and took out some vellum and matching paper to finish up this card.
Picture
I really love this card. It matches the invitations perfectly (which I made - post coming soon!) and there's nothing quite like the triumph of working through crafting adversity. (How's that for dramatic!)
Picture
What do you do when a project doesn't turn out the way you envisioned it? Do you scrap it? Start over? Keep going? Throw it out the window and eat some chocolate?  ^_^

Happy Crafting!
0 Comments

Back to School, Back to Planning

9/15/2015

0 Comments

 
Well, it's September. And we all know that means back to school. But what many people may not realize is that for teachers, September is literally our new year. January is just another month in the middle of the year; September is the real 'new year'. So with a new year comes a need for a new planner: a lesson planner!

For 5 years now, I've designed and printed my own lesson planner. It has helped me to keep track of everything going on in my classroom through the year. I honestly don't know if I could function without it anymore.

For 3 years, I've also designed and sold personalized planners for my fellow teachers at school. They love them just as much as I do! Usually, I sit down with a teacher on one day (let's say Monday) and plan out what she wants her planner pages to look like. Then I go home that night, make the changes, and print the pages. Then the next day (Tuesday) after school, I drop off the planner at Staples or Office Depot to be bound. It used to be that binding a planner would take all of 20-30 minutes; just long enough for me to peruse the latest office supplies or run next door to Michaels. But now, it takes at least a day. So I drop it off on Tuesday after school and pick it up on Wednesday after school. Which means I don't give it to my colleague till Thursday. That's 4 days of turn-around! And that's when I don't have anything else going on that interferes with the drop off and pick up. And it assumes they get the binding right the first time (which they don't always - which adds another 3-4 days on).

I was getting frustrated with this long turn-around time and increasingly incompetent workmanship at the store, so I finally broke down and purchased my own binding machine!
Picture
I took this picture immediately after un-boxing it right in my living room. I didn't even bring it down to my workroom! As soon as the box was empty, my cat climbed right in. He loves boxes.

I have had my binding machine for 3 weeks and I've already used it 6 times! I've made several planners for teachers at school (with a less-than-24-hour turn-around!) and a few for online orders.
Picture
Speaking of online orders, I have added physical planners to my Etsy shop! Now that I am in charge of the process from start to finish, I feel confident offering physical planners on a regular basis, not only by special request. So if you are in need of a planner (or know someone who is), please check out my Etsy shop. If you don't see something there that works for your needs, please contact me and we can work out the details for a personalized, printed planner just for you!

Happy New Year to all you teachers!
Happy Planning to all you plannerds!
And Happy Crafting to all!
0 Comments

Watercolor Purple Sympathy Card

9/8/2015

23 Comments

 
Thanks for visiting again, I've got another card to share with you today.

Unfortunately, someone close to my family passed away recently and we do not live nearby, so I felt it was important to send a card to the person most affected.

I used Versamark ink and black embossing powder to create the sentiment and floral detail on the card first. Then I used distress ink to make a watercolor background.
Picture
Here's a closeup of the embossed flowers.
Picture
I trimmed down the background, added it to a black card base with some foam adhesive for dimension, and the card was done.

The hardest part of this card was to figure out what to say on the inside. I always have trouble writing in cards. Sometimes, I feel like nothing I say will be the right thing to say. I have to remind myself that it doesn't matter what I say, as long as I mean it.

Does anyone else have trouble writing on the inside of a card? Or do you have any go-to phrases that I can learn from? Please share!

Happy Crafting!
23 Comments

Storage Solution: Recipes

9/1/2015

0 Comments

 
Like any good crafter, I jumped on PInterest early. I loved having craft ideas at my fingertips. Then I started finding non crafty things. Like recipes. And pretty soon I had a bunch of recipes stored up to try out, but what good were they on my computer? I don' have a computer in the kitchen, so I had to print them. But what to do with a bunch of printed recipes? Put them in a binder!
Here's my recipe binder:
Picture
I actually have 2 binders now. One for sweets and one fore everything else. I have a lot of sweets recipes...

Moving on...

I sorted my recipes into different categories, then used some tabbed page protectors and my label maker to label the categories.
Picture
I wanted to decorate the tabbed page protectors, but I didn't have a lot of time or money, so I dug into my stash and came up with a whole set of old K.I. Memories paper. I used one color on each page, cut out randomly-sized rectangles and adhered them onto some black cardstock. I love that I was able to use so much of the paper that I had been hoarding for so long.
Picture
Picture
Once the title pages were done, I started sliding in my recipes. I try to take a photo of each recipe when I make it so I can see what the dish looks like when I'm flipping through.
Picture
Sometimes, I make notes on my pages so I can keep track of what has worked or what to try. Here is my Thanksgiving turkey recipe with notes on how big the turkey was each year and how long it took to make. That way I can plan the timeline each Thanksgiving.
Picture
When I get a new recipe, I put it in the front of the binder till I actually make the recipe, then if I like it, it gets a page protector. If not - trash! There is no special order to the recipes within the categories - none of them are big enough that I cannot find what I need.

How do you store your recipes?

Happy Crafting (and cooking!)
0 Comments

    RSS Feed

    Blogs I read:

    Becky Higgins
    Bits & Pieces
    KWerner Designs
    Jennifer McGuire Ink
    I Could Make That
    Linny's Vault
    Pintester


    Categories

    All
    #30DaysofCreativity
    Baby
    Baby Shower
    Binder
    Calendar
    Cards
    Christmas
    Coupons
    Craft
    Distress Ink
    Etsy
    Fabric
    Family
    Feedbackplease
    Field Trip
    Flashback Friday
    Food
    Gift
    Haul
    Home
    Inspiration
    Internet
    Invites
    Magnets
    Organization
    Paint
    Photos
    Planner
    Project
    Project Life
    School
    Scrapbook
    Special Order
    Special Order
    Storage Solutions
    Thinking Of You
    Tips And Tricks
    Top5friday
    Tutorial
    Wedding


    Archives

    February 2016
    January 2016
    November 2015
    October 2015
    September 2015
    August 2015
    July 2015
    June 2015
    May 2015
    April 2015
    March 2015
    February 2015
    January 2015
    September 2014
    August 2014
    April 2014
    February 2014
    January 2014
    August 2013
    July 2013
    August 2012
    July 2012
    June 2011
    January 2011
    December 2010
    August 2010
    July 2010
    June 2010
    May 2010

Powered by Create your own unique website with customizable templates.