Little Paper Creations
  • Blog
  • About
  • Portfolio
  • Etsy Store
  • Quest for Kisses

Sneak Peeks!

5/19/2015

0 Comments

 
I've been hard at work lately on some exciting projects! I have 3 weddings this summer that I have the privilege of designing for. I can't reveal their designs yet, but I can offer a great big CONGRATULATIONS to the newest Little Paper Creations couples.

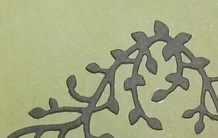
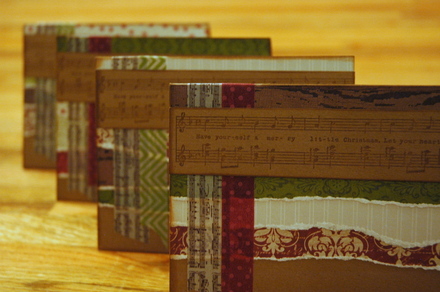
My sister-in-law Emily and her fiance Lindsay are getting married this August. I made their save-the-dates a few months ago, and now I'm hard at work on their invitations. Here's a sneak peek at their design:
Picture
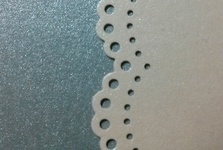
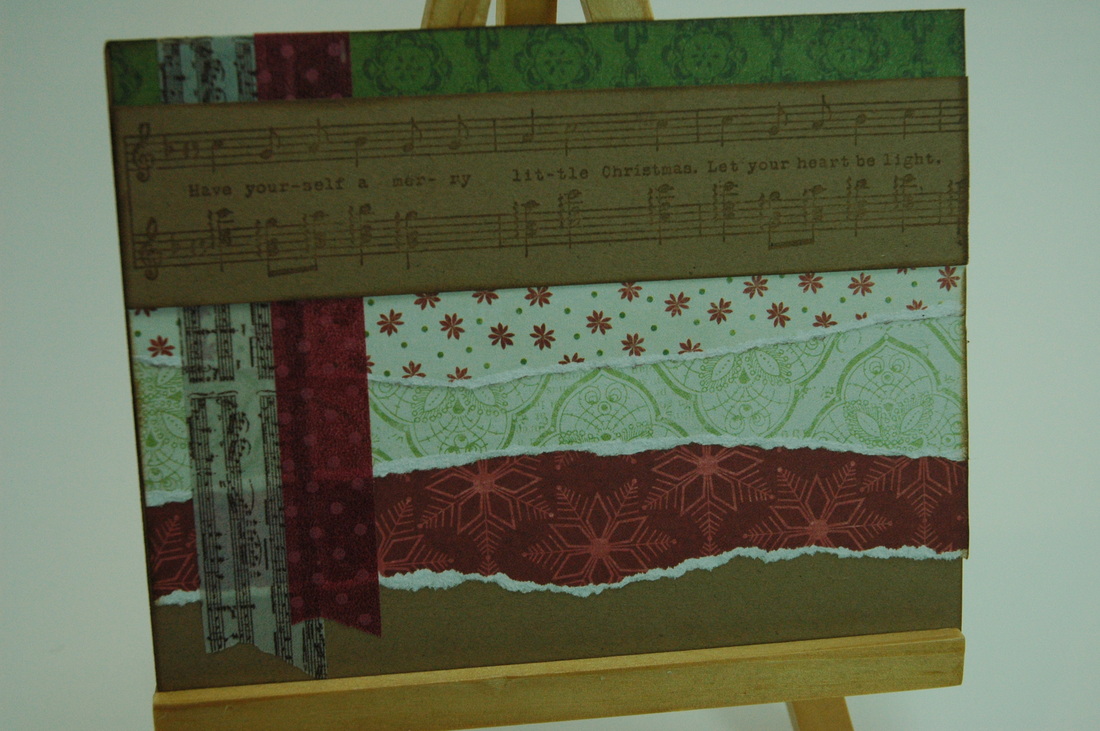
A childhood friend is also getting married this August, and I was flattered and thrilled when she said she wanted me to design her wedding invitations! Katie and Peder are having a large wedding, so I'm working really hard on their many, many invitations, but I'm having a blast! Here's a sneak peek at their design:
Picture
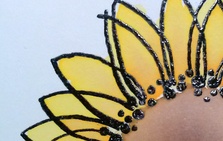
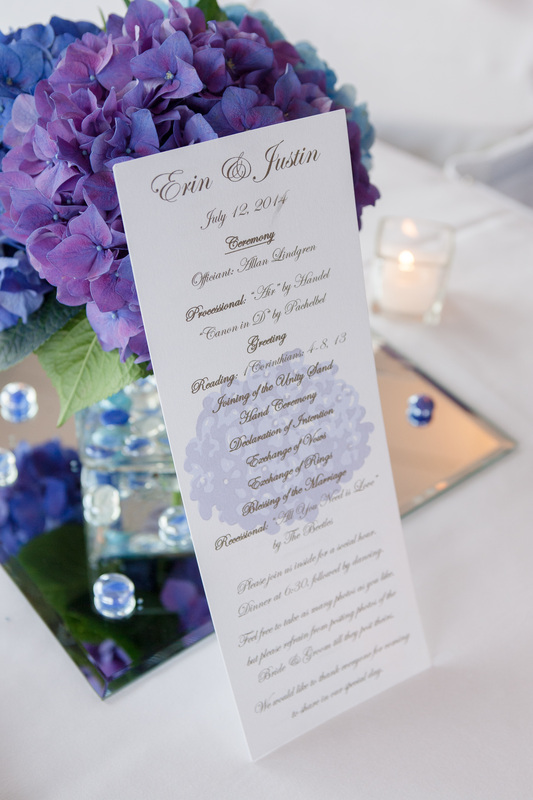
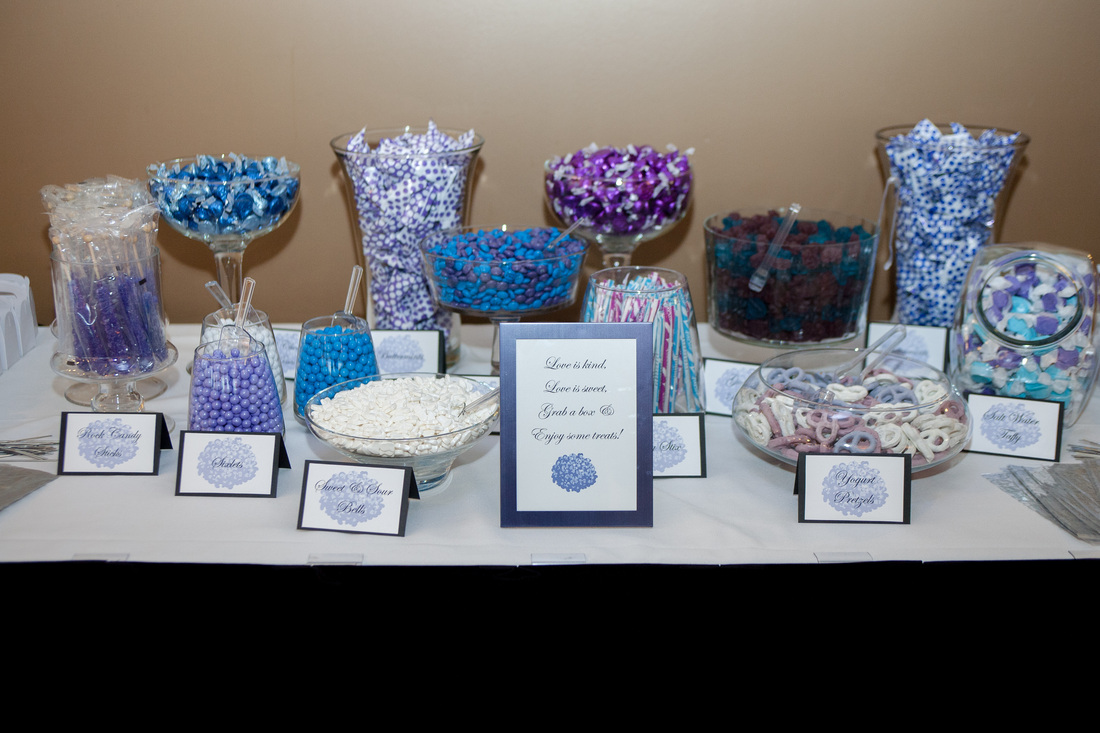
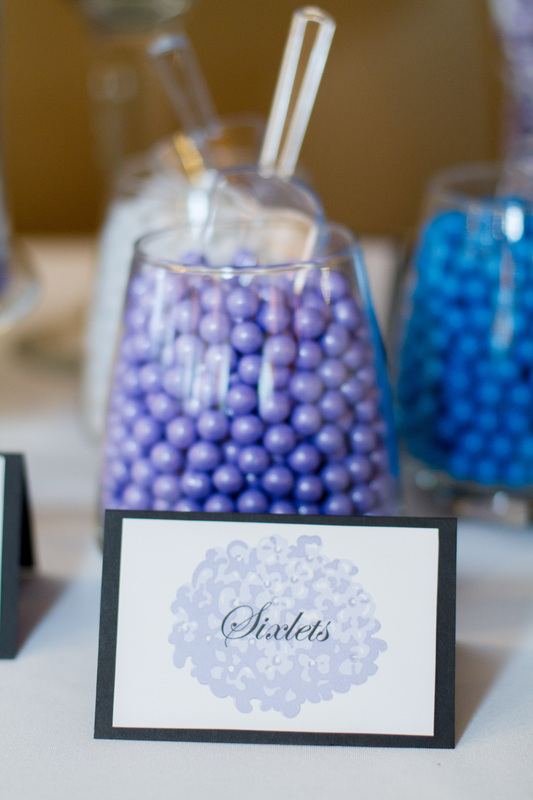
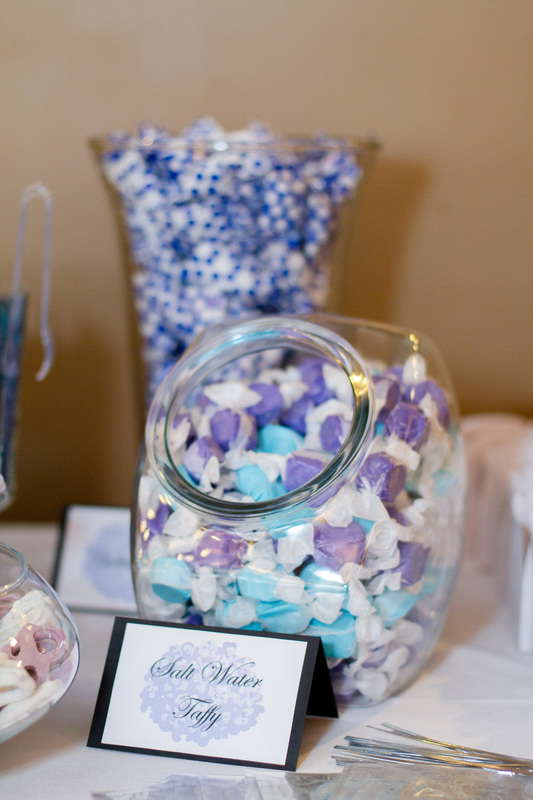
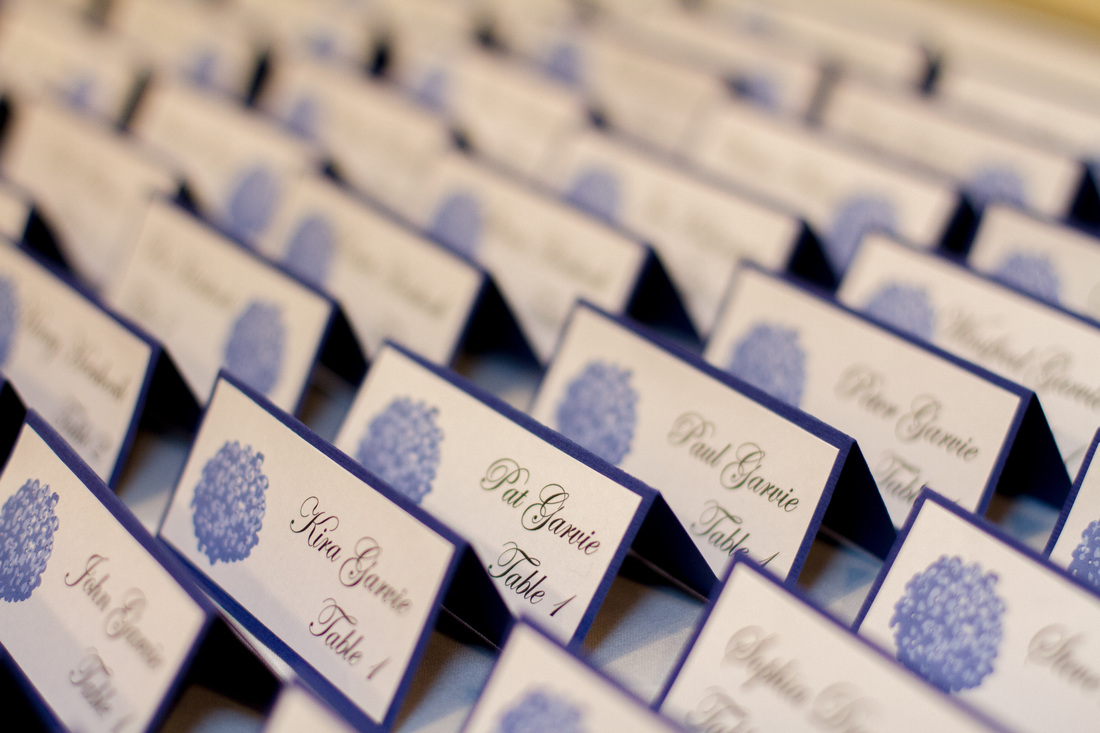
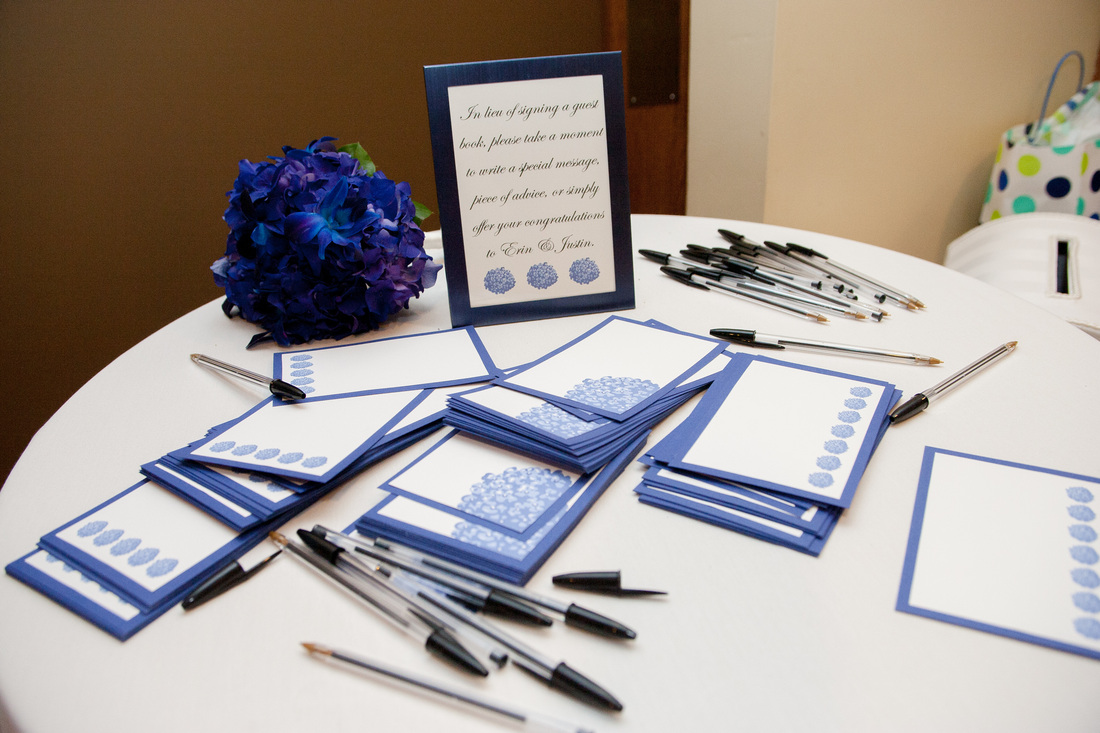
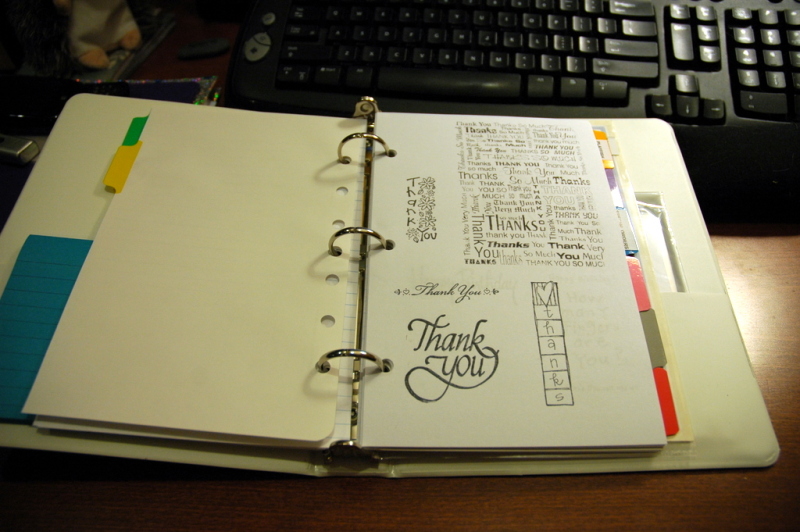
The third wedding I'm creating for is actually a reception, not s full wedding. The couple was married a few months ago out of state and they are having a local reception, so they asked me to create some invitations for that. It's coming up soon, so I'll have a full post on the invitations later, but until then, here's a sneak peek of their design:
Picture
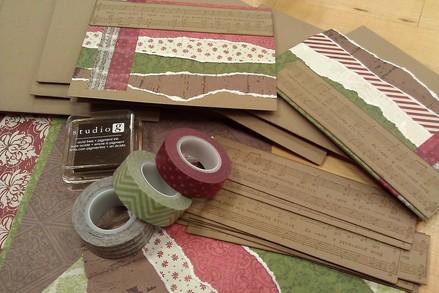
For every event I am asked to create for, I make 3-5 samples for the client to choose from. When they choose a design, we tweak it so it's perfect and then I can make the entire order. I really enjoy making a unique, personal design for each person. And every time I make a new design, I learn something new. I love to learn, I love to create, and I love to share my creations with the world.

I'll have more details about these invitations as they happen. I do not post about one of my designs till they are in the hands of the guests or the event has happened. The guests should always see them first.

Do you have any big events coming up this summer? We've got 3 weddings, our anniversary, 5 family birthdays, Father's Day, and 4th of July, plus whatever else comes up. And oh yeah, we have full time jobs too. Wow, this is going to be one busy summer!

Happy Crafting!
0 Comments

Erin's Wedding Stationary Extravaganza! Part 2

3/11/2015

0 Comments

 
Last week, I shared with you my sister's wedding invitations and thank you cards. This week, I'm going to share the rest of the stationary I made for her wedding.

Erin's Wedding Stationary Extravaganza!
Part 2: Programs and Reception Details
Picture
Once I figured out that I could scan and digitally manipulate the hydrangea stamp image I'd been using on the invitations (etc), I got really excited about making all the reception details!

I began with the programs. I printed them on 4 1/4 x 11 inch paper that had some shine/shimmer to it. Because who doesn't love some bling and glam on their wedding day? The front has the ceremony program and the back has the wedding party and other information. Both sides have a light hydrangea printed under the text. I was so happy at how the hydrangea came out! It was the perfect accent; it added to the feel and design of the program without distracting the reader from the text.
Wedding program - shimmer paper, periwinkle, blue, purple hydrangea
I know many of you don't know my sister personally, but trust me when I say, it would not be Erin's wedding without a lot of good food. Specifically, a lot of good sweets. So we put together a candy bar!

My mom worked hard to find a large variety of blue and purple candy and all the lovely glass containers to serve it all. I made all the signs so people would know which variation of sugar they were feasting upon.
Candy bar - blue and purple candy with hydrangea tent signs
Next up were the table signs and seating cards. The seating cards were tricky because they needed to be small enough to be unobtrusive on the tables, large enough to be easily read, and they needed to have some way to denote if the guest had ordered chicken or beef for dinner. Which I guess is usually done by having two different colors. But I didn't have 2 colors to work with. Unless you count black. Which I do not. So what I came up with was printing the small hydrangea on either the left or right side to denote their dinner choice. Chicken on the right, beef on the left. And no, that was not an arbitrary choice. 'Beef' has 4 letters, as does 'left'. There's always a method to my madness!
Wedding seating card tents - periwinkle hydrangeas
Wedding table marker sign - periwinkle hydrangea
The final, but most lasting, part of Erin's stationary were the reception cards. I have always thought that guest books are kind of dumb. I mean, you invited these people, you know who was at your wedding, you don't need their signatures to prove it! So for my own wedding (back in 2007), I came up with the idea of reception cards. They are 4x6 cards on which guests can write well-wishes, advice, jokes, or congratulatory messages. When you have collected them all, just slip them into a photo album and you're done! These are so much more personal and fun to look back on than a guest book. Plus, after a few glasses of wine, some of the guests can be pretty hilarious!!! I created 3 different designs so guests could decide which card(s) they wanted. Erin and Justin had a great time reading through them the next day at the gift opening!
Wedding guest book alternative - periwinkle hydrangea - reception cards - advice cards
Well, that about wraps up my sister's wedding! I hope you enjoyed reading about it as much as I enjoyed creating for it. Actually, there's no way that's possible - I had an absolute blast making everything for my sister!

It was a lot of work, but totally worth it to see how much Erin, Justin, and all their guests enjoyed all the details that went into their special day. I also learned a lot about creating coordinating designs in large quantities.

I am very excited to help other brides realize their wedding visions, and I've actually got 2 brides lined up already! More details coming soon!

Thank you for reading, and Happy Crafting!

** All photos in this post are from Bellagala Photography **
0 Comments

A Step in a New 'Die'-rection

2/10/2015

0 Comments

 
Have you ever seen a tool or a piece of clothing or a decor item that you really like, you really wanted, but you were too afraid to commit to?
"Will I really use it as much as I say I will?"
"Will it just end up collecting dust like that other tool/skirt/lamp?"
"Is this just a fad that I'm going to forget about in a few months?"
"What if I can't use/wear/display it right and I hate it?"

Yeah, I'm sure you've been there.

Most recently for me (because let's face it, I do this ALL THE TIME!), it was the Big Shot die-cutting machine. I've been watching a lot of videos of card-makers lately and all of them seem to use their die-cut machines almost constantly. I wanted one. But did I need it? Would I really use it as much as they did? Was die-cutting really my style? I researched brands and styles and all the millions of dies. I found more videos on different techniques that did seem more my style. And when Thanksgiving rolled around and it was time to send my family my Christmas wish list, I bit the bullet and put down "Big Shot die-cutting machine" and a whole list of dies from different websites.

And lo-and-behold, on Christmas Eve, there under the tree was a rather large, Big-Shot-shaped box! My sister had come through for me! It was mine!
Picture
But wait, no one got me dies!? So I've spent the last few weeks buying and trying dies and techniques. Because I want to get good at this. I want to use it. I don't want it to collect dust or be forgotten. And most of all, I don't want it to be a waste of money!
Picture
I've made a few thing with my new dies. Nothing fancy, just playing around. They have glue marks and small rips and off-centered designs and inking gone wrong. But they are a start. A very fun start!
Picture
So a big thank you to my sister for taking the leap and buying me a new toy to play with. Your next birthday card is going to be very fancy. :-)

Happy Crafting!
0 Comments

Christmas Cards 2014 (Take 1)

1/20/2015

0 Comments

 
As I've said before, one of my favorite projects of the year is making my Christmas cards for friends and family. In the past, I've worked mainly with patterned paper and some simple stamping. Last year (2013), I branched out and did some coloring. This year (2014), I feel like I've gone off the deep end, but I love how they turned out!

I didn't use any patterned paper at all! I did heat embossing. I've been experimenting with heat embossing for a few months and I like it! I was inspired by Kristina Werner and Jennifer McGuire. They do a lot of stamping and embossing and I've been obsessed with their YouTube videos lately.

I browsed Pinterest (of course!), watched videos, and experimented with several colors and designs till I came up with my prototype!

Picture
I embossed a piece of kraft cardstock with white embossing powder using a Hero Arts stamp I got at Michaels and rounded the corners. Then I said them all out and put some Stickles in the middle of the snowflakes for a pop of color.
Picture
After the base element was done, I heat embossed a greeting with red tinsel embossing powder onto a white flag and adhered that to the snowflake base with some foam adhesive. Then I adhered the whole thing to a piece of heavy-weight white cardstock for the base of my card (and I got a new crop-o-dile to round the corners!).
Picture
A quick stamped greeting inside and they were ready to go!
Picture
I made 60 cards this year, but I ended up only sending about 45, so I have some extras for sale in my Etsy shop! If you'd like one or some of these cards for a loved one, go grab them up!

It was challenging to do such a large project with such new materials, but I had a lot of fun and I feel very comfortable with embossing powder now. Though I have yet to figure out a good way to get it off my craft room floor...
Any suggestions?  :-)

Happy Crafting!
0 Comments

Christmas in July

7/10/2013

0 Comments

 
My largest recurring project each year (and the one I both look forward to and dread the most), is making my personal Christmas cards. Every year when I start, I have no idea what I'm going to make. Sometimes I have a stamp that I like, sometimes I find some paper I like, sometimes I have to wander around a craft/scrapbooking store for a long time before I find something that inspires me. 

Here are some of my previous cards:
I have made my cards as early as August , and as late as winter break (sent out as New Years cards that year). This last year (2012), I made them over MEA break (October) while scrapping with a friend at Archivers. My inspiration this year came with a set of washi tape. 

Oh, washi tape, how I love you! so versatile, so pretty, so (relatively) cheap. (I will be extolling the virtues of washi tape in another post soon.)

I got some matching paper and found a stamp that went along with the whole theme, and away I went!

Like I said before, I never know what I'm going to do till I sit down and actually do it. 

So I began to experiment. 
A cut here, a stamp there. 
What does this element look like by this one? 
How about over here? 
What if I do it this way? 

Soon, a pleasing design came out of all my fiddling.
Picture
I like to work assembly line style, so once I had a prototype, it was easy to make all the components needed for all my cards. 

And just like that, I had made 60 cards!
Picture
I love the slightly grungy style of my cards this year, I usually make much more put-together and neat-looking cards, so this was fun for me to just rip and tape and mix and match. It also took a lot less time! 
Picture
That same friend and I already have plans to get together this summer and make cards. Maybe Christmas cards, maybe not. Probably not for me - it's a bit early, but you never know!

So, do you make Christmas cards? How many do you make? When do you make them and how long does it take?

...
Also, as an aside, I've always wanted to do something to necessitate the use of the phrase "Christmas in July"! Check that one off my bucket list!
0 Comments

Stamps, stamps, and more stamps!

7/21/2010

1 Comment

 
As a scrapbooker, I never had much use for stamps, they were too narrow in their application and I enjoyed making each of my scrapbook pages a unique piece of art. 

Since I began seriously making cards 3 years ago, I have found great use for stamps. Especially decorative scrolls, sentiments, and alphabet sets. My collection has grown and I find myself forgetting what I have. Not that I would buy duplicates, but I forget to use what I have and I go back to the same few stamps over and over again.

To alleviate that problem, I decided to make a stamp catalog. I spent an afternoon sorting out my wood-mounted stamps into categories (I will do my smaller collection of acrylic stamps another day). Then I stamped each onto their category page and put them together into a binder (that also holds other reference materials).
Behold, my stamps:
Picture
Picture
Picture
Picture
Not all of them, obviously. I just took photos of my favorite groups. 
Now I just need to flip through these pages of stamps to get inspired and see at a glance what I have to use.

I get my stamps from 3 main sources. Michaels or Joannes (mostly from the dollar bin at Michaels, but if it's a regular stamp, I always try to use a coupon), garage sales and thrift stores (my guilty pleasure of treasure hunting), and from other people (my mom mostly, but my coworkers all know that I'm always looking for crafty castoffs). I have only purchased a very small number of stamps at full price. That's the main reason my collection has not gotten out of control- stamps are expensive!!!

So:
Where do you get your stamps?
How do you organize them?
Do you have a stamp catalog?
Let me know!
1 Comment

A-mosaic-ing we will go!

7/8/2010

1 Comment

 
My mom has always encouraged my creativity (Hi, Mom!) and has dabbled in quite a few creative endeavors herself over the years. Macrame, scrapbooking, watercolor painting, interior design, and now; mosaics.
She knows that any time she wants to go do something creative, I'm her go-to person. So when she called me up the other day and asked if I wanted to go to Mosaic-on-a-Stick (no joke, it's actually called that - it's a Minnesota thing), of course I said yes!
Picture
Photo from their website - click to visit
Before heading out to St. Paul, we stopped at the Arc's Value Village store by my house and picked up some cheap, beautiful pottery that we could smash up and create with!

Armed with $10 worth of pottery, excitement, and no idea what we were doing (!), we entered Mosaic on a Stick and were floored at the plethora of beautiful pieces that adorned the walls, tables and floor of the store. Even the outside was covered in mosaic-y goodness!

We quickly wrangled an employee to show us what to do. She was very helpful and friendly and we were soon smashing and gluing to our hearts' content! I really wish I had taken photos of the smashing process, but it was so fun and went so fast, I didn't even think of it! The pieces we ended up using were all from 2 painted candle holders. Some pieces even had a little wax left on them.

My mom had the best time arranging all the pieces onto the simple square mirror frame she chose. And I kept busy snipping her pieces to fit. Check out our creation!
Picture
The glue has to dry overnight and then it has to be grouted and dried for about 24 hours. We had the choice of coming back in a day or 2 and grouting at the store or taking the mirror and some grout mix home and doing it there. Mom chose to take it home. We decided black grout would make all the colors stand out more.

She promised to take a photo and send it to me when it's done and I will post an update of the final product!

See that, Mom? You have to do it now! (hehehe!)

And thus ends another creative adventure!

Happy Creating! (with or without moms!)
1 Comment

Oops! Catch-up time!

7/6/2010

0 Comments

 
Wow... um... I've been gone awhile... sorry!

This summer has just been flying by, I'm not sure where all my time is going!

I was doing so well with the 30 Days of Creativity challenge, then I kind of petered out. I have done some more little things, but I didn't keep my momentum from the first half of the month. My hubby really kept his momentum going and ended up making about 20 drawings. Maybe more!

Anyway, here's what I've been up to the last 2 weeks:

I've been completely lost in a series of books that I love: The Sword of Truth series by Terry Goodkind.
Picture
I have read all 11 of these books before, but I was sucked back into the whole series when I mindlessly picked up the first book (Wizard's First Rule) one night on my way to bed. And now I have to finish the whole series.


I've also been working on some little crafty projects.
I made some calendars the other day:
Picture
These will be up in my Etsy store in the next couple days.


And I spent a couple hours one night sketching out an idea instead of sleeping. I had to get this idea out of my head so it didn't disappear: Adult Merit Badges!
Picture
I will be expanding on this idea later, but for now, I just sketched out 8 immediate ideas of what you could get a merit badge for as an adult. Here the list:
* Get Married (or civil union)
* Have a Baby (I'm also thinking ones for adoption, twins/triplets/etc, 2nd/3rd/etc child)
* Buy a house
* No IKEA furniture in your house (that's supposed to be the IKEA guy...)
* Joint Bank Account
* Build or Fix Something Major
* Host a Holiday
* Live by Yourself

That's all I have right now. Any more ideas?
I'm not sure if these will be digital badges, paper badges, iron-on transfers, or what, but this is a project I definitely want to pick up later. I would love to hear any ideas you have about them.

For now, that's all I will leave you with.
Tomorrow I will post my fireworks photos - I have several that I really love!
Thanks for reading!
Happy Creating!
0 Comments

As if I wasn't busy enough!

6/10/2010

0 Comments

 
I've decided to add another project for the month of June.

A fellow scrapbooker and blogger, Kristi, has a monthly photo challenge and I decided to join the June 2010 one!
Picture
Here's the list of items for June:

1. Hilarious Out-Takes
2. Creative Crop
3. Sun Flare
4. Sweet Dreams
5. Work
6. Play
7. Cookout/Picnic
8. Transportation
9. Money/Currency
10. A Fountain
11. A Night Scene
12. B&W with Selective Coloring
13. Something Old
14. Something New
15. Something Borrowed
16. Something Blue
17. Something Musical
18. Something Purple
19. Something Yellow
20. Something Scenic

Interested in joining the challenge for yourself? Visit Photohuntchallenges.com for complete details and a chance to see and vote on the photos once the month is over.

I will be posting my photos here at the end of the month, so come back then to see them! I'm excited and nervous and inspired!

Happy Creating!
0 Comments

#30DaysofCreativity - Day 6 - Portfolio

6/6/2010

0 Comments

 
Today's creative endeavor is this website! I started putting together my portfolio! You can check it out on the upper right of this page.

I created galleries of projects I have done.
The galleries are pretty cool - you click on the first (or any) picture and it brings up a larger version of the picture with an explanation below it and arrows to navigate the gallery. I really like how they turned out.

I have some more things to put up and I will be adding to my portfolio occasionally as I find more and make more. Please check back every once in awhile to see some new photos!
0 Comments
<<Previous

    RSS Feed

    Blogs I read:

    Becky Higgins
    Bits & Pieces
    KWerner Designs
    Jennifer McGuire Ink
    I Could Make That
    Linny's Vault
    Pintester


    Categories

    All
    #30DaysofCreativity
    Baby
    Baby Shower
    Binder
    Calendar
    Cards
    Christmas
    Coupons
    Craft
    Distress Ink
    Etsy
    Fabric
    Family
    Feedbackplease
    Field Trip
    Flashback Friday
    Food
    Gift
    Haul
    Home
    Inspiration
    Internet
    Invites
    Magnets
    Organization
    Paint
    Photos
    Planner
    Project
    Project Life
    School
    Scrapbook
    Special Order
    Special Order
    Storage Solutions
    Thinking Of You
    Tips And Tricks
    Top5friday
    Tutorial
    Wedding


    Archives

    February 2016
    January 2016
    November 2015
    October 2015
    September 2015
    August 2015
    July 2015
    June 2015
    May 2015
    April 2015
    March 2015
    February 2015
    January 2015
    September 2014
    August 2014
    April 2014
    February 2014
    January 2014
    August 2013
    July 2013
    August 2012
    July 2012
    June 2011
    January 2011
    December 2010
    August 2010
    July 2010
    June 2010
    May 2010

Powered by Create your own unique website with customizable templates.