Little Paper Creations
  • Blog
  • About
  • Portfolio
  • Etsy Store
  • Quest for Kisses

What I've Learned After 4 Years of Project Life - Part 3

11/3/2015

0 Comments

 
Welcome back to my final (for now...) installment of:
Picture
Here are parts 1 and 2

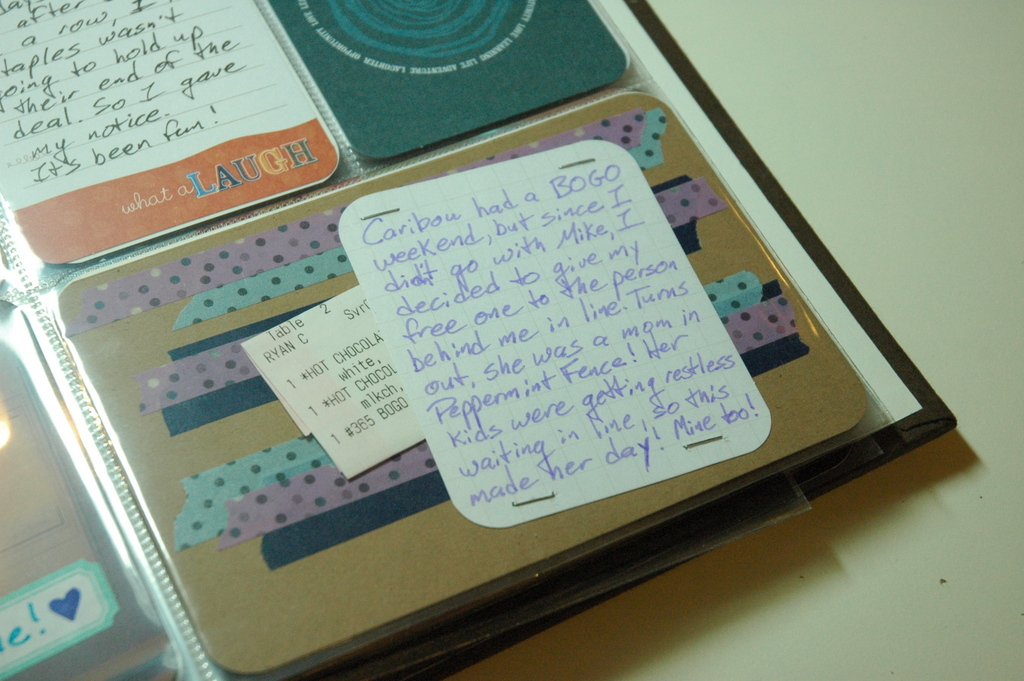
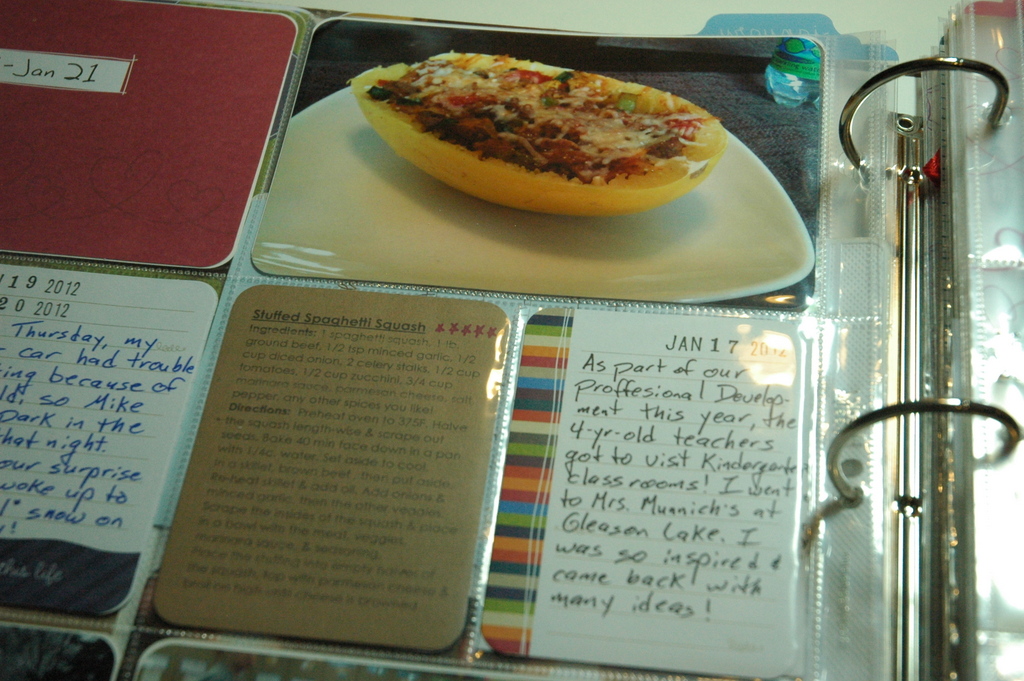
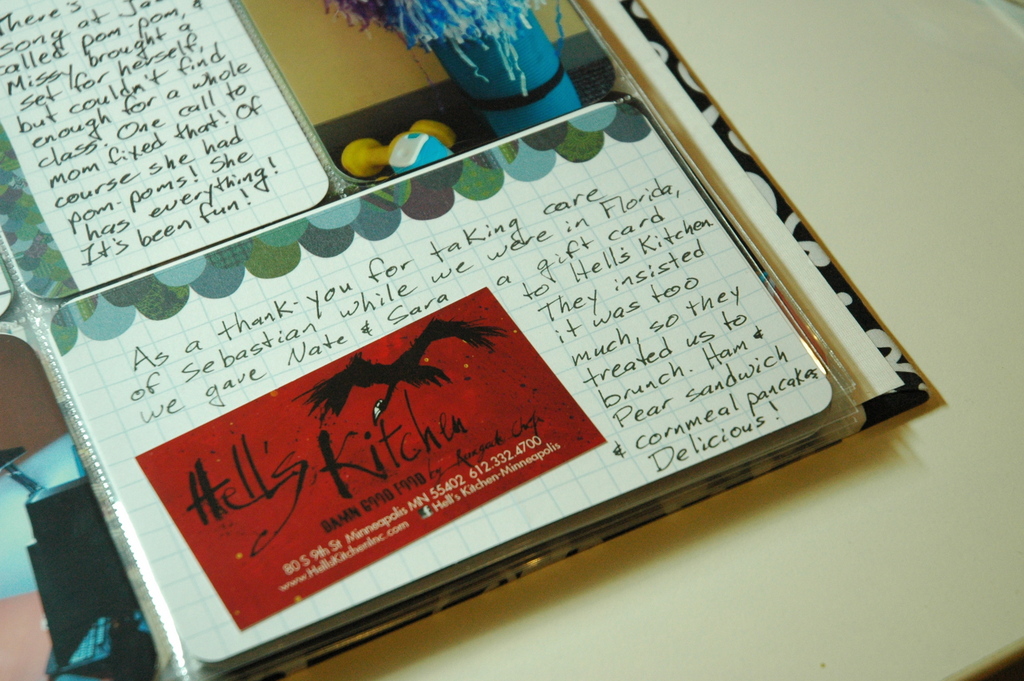
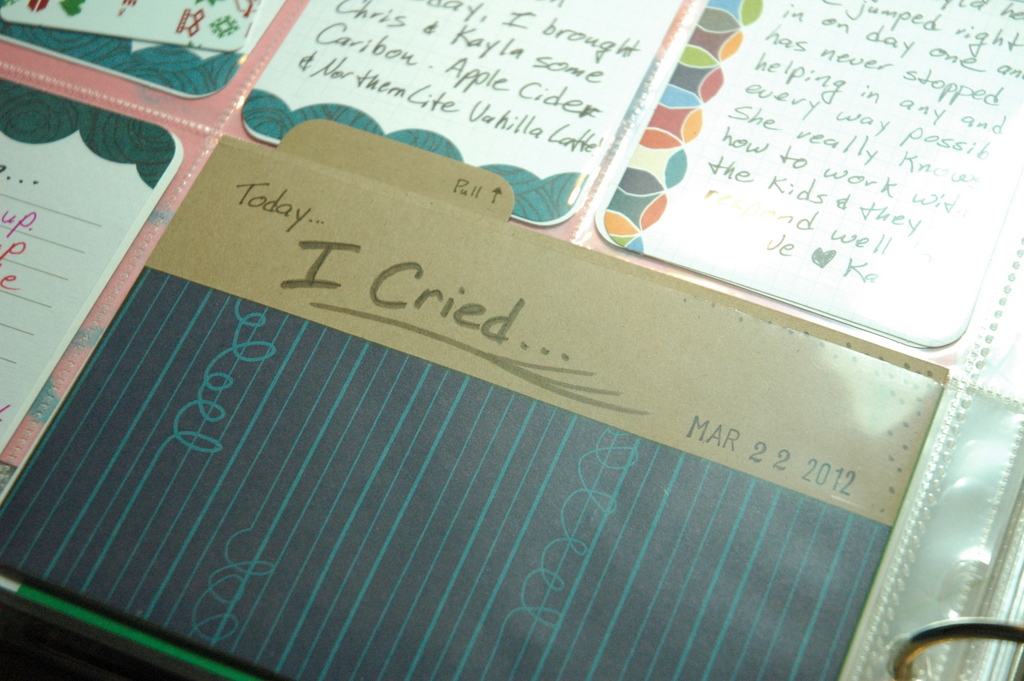
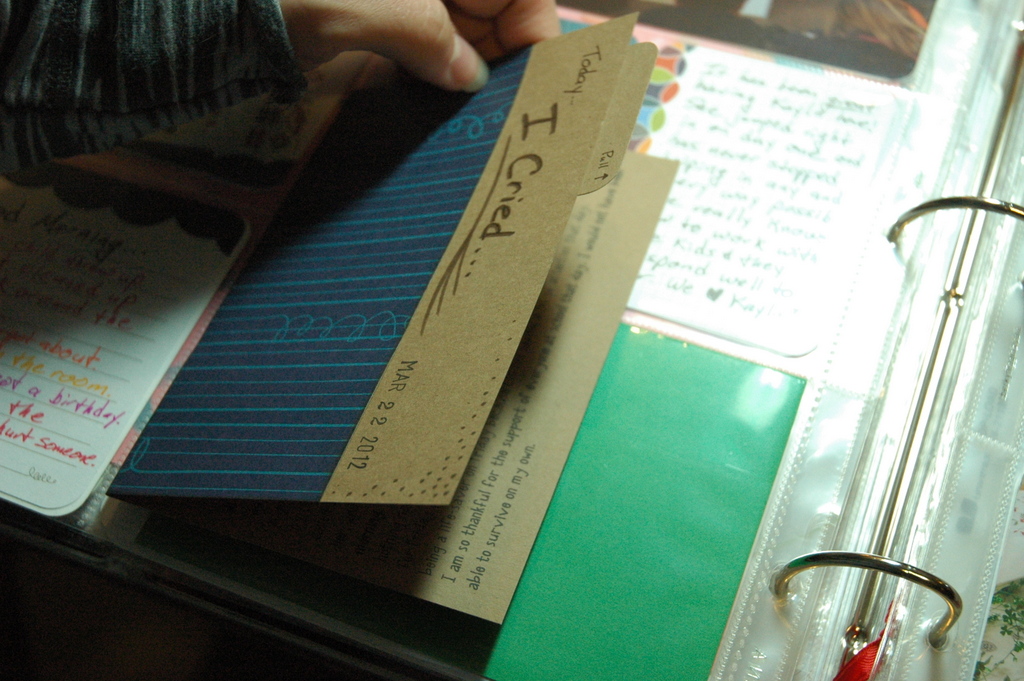
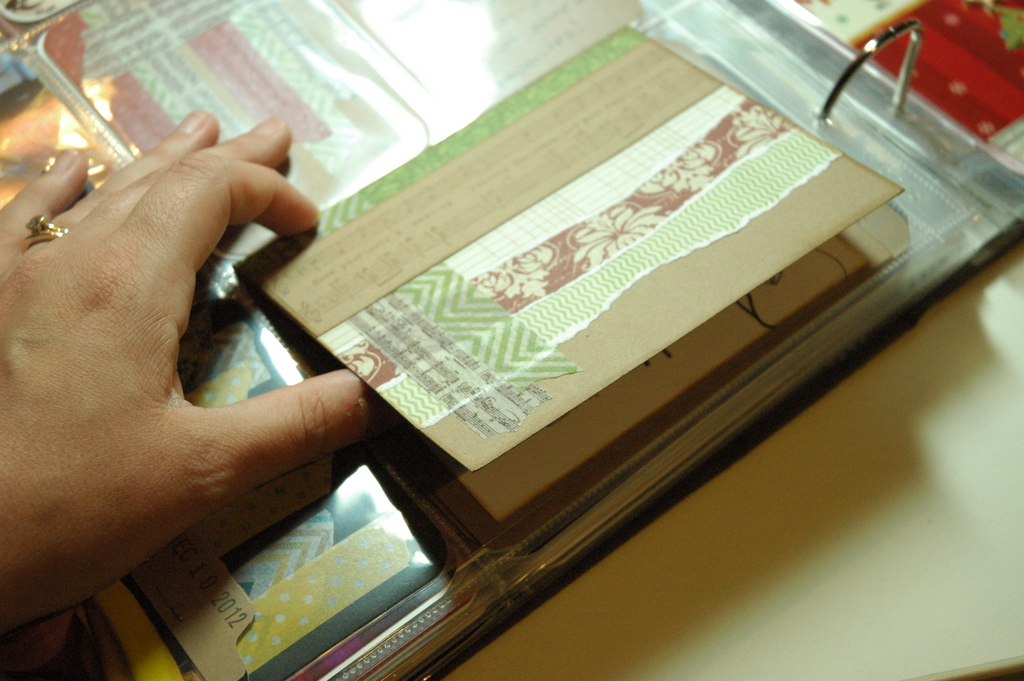
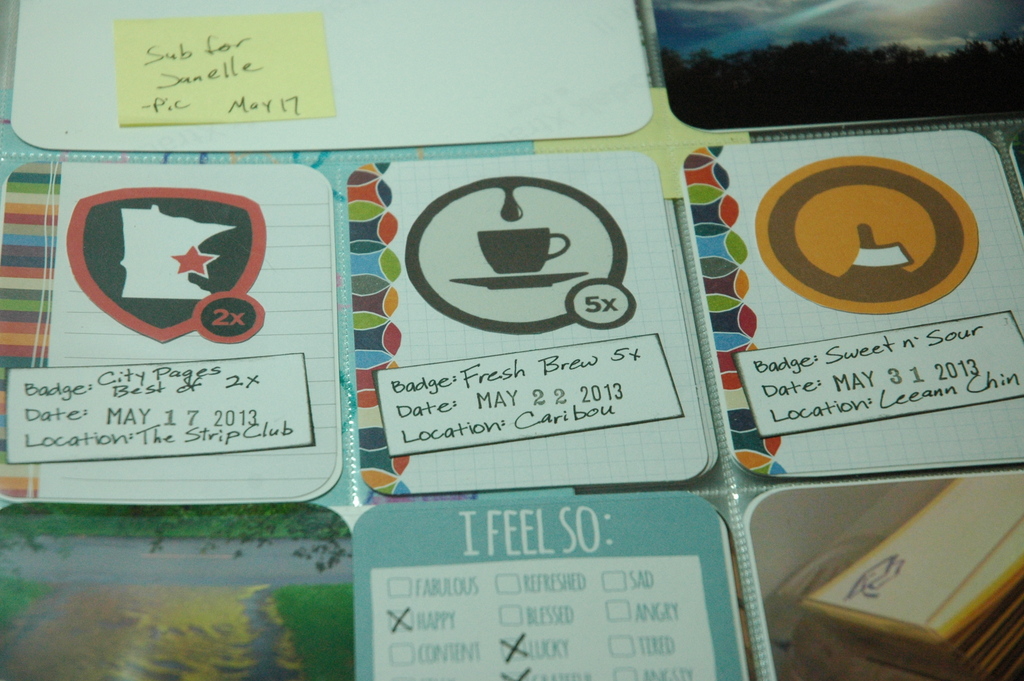
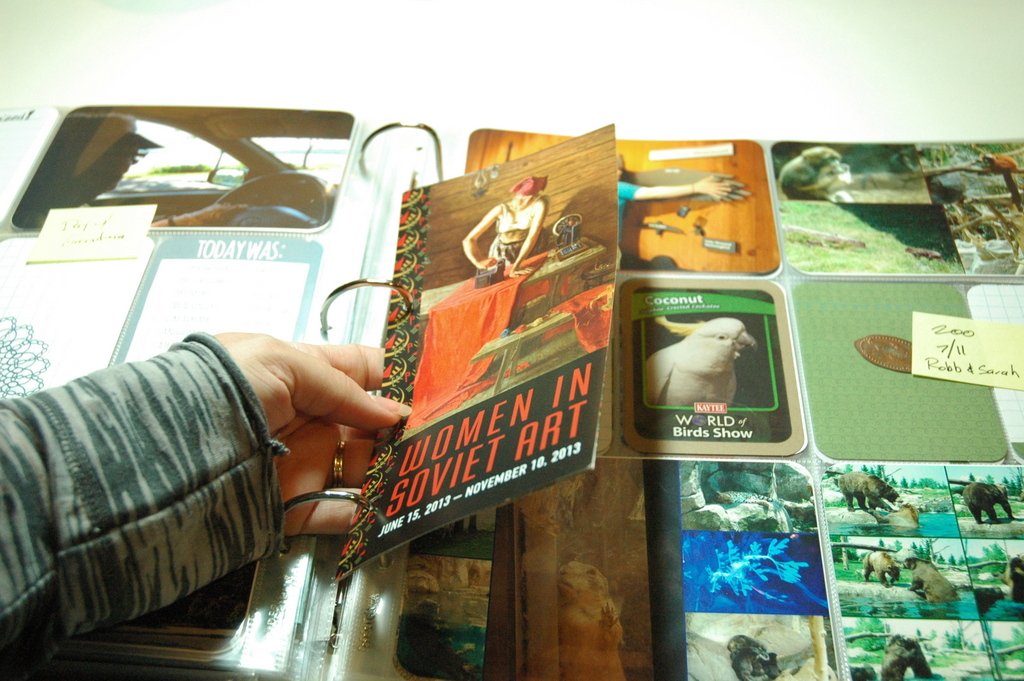
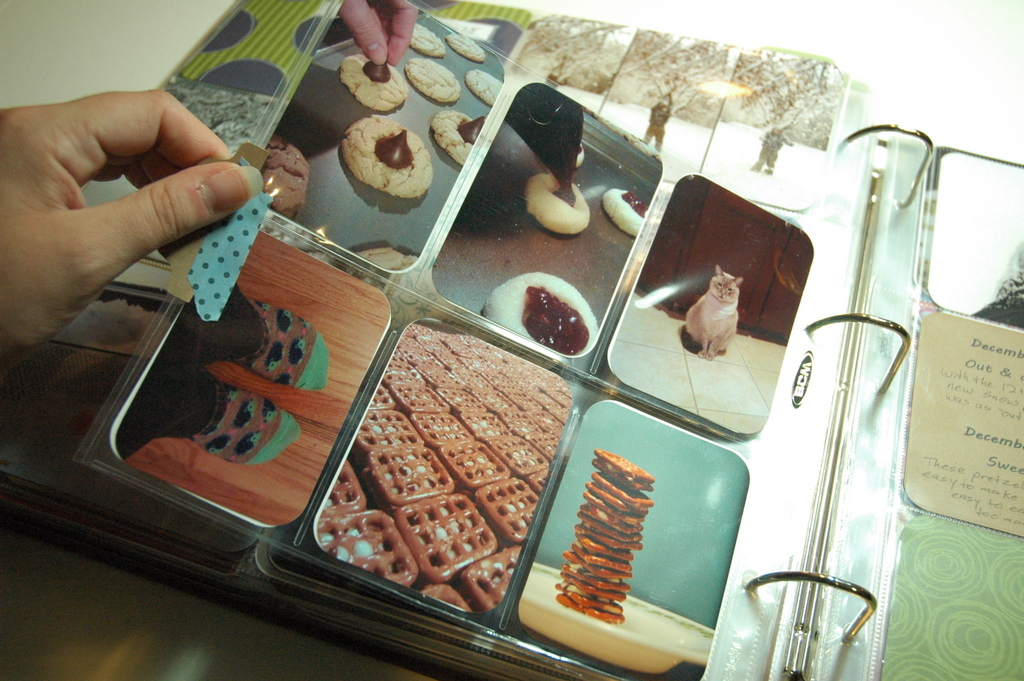
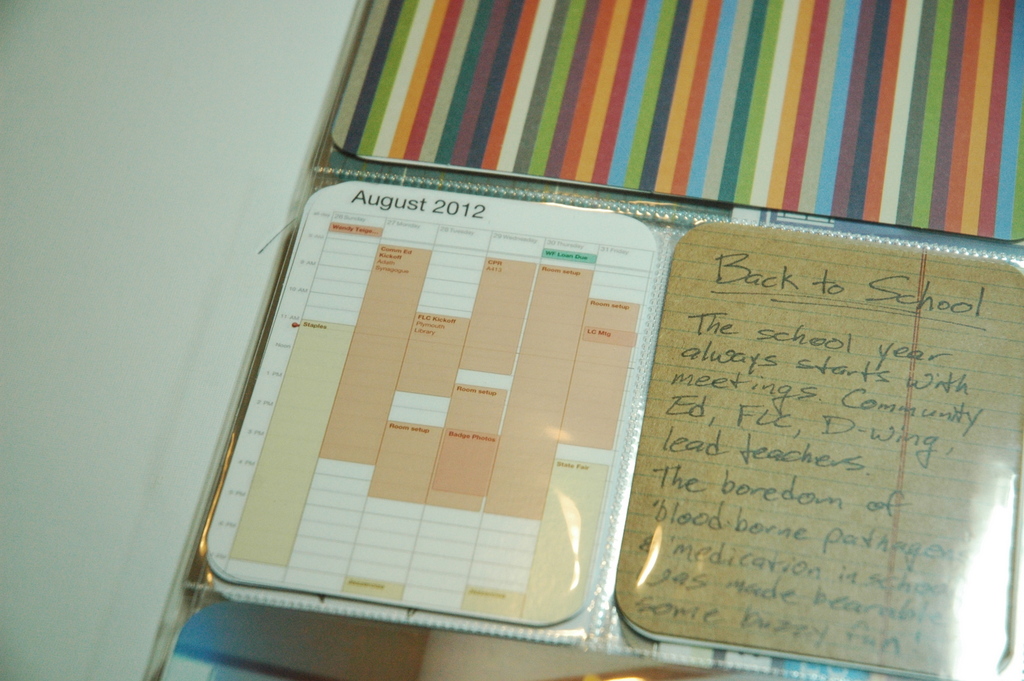
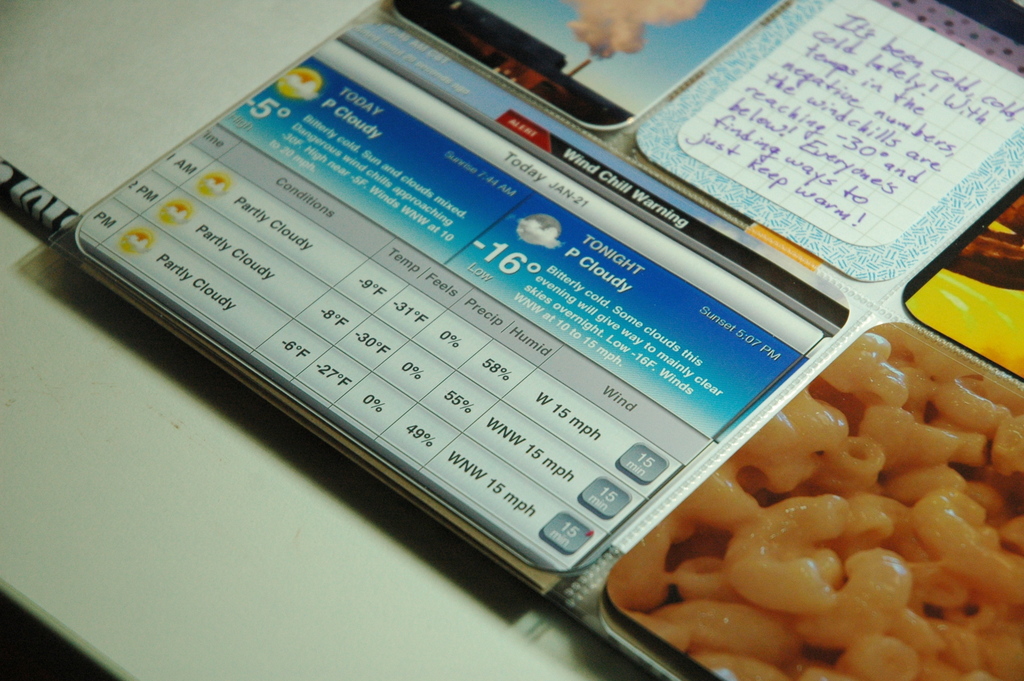
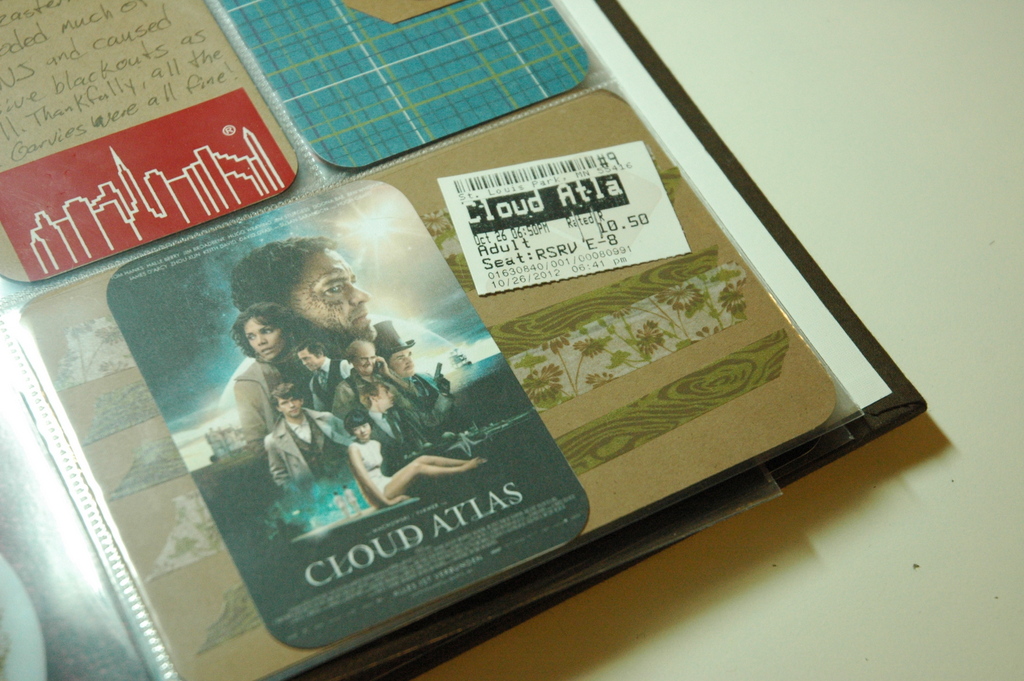
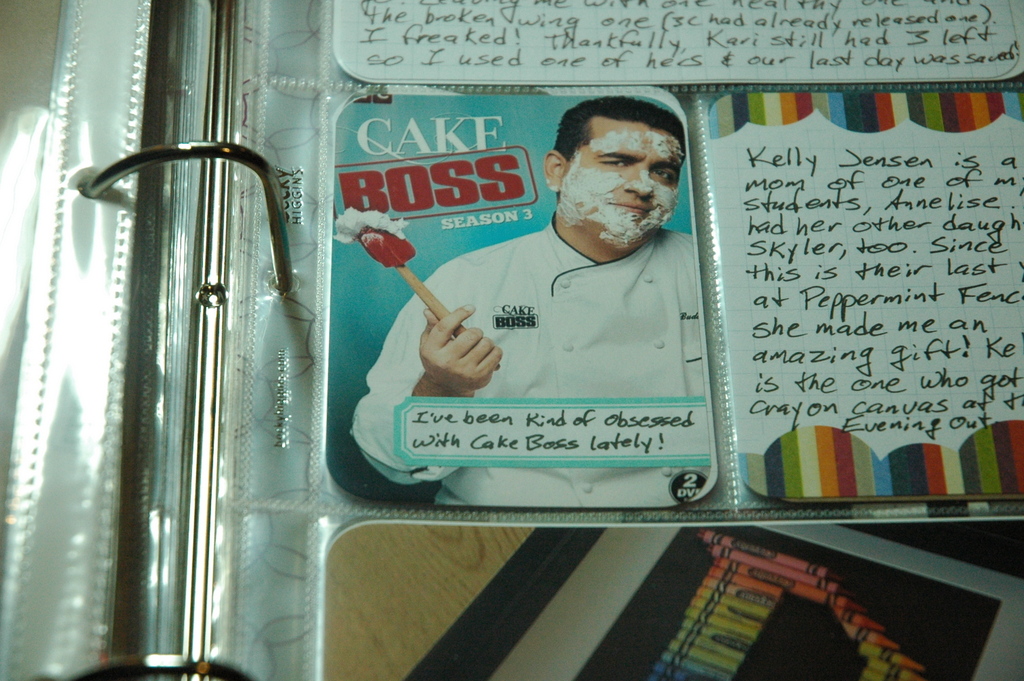
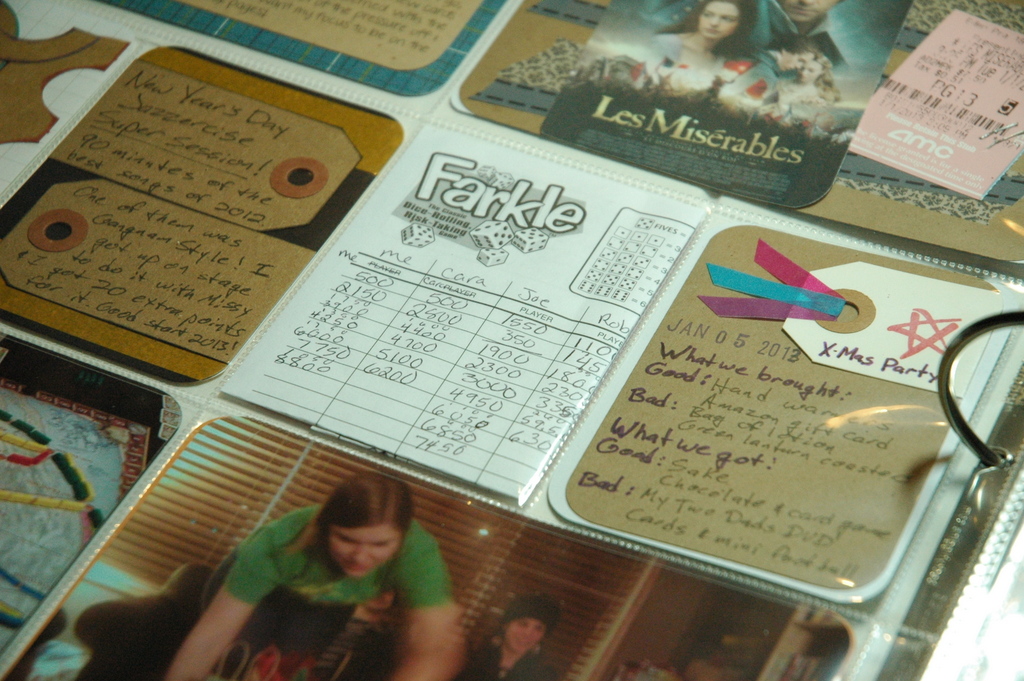
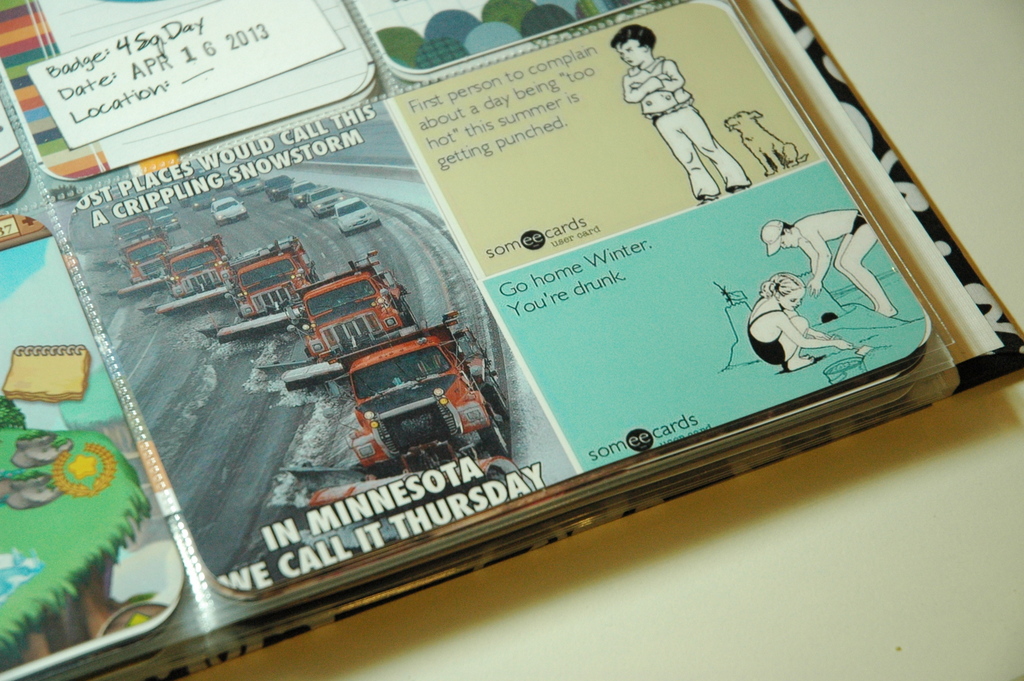
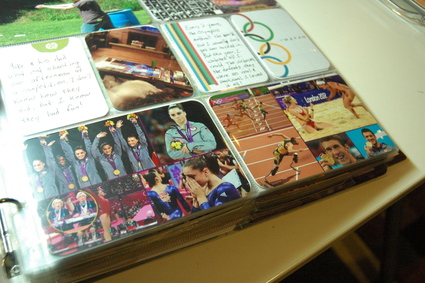
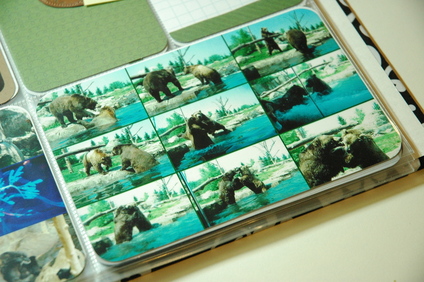
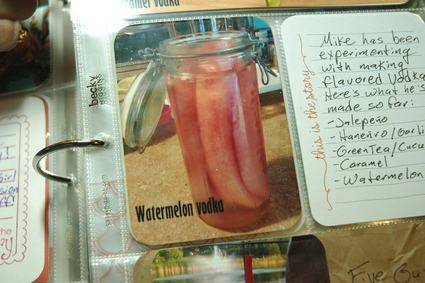
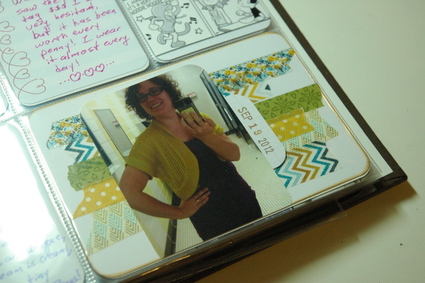
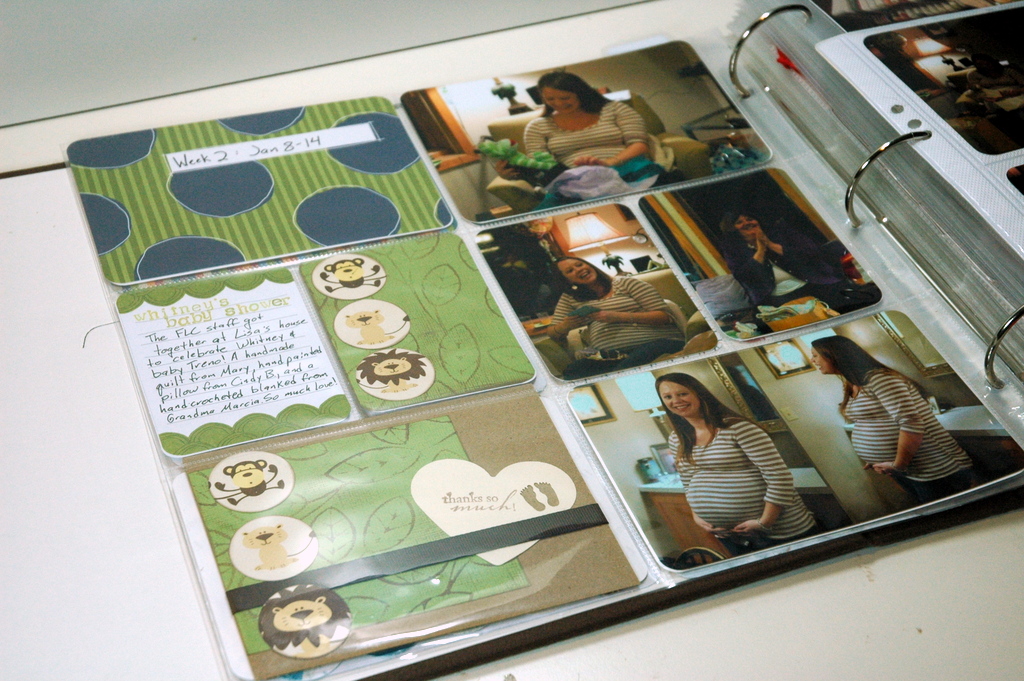
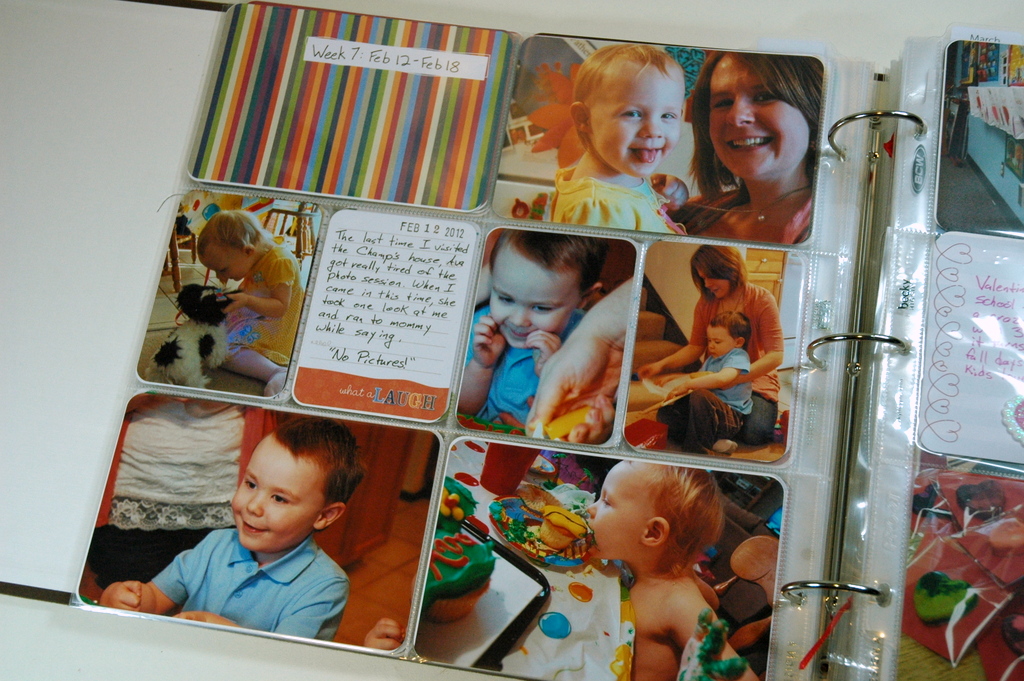
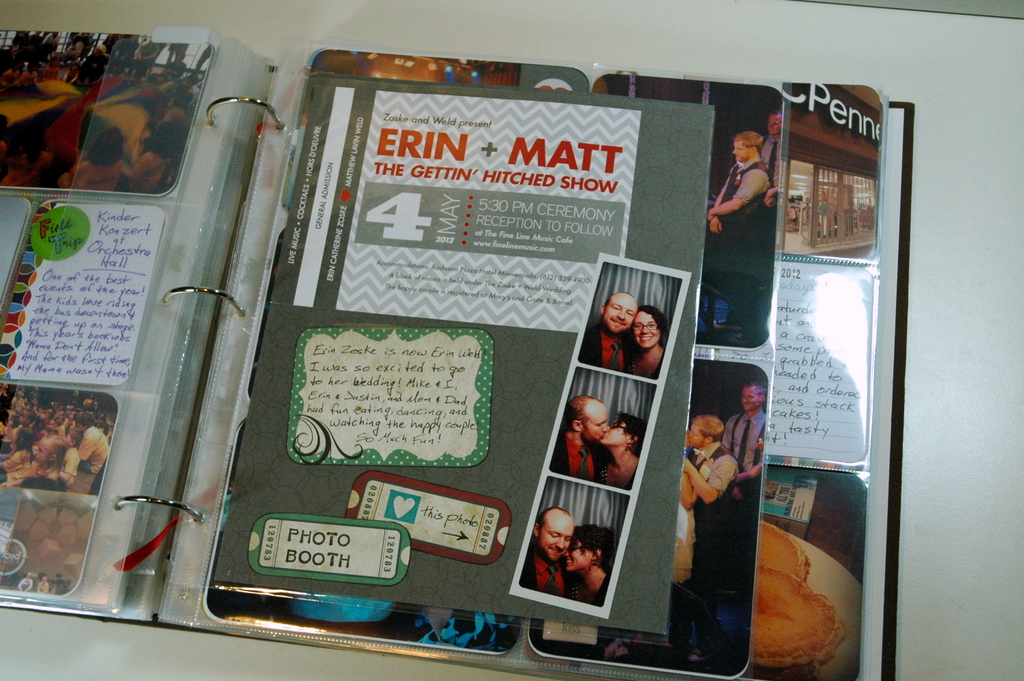
The last 2 weeks I've been sharing what I've learned about physical project life over the last few years. "Physical" meaning paper, photos, ephemera, etc. Things you can actually hold in your hand.

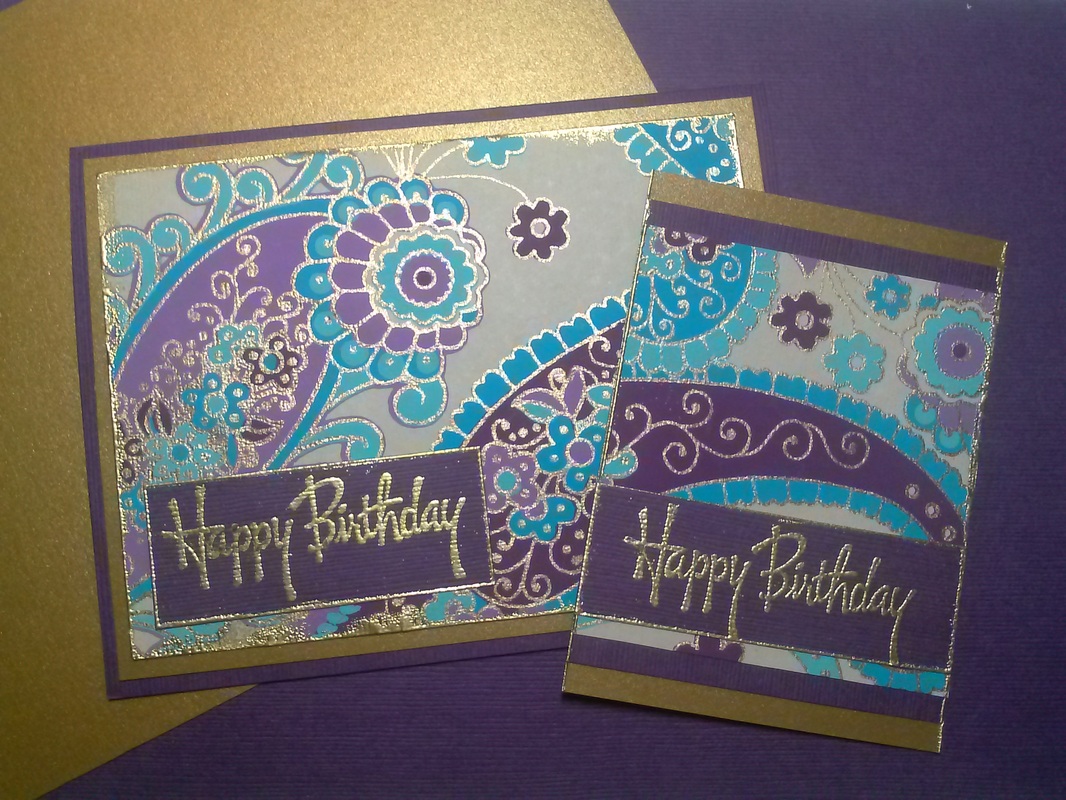
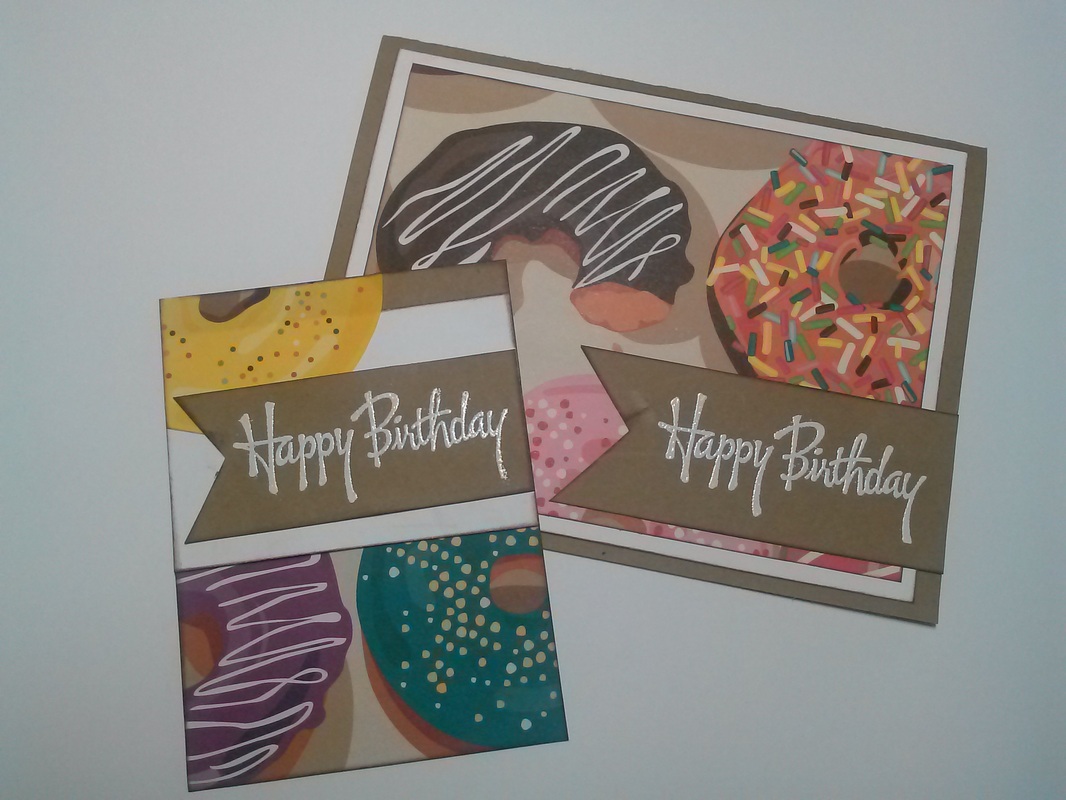
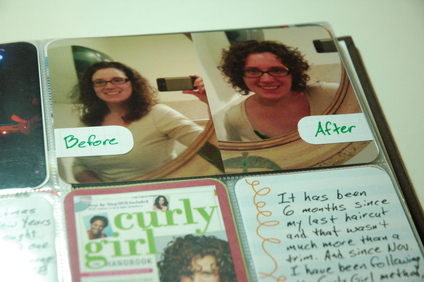
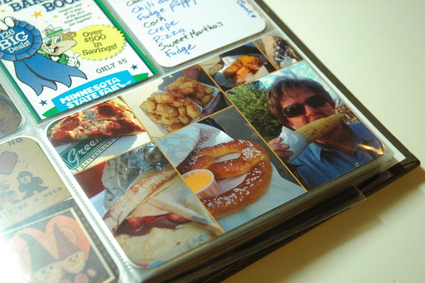
I love physical PL. I really do. I love photos, I love paper, I love moving things around and adding embellishments and cutting things up and adhering them down.

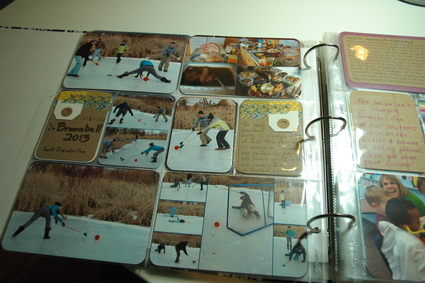
But it just got to be too much. The 12x 12 album seemed too big, the card choices seemed too many, and I ended up sitting at my desk for what seemed like too long.

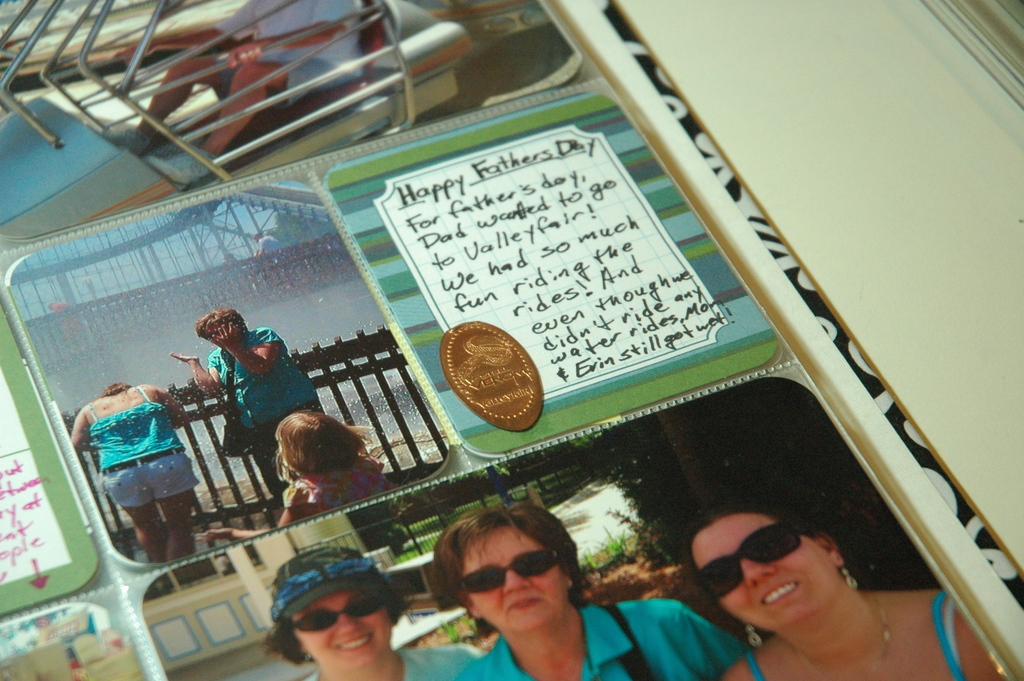
So before I started my 2015 album, I decided to let myself think for a while. I thought about doing a 6x8 version of PL. I thought about doing digital PL. I thought about using the PL app. I thought about not doing PL at all. I thought for what ended up being 4 months. And I hadn't documented my year at all. I still took photos, I was still saving what little bits of memorabilia I had, but I wasn't doing anything with them. Then in late April, I made a decision.

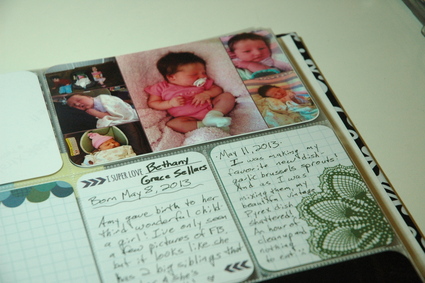
On April 22, my nephew was born. On April 23, I went to the hospital to visit him, and I took photos (of course!!!). When I got home, I needed to do something with those photos. I didn't want to do something with them, I needed to do something with them. I needed to start documenting my nephew's life. I needed to start documenting my own life again. I needed to play with photos and colors and designs again. And I needed it to be easy and portable and fun. So I downloaded the Project Life app and started playing around.
Picture
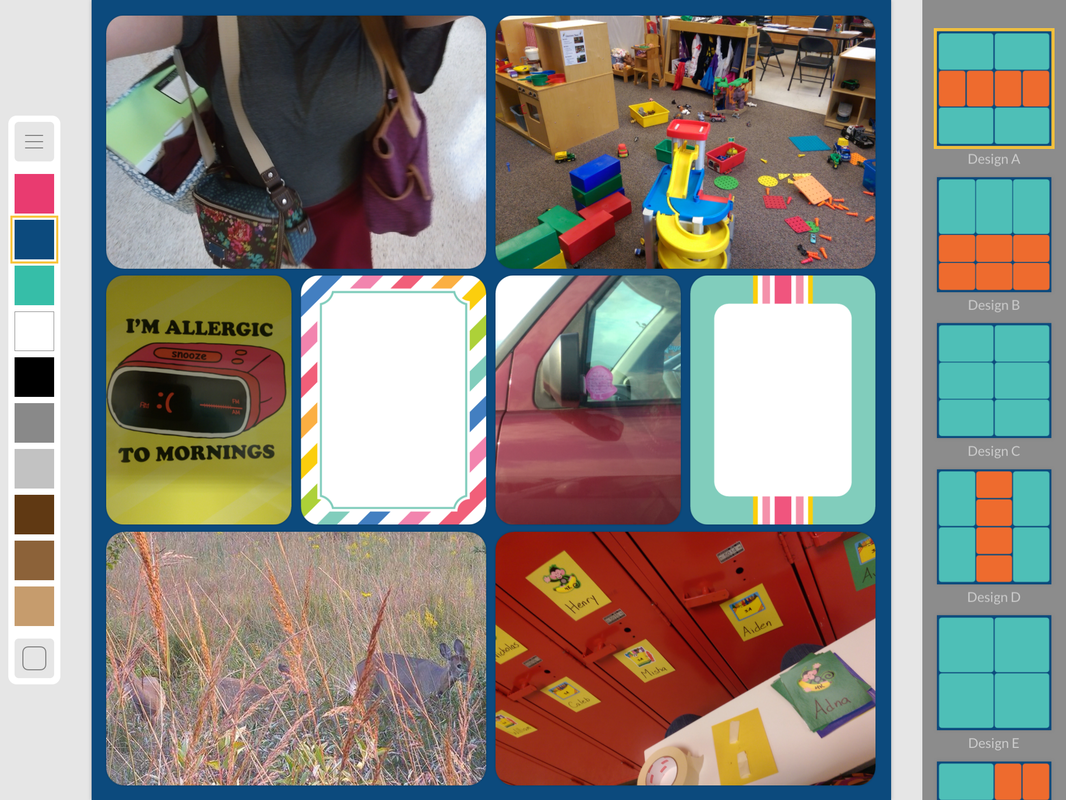
It only took minutes before I was hooked!

It took me 10 minutes to make my first page about my visit to the hospital to meet Jason. 10 minutes!!! I immediately went back and pulled photos from the previous 4 months and quickly pulled together page after page. On and off for that first weekend, I worked on my pages and by the time Monday came around again, I was caught up! I felt excited again! I felt like documenting again! Is it as unique as the physical version of PL? No. Is it as customizable? Nope. Does it feed my need to play with papers and photos and cut things and glue things? No way. But is is fast and easy? Yes! Is it fun? Oh yeah! Is it getting me excited about documenting again? Hell Yes!!! And that's exactly what I needed this year.

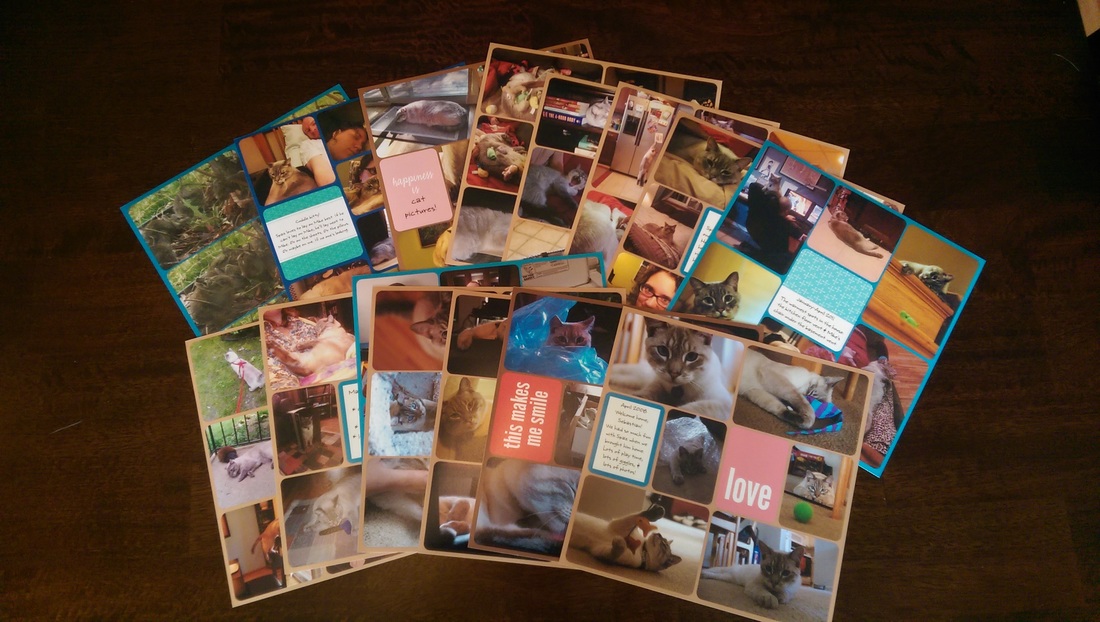
Plus, I have been able to make theme albums in a snap! I have made a book for my cat. Yes, I have an album for my cat - I have to do something with all those adorable photos!
Picture
I've also made books for my mom, my sister, and my sister's mother-in-law about my nephew Jason. I put together 2-3 pages each month using photos my sister has posted on FB or photos she or mom have sent me of Jason, then I print them out and they slide the pages into their books. I'll also include Jason's pages in my yearbook. That's 4 books with only about 30 minutes of work each month - including printing!

I have not printed any of my own pages for the year yet. I still have to decide if I'm going to print them as individual pages and put them into a 3-ring binder or if I'm going to get them printed in a book. And I still have to decide if I'm going to print them in 12x12 or 8x8. But right now, I don't care. My year is documented.

I've learned that for me, right now, the PL app is the way to go. Easy and fast is the best way for me. Maybe next year, I will go back to physical. I have not gotten rid of any of my supplies. But for now, this is what works.

This is what gets me to document my life.
This is fun!
And that's the point!

Have any of you readers used any of the Project Life systems? Physical, digital, or the app? Did you like it? Did you stick with it? What system is working for you right now?

Happy crafting (and documenting)!
0 Comments

What I've Learned After 4 Years of Project Life - Part 2

10/27/2015

0 Comments

 
Last week, I shared some tips about Project Life that I've learned work for me after 4 years of doing this version of memory keeping. This week, I've got 3 more tips for you - all photo-related.
Picture
4) Print often.

I don't print at home. My printer is great for a lot of things, but photos is not one of them. I send my photos to the CVS down the street. They do a good job and I can usually pick up my photos in about an hour. CVS sends me a lot of coupons for photos. Unfortunately, I usually have to order 50+ photos to qualify for the discount. I used to wait till I had 50+ photos to place an order, just so I could get the discount (which was only a few pennies per print). Even when I did PL weekly, it would be 2-3 months before I had that many photos! By then, I wasn't excited about the photos anymore (I wanted to work on more recent ones), and I was overwhelmed with 50 photos at a time. I just didn't have a large enough chunk of time to put them into my album with cards and ephemera! Way too much at a time. I decided that the discount wasn't worth my sanity. So I began printing every 2-3 weeks (depending on time available, # of photos, and events that happened). I ended up with about 15-20 photos, which is way more manageable.

5) Take a lot of photos.

Take photos of people and events, yes, but don't forget about things. Take a photo of your new shoes, your favorite soda, the book you just finished, the state of your desk or work area. Take photos of the places you go all the time but are not 'special' - the grocery store, the coffee shop, the gym. These photos tell your story too. They tell your story perhaps more than the event photos. They tell who you are on a regular day and that is important. And when I look back on 3 years of PL, I like those every day photos the best.

6) Don't take too many photos.

I know, I just told you to take a lot of photos. What I mean is that while it's good to take a lot of photos of what you do and who you're with, don't let taking photos be the activity that takes over the other activities. Enjoy your life, experience your life, snap a couple shots, then get back out there and do something fun! After all, that's what Project Life is all about - living a good life and recording it! Living it comes first!

Thanks for reading! I hope some of my experiences help you make Project Life work for you. Next week, I'll share my final installment of Project Life where I share why I decided to ditch the physical version and go digital this year!

Happy Crafting!
0 Comments

What I've Learned After 4 Years of Project Life - Part 1

10/20/2015

0 Comments

 
I've been a devoted Project-Lifer for 4 years now. And I've learned so much! I'd like to share some of what I've learned here with you. Be warned - I like to talk about Project Life. A lot. So I'm going to split this post up into multiple parts.

First, a little history:
My first year (2012), I did weekly layouts, I journaled everything, I took photos of everything, I saved all my little extras to put in the book. And I ended up with 2 volumes for one year. That's a bit much.

The second year (2013), I went monthly. I only made 2-3 spreads per month, so I was able to cram the whole year into one book. Barely.

The third year (2014), I became much more zen about the whole thing. I put photos in as I took them, collected less stuff, and I journaled less. I fit a whole year of PL plus an extra project (Me: The Abridged Version) in one book. With a bit of room to spare.

This year (2015), I spent the first 3 months of the year wondering if I even wanted to continue PL. Then I found the PL app and my whole life changed. But that's another post...


So here we go:
Picture

1) Write stuff down - you will forget.

You think you'll remember, because how could you forget that funny thing your husband said or the details about your friend's party or how you felt after the series finale of your favorite show ever!?! But you will forget. Trust me on this. Write it down. Write it anywhere - a journal, a planner, a word document, a post-it note, or directly onto a journaling card. Just make sure all the notes you write down end up in the same place. These are what you will use to fill in your Project Life book. These are the important bits of your life. These are the things you want to remember!

2) Don't worry about separating weeks or months, just let it flow.

To me, the thought of keeping up with a weekly layout is daunting. Filling up a whole spread of photos and ephemera for a week or a month or any amount of time is restricting and nerve-wracking. And trying to keep all my photos in perfect chronological order is anxiety-inducing. So I let it go. *insert Frozen song* When I get my photos printed, I put them in a more-or-less chronological order, then start filling pockets. If I have 2 photos about one event but only one spot left of a page, then the 2 photos go on the next page. No biggie!

3) Don't plan to do something each week or month, you will only get discouraged when you fall behind with it.

My first year, I used the week cards provided in the kit. It was easy to fill them in, even if I was behind, because all I had to do was write in the dates. My second year, I wanted to do a weekly review card to record the things that didn't make in into the photos. I lasted 4 weeks. Then I got depressed about being behind. My third year, I knew I couldn't keep up with a weekly review, or even a monthly review, so I decided to just make a card (any size) to denote a new month. It didn't matter where it went or what size it was or how it was decorated, I just wanted the months shown. I got through March. Then I decided to just go with it. I date enough of my journaling cards that if I really want to know where I am in the year at a certain place in my book, I can just look at my journaling cards.


That's all I have for today, I'll be back with some more Project Life musings next week!

Happy Crafting!
0 Comments

Project Life tips & tricks; Journaling

9/29/2014

0 Comments

 
Sometimes, life moves too fast for us to pull out a camera and capture it. Today, I'm going to share some ways I incorporate journaling instead of (or in addition to) photos in Project Life.
Every once in a while, Caribou Coffee has a BOGO promotion. I usually go alone, so there's no one to share the BOGO with. Lately, I've been passing on the free drink to the person behind me in line. I obviously don't take pictures of random people in coffee shops, so there's no photos for this story, But it is a story that I wanted to document. I saved the receipt, wrote the story, and put it onto a decorated 4x6 card. 
Picture
I love trying new food. I try to get a photo of any new creations I make, and of course they end up in my PL book (and in my recipe book), but it's so boring to keep writing "I tried a new recipe, it was good" every time I make something new. So I started printing out a miniature recipe card to put in my book. I rate the dish with stars so when I look back, I know if I liked it or not, but I don't have to write anything else.
Picture
Sometimes I just have so much fun doing something, I forget to document it. That, or my friends get really tired of me snapping photos all the time. Or both...
So when I go out to eat at a new or fun place, I grab their business card. It makes a nice supplement to my journaling about the event.
Picture
Sometimes, there are stories that need to be told but don't need to be remembered or read every time you look through your book. Or maybe you don't want to share this information with everyone who ever opens your book. I had a very difficult day and wanted to write about it, but I didn't want to have to re-read it every time I looked back, so I made a folded journal card, decorated the front, and wrote on the inside. The story is told, and I can choose when to read it again.
Picture
Picture
So there you have it - some of the ways I use or supplement journaling in my Project Life book. I hope this inspires you to tell your story.

Just because you don't have a photo, doesn't mean life didn't happen.

Happy Crafting!
0 Comments

Birthday Cards

8/17/2014

0 Comments

 
August is a busy time in my family. Cramming in last-minute summer fun, shopping the back to school sales, the MN State Fair, and both my mom and sister's birthdays.
Usually, I pull cards from my stash to give to them for their special days, but this year, I decided to make very personalized ones.
My sister loves purple. And blue. And paisley. So when I came across some purple and blue paisley paper, I knew I had to do something special with it.
Picture
I used the gold in the paper as inspiration and I embossed the greeting and the edges of the paper in gold embossing powder.
Picture
She loved it, of course!

While I was out shopping for my mom's gift, I found some amazing wrapping paper sheets that I could not pass up - it was covered with drawings of donuts! My mom (and I!) LOVE donuts. I made sure that the box I put her gift in was small enough that I would have some paper left over after wrapping it so I could make a card.
Picture
It was perfect! I managed to get a piece left over with a half-eaten chocolate frosted donut - her favorite. The card and wrapping paper was a huge hit! And I have some of it left! I can't decide if I want to make more cards and add them to my Etsy shop or if I should just give donut cards to my mom for every occasion.


Since I do project life, I like to keep track of cards and projects I work on, so with the scraps from each card, I made  3x4 project life cards to slip into my album along with any pics from their (joint) birthday lunch.
Picture
Picture
I love making specialty cards for people, especially people I know will appreciate them and love them as much as I do (ok, maybe no one loves them as much as I do...)!
0 Comments

Project Life tips & tricks; Extras

2/17/2014

0 Comments

 
About half way through my 2012 Project Life album, I realized that there were a lot of things that I wanted to include in my album that I didn't have a page protector for, I hadn't seen anyone do it before, or they just didn't fit. So I began to experiment. Here are some ways I deal with my 'extras'.
Picture
I make a lot of cards. Mostly to sell, but I make many for myself or friends as well. I wanted a way to display some of these cards (I always seem to make 1 or 2 (or 5) extra!) in my PL album, so I just slipped it in. The cards don't fit exactly, but close enough. Plus, it becomes interactive! You can flip it open and see what's on the inside or I've added journaling on the inside, too. 
Picture
I collect pressed pennies. I have since childhood. And I have those fancy penny books to keep them in. Trouble is, the books are tucked away somewhere in my basement storage room (I think...) and I never see them. When my family visited Disney in 2013, I collected many, many pressed pennies and I wanted to incorporate them into my PL album, after all, I spent a good portion of the trip tracking down the machines! So I just used glue dots to adhere them to a plain piece of cardstock!
Picture
I've also begun including single pennies right on journaling cards. It adds a bit of flair, displays my souvenir, and it looks pretty neat!
Picture
I use Foursquare. It's fun for me to keep track of where I've been and who else has been there. Plus, I get to collect digital badges for visiting certain places or certain types of places. The scrapbooker in me was sad that these badges were purely digital, until I realized it would be easy to just print them out! So I did, and not every time I get a badge, I make a small journaling card about it.
Picture
Most of the time I don't keep pamphlets, flyers, maps, etc. But sometimes I do. And I don't always have a page protector to fit them. So I say, forget the page protector! Unless the pamphlet is really important, just punch it and put it in!
Picture
I've been feeling guilty for years every January when I have to take down all the Christmas cards I've received and throw them in the recycling bin. No more! I cut out the best part of the card and slide it into a multi-pocket page and now I can remember the cards and senders for years to come! I do the same thing with valentines from kids at school and birthday cards!
Picture
Another use I've found for the baseball card-style pocket pages is to showcase a series of photos. On December 12, 2012, I took 12 photos (12 on 12/12/12) and put them into this insert to set them apart from my regular weekly photos. I've also used this technique for things like December Daily photos, birthday party (or other event) photos, and all my random cat photos. Yeah, I have a lot of those...
Picture
So, I hope I have inspired you to take all those extras that you weren't sure about and include them in your PL book! Don't tuck them away in a box or an envelope at the end of the book, put them in where they are relevant to the story! To your story.
After all, if you don't tell your story, who will?
0 Comments

Project Life tips & tricks; Photos 2

8/19/2013

1 Comment

 
Did you survive that last post? And you're back for more? Awesome!

So, last time I talked about some fun things I do with Project Life photos. But what happens when you don't have any photos?

That happens a lot to me, so I've learned to improvise!
Picture
Every once in a while (thankfully not that often!), I have one of those weeks that is just so busy I don't have a lot of time for anything else. Which means no photos! So I sometimes take a screenshot of my calendar and include that.
Picture
The same thing goes with weather. I'm not one to go out and take photos of poor weather (I tend to hide inside and obsessively watch the news), and really, how does one take a photo of oppressive heat or frigid cold? Anyway; screenshot!
Picture
Go to many movies? I do! I save my tickets and print out a small movie poster. Instant 4x6 pocket insert!
Picture
Does anyone else binge-watch TV shows on Netflix? No? Just me? Ok then...

When I get into a new show, I print out a photo I find online, and journal about it! Same goes for new games or music I find.
Picture
My friends and I like to play games, but they don't like it when I take photos of them. So I take the game cards and put those in my book instead!
Picture
And sometimes I find things on Facebook or Pinterest that I just love. And so, print!
And that's about all for today. What about you? How do you scrap without photos? What kids of things do you print out and include in your books?

Come back next week for more of my tips about Project Life including journaling and what to do with all those non-photo or non-paper extras!

1 Comment

Project Life Tips &Tricks; Photos

8/12/2013

1 Comment

 
I, like a large portion of the scrapbooking world, have jumped on the Project Life train. And I am loving it! I have written a little about my 2012 Project Life once before, but today I wanted to share some tips and tricks I picked up along my journey. This post is going to be photo heavy and likely end up being more than one post. So lets jump right in!
I'll start with photos. Seems logical to me. After all, PL is all about our photos, right?
I use Picasa to upload and edit all of my photos. It's free, it's easy, and it seems intuitive to me. It's (obviously) not as sophisticated or tool-heavy as Photoshop, but I'm not a huge fan of editing photos, I just want it to be quick and easy and I don't really feel like putting in all the work of learning Photoshop. Though I do Own Elements and I have played a bit with templates, but that's another story...

Back to photos!
Picture
One of the big roadblocks I ran into when I first started Project Life was that not all of my photos were landscape. I took a lot of portrait photos and I didn't know how to include them. I quickly figured out that two 3x4 photos would fit into a 4x6 pocket, so all I needed to do was shrink them down. In Picasa, you just select the photos you want to combine (click one, then hold down the Ctrl key and click the other - they will both be highlighted), then click the Collage button on the bottom. You can mess with the settings as much as you want. I choose Mosaic layout, 4x6 size, landscape orientation, and sometimes I put some spacing in, if the photos are going in the same pocket. If I'm going to be cutting them apart, I don't put any spacing in. 

Picture
So what if you have multiple photos you want to include in one pocket (like the foods my mom and I ate at the State Fair)? You simply select more than two photos, and make a collage out of all of them! Same steps apply, just select all the photos you want, instead of just two. When I make a multi-picture collage, I always put in some spacing between the photos. You can see in this collage, I made the spacing the nacho cheese color. I like pulling colors from the photos with the eyedropper tool. Also, while you cannot change the size or ratio of the photos in the collage, you can change which photo is where by simply clicking and dragging it to where you want it. So if I prominent photo is stick in a tiny spot (like the photo of my mom eating the corn was way up in the upper right corner and I could barely see it), you can just move it!

Here are some other collages I have made:

Picture
When my friend have babies, I pull photos from their Facebook pages and make a mini collage celebrating their birth. Because I likely won't see the child till they are older and less scrunchy-new.

Picture
The Olympics was a big part of my summer, but I obviously wasn't there, so I got pics online and made collages of my favorite events and athletes.

Picture
I went to the zoo and was lucky enough to see the bears playing with each other and wrestling in the water. I loved the sequence of photos I got, but obviously didn't want to fill 9 full pockets with them, so I made another collage!

Picture
Here's a whole page I dedicated to my in-laws' annual Broomball party. You can see I included full 4x6 photos, half-sized 3x4 photos, and multiple collages in both the 4x6 and 3x4 pockets. It's fun to see so many photos together on one page!

Picture
Another fun thing to do in Picasa is adding text to your photos. I don't do it that often, I usually put a label on after it's printed, but sometimes I like to get fancy.  :-)

To add text in Picasa, open the photo you want to add text to, and click the text button to the left. Then type. Seriously, it's that easy. You can move the text around and change the size, font, and color, but it's seriously easy to figure out. Everything's right there for you. 

Just make sure when you're done and you've hit the 'Apply' button, that you 'Export' the photo to your computer (button on the bottom that looks like a file folder with an arrow on it) so you can print it with the text, otherwise, it's just a change within Picasa.

Picture
One more.

I often put my newly created 3x4 photos on a 4x6 card by themselves or with a bit or journaling and decoration. I like how they stand out more than they would being put alone into a 3x4 pocket.

Alright, enough for today. I have more tips and tricks to share with you, including journaling tips, what to do with ticket stubs and other ephemera, and some misc tricks that I like, but those will have to wait for another day. I'm tired of typing, and I bet you're tired of reading by now. 

If you have any questions about the tips and tricks you saw here, please feel free to comment or contact me. And if you have some photo/Picasa/PL tips and tricks of your own, please share!!

Till next time!
1 Comment

Project Life Intro

7/10/2012

0 Comments

 
Picture
I love to scrapbook. I love to take photos and stories and turn them into works of art. And believe me - some of my pages were truly works of art. However, the last 2-3 years has seen a decidedly steep drop in the number of scrapbook pages. 

As in, almost none at all.

I think the reason for this is because I was an event scrapper. I would go to an event (Christmas, birthday party, broomball party), take photos, then make a page about it. But there are only so many ways you can scrap Christmas. Or a birthday party. Or anything that happens every year. It gets monotonous. And monotony is anything but creative. So I stopped.

Until last fall when I discovered Project Life. 

Project Life is scrapbooking made easy. Gone are the mountain of supplies and the need for elaborate works of art. Gone are the monotonous subjects that remain stagnant each year. And gone is the guilt of not being 'caught up'! (That's my favorite part!) Project Life is the brain-child of Beck Higgins and is all about recording your life as you live it. In all it's messy, day-to-day glory. All you need is a binder, some of her photo pocket pages, and some 3x4 cards (or one of her core kits - which are very beautiful!). Each week, just slide your photos into the 4x6 slots, jot down some info (yes! In your own handwriting!) on 3x4 cards and slide them into their slots, and turn the page - you're done!

So, ok, enough explaining - it's easier to show anyway. Here are some of my favorite pages.

Picture
This is one of my first pages (Week 2 to be exact) and I like it because I think it tells a complete story. There's minimal journaling but you get what's going on. (This is a friend's baby shower, BTW - not me!) I also like that I could get a little creative and add in one of the cards I made for her and even make a 3x4 card to include that matches the theme! The rest of the week was pretty uneventful, so I was able to fit it all onto the right-hand page.
Picture
This page I like because of the colors! They fit together so nicely and look like it took so much time to coordinate, but it's easily my simplest page. All I did was print off photos, jot down a quick story from the day, and slide everything into place. 
Picture
This isn't a regular weekly page, it's an insert. Some weeks have a lot going of and there's just no way you can fit it all into 16 little pockets. This week, a friend of mine got married so I knew I had to do a little something more. So I made a mini scrapbook page. Nothing fancy - just some journaling and a photo booth strip and her invite. On the back is a collage of more photo booth strips. And the page underneath has more photos from the wedding. I got to showcase 10 photos plus a bunch of photo booth photos! Plus my whole week surround these pages (it really was a busy week!).

I just realized that these 3 are not my typical pages. My typical pages are very boring-looking. And full of my own handwriting. And much less... coordinated. Which is the point. I love that most weeks are just a collection of random stories, but every once in a while, I get to be creative and put together a page that is more reminiscent of my scrapbook pages of yore. Or even throw one of those pages into the middle of the book!

So, in the weeks to come, I will be sharing more of my Project Life pages with you. Including some tricks I use and some tips for getting the most out of your photos.

Do any of you use Project Life? Would you? You don't need to start in January - you can start with the school year, or a birthday, or a wedding, or a birth, or... whenever!
0 Comments

    RSS Feed

    Blogs I read:

    Becky Higgins
    Bits & Pieces
    KWerner Designs
    Jennifer McGuire Ink
    I Could Make That
    Linny's Vault
    Pintester


    Categories

    All
    #30DaysofCreativity
    Baby
    Baby Shower
    Binder
    Calendar
    Cards
    Christmas
    Coupons
    Craft
    Distress Ink
    Etsy
    Fabric
    Family
    Feedbackplease
    Field Trip
    Flashback Friday
    Food
    Gift
    Haul
    Home
    Inspiration
    Internet
    Invites
    Magnets
    Organization
    Paint
    Photos
    Planner
    Project
    Project Life
    School
    Scrapbook
    Special Order
    Special Order
    Storage Solutions
    Thinking Of You
    Tips And Tricks
    Top5friday
    Tutorial
    Wedding


    Archives

    February 2016
    January 2016
    November 2015
    October 2015
    September 2015
    August 2015
    July 2015
    June 2015
    May 2015
    April 2015
    March 2015
    February 2015
    January 2015
    September 2014
    August 2014
    April 2014
    February 2014
    January 2014
    August 2013
    July 2013
    August 2012
    July 2012
    June 2011
    January 2011
    December 2010
    August 2010
    July 2010
    June 2010
    May 2010

Powered by Create your own unique website with customizable templates.