Little Paper Creations
  • Blog
  • About
  • Portfolio
  • Etsy Store
  • Quest for Kisses

Storage Solutions - Wafer Dies

2/24/2015

1 Comment

 
I love binders. I really do. Someday I will write a post sharing all the binders I have at my house and at school. The number is firmly in the double-digits, I assure you.

But today, I want to show you one particular binder.
And I just finished setting it up!
Picture
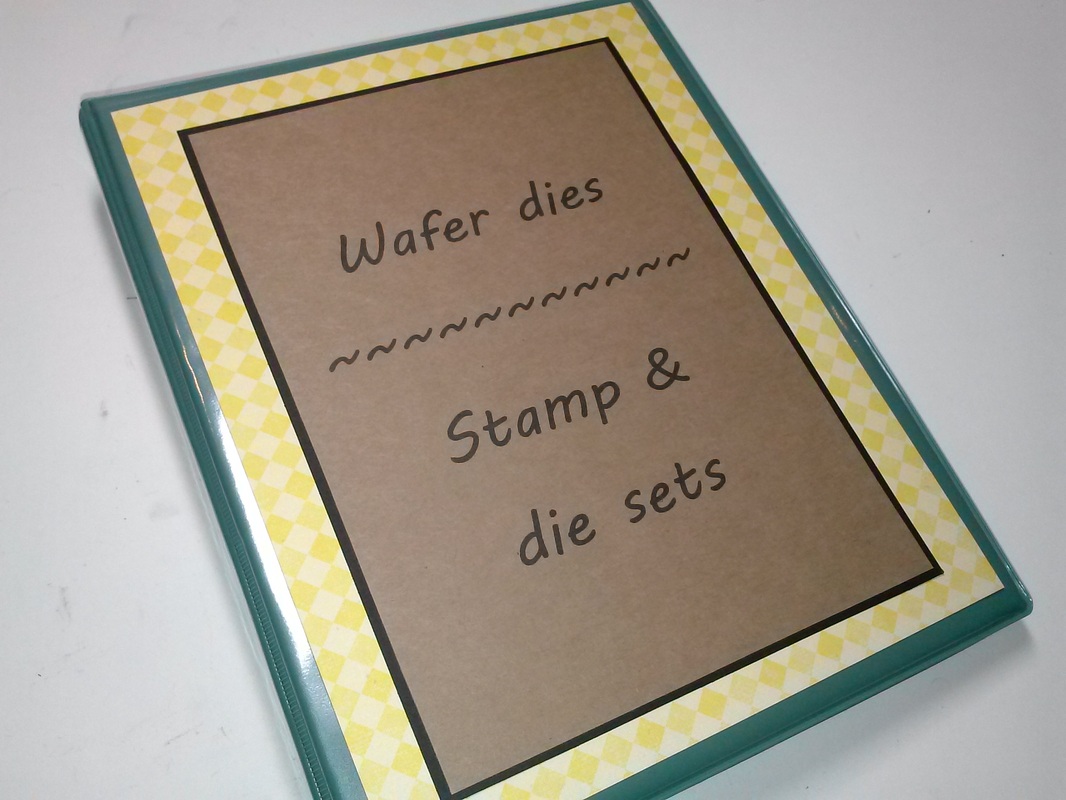
It's my wafer-thin die storage binder!
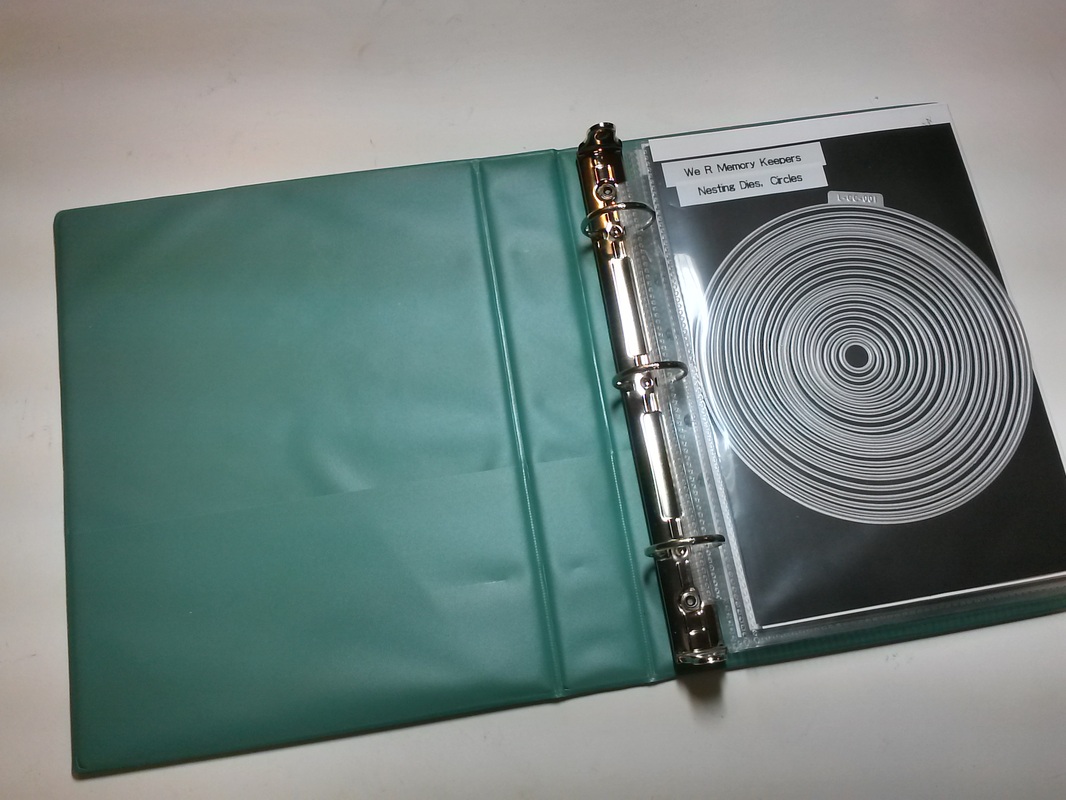
It's a mini binder, which means it's 8 1/2 x 5 1/2 (half-sheet size), which means it's the perfect size for most dies and stamps!
Picture
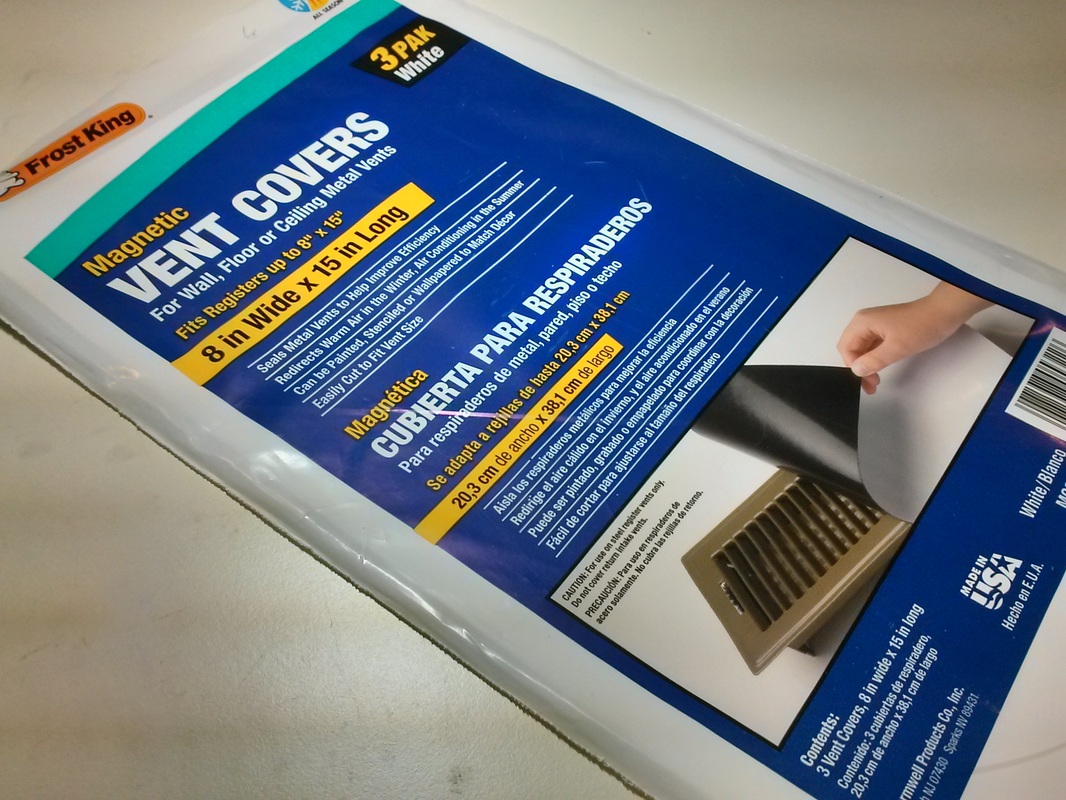
As I started collecting more dies, I realized that if I had no way to organize and access them efficiently, I would soon lose track of what I had, or worse, lose the dies themselves! Some of them have very small pieces. Plus, I wanted to be able to keep some stamp and die sets together. I searched online and came across several crafters that use magnetic sheets for die storage and while I loved that idea, I did not love the price of the magnetic sheets that were sold for that purpose. So I did some digging and found magnetic vent covers at my local hardware store!
Picture
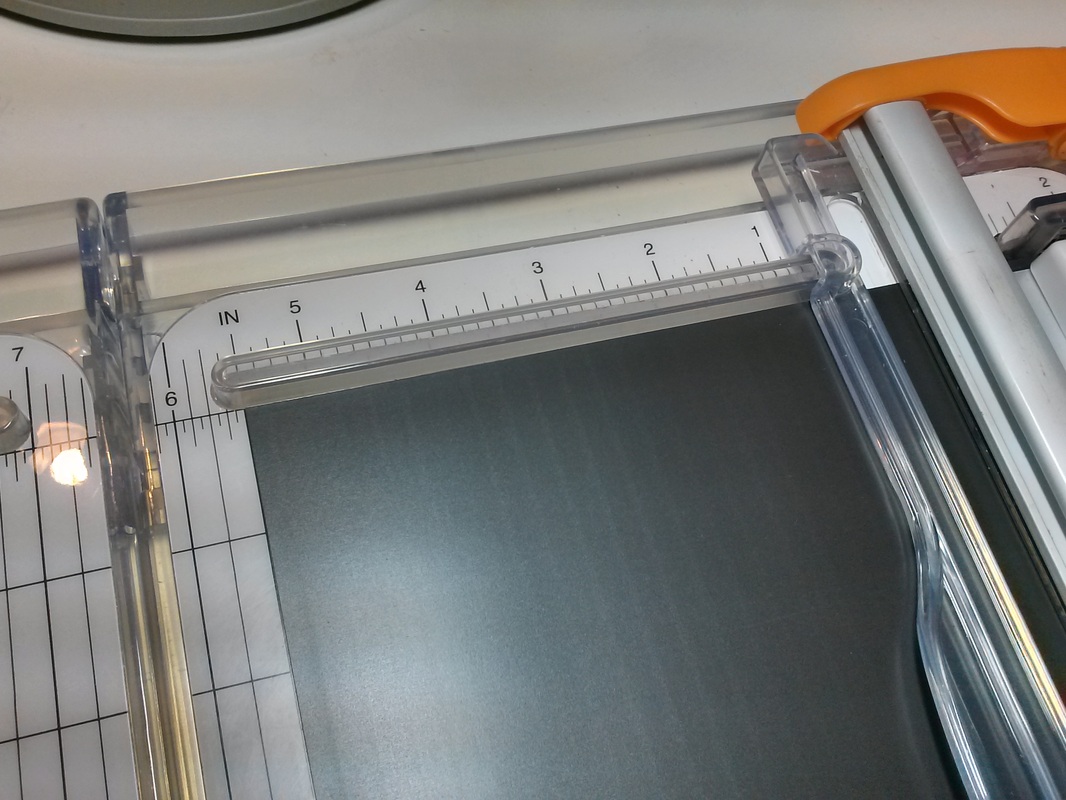
They come in packs of 3 sheets for $4.47. The sheets measure 8x15 inches, so I cut them up. They cut very easily with a paper trimmer.
I was able to get 2 large pieces of 8 x 5 1/2, one medium piece of 5 1/2 x 4, and one small piece of 4 x 2 1/2.

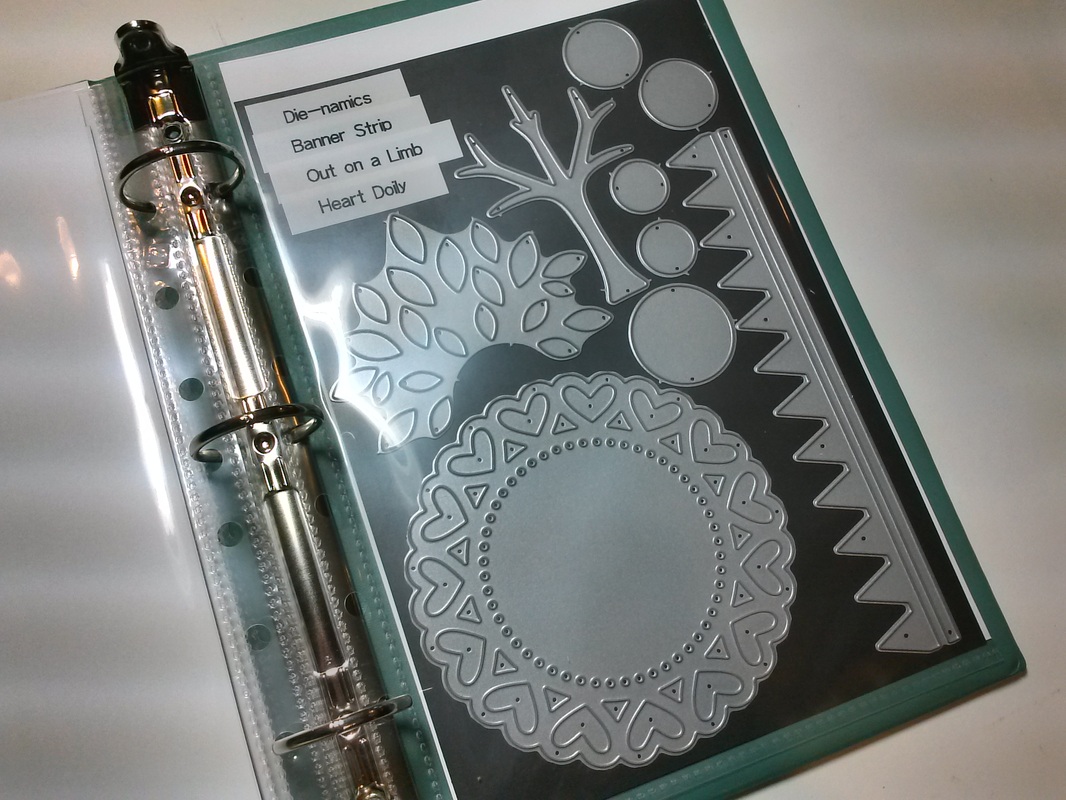
I use the large pieces as full magnet sheets for large sets or multiple sets.
Picture
Picture
Picture
Picture
I use the medium and small pieces for sets of small dies.
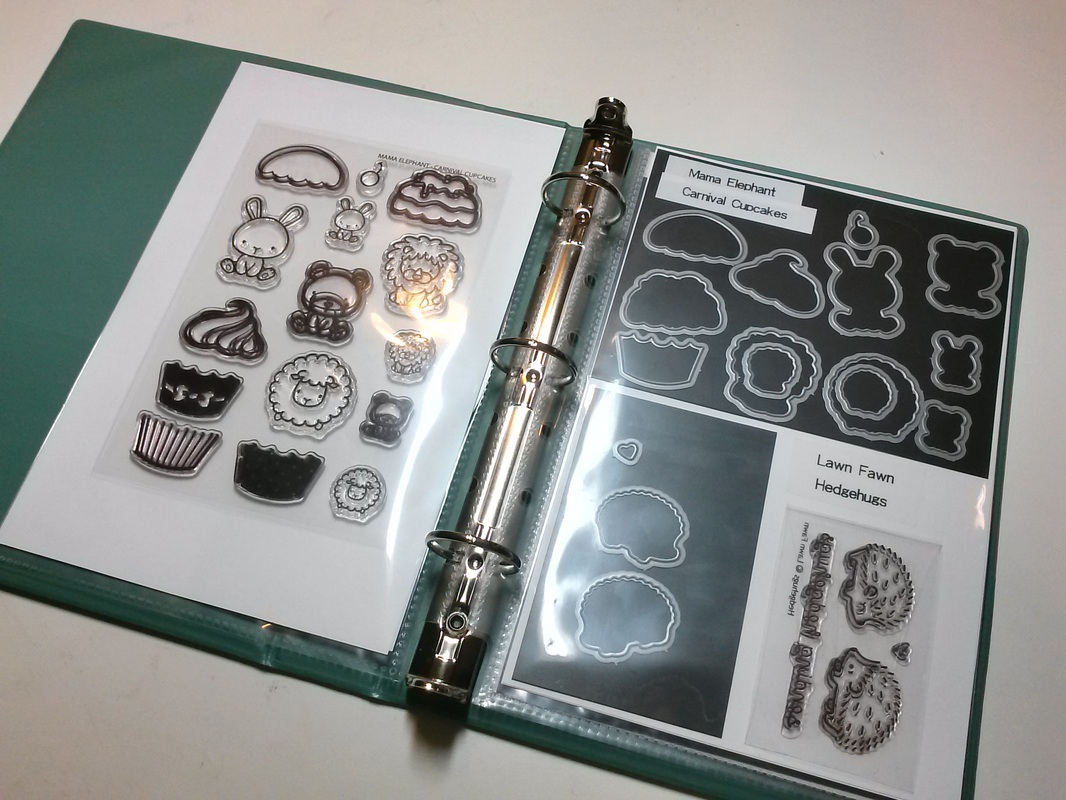
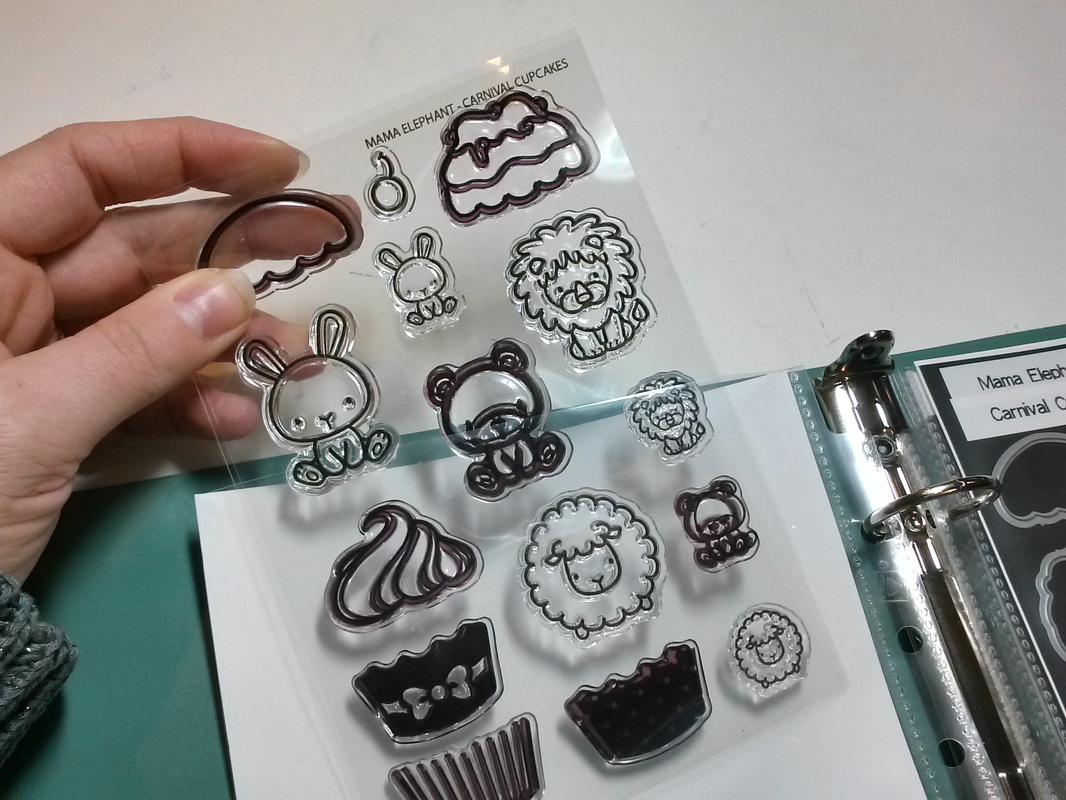
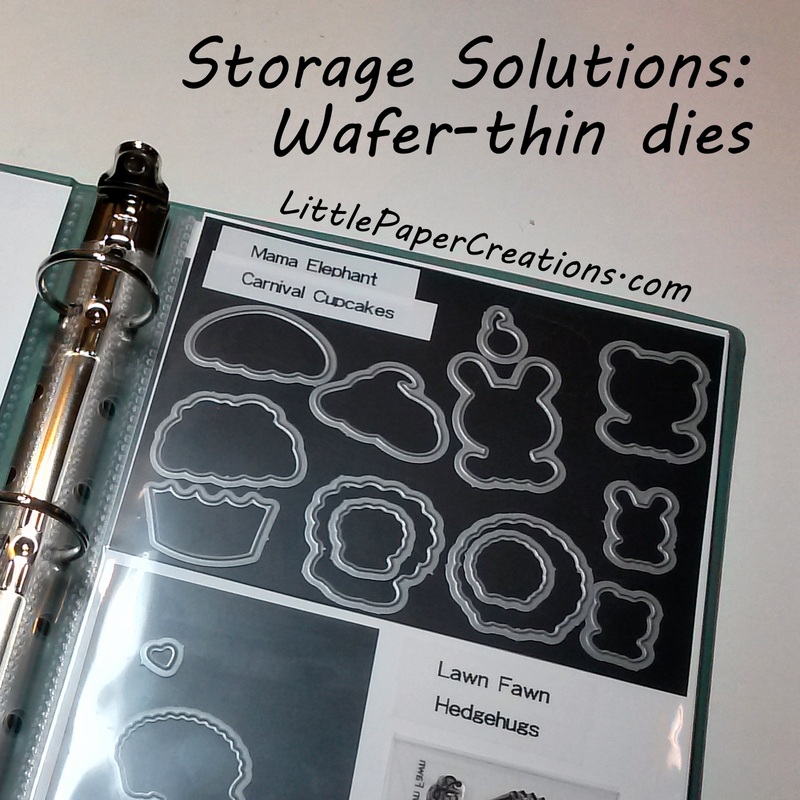
These two sets have matching stamps, so I made sure to store the stamps and dies together. The Hedgehugs stamp set is taped onto the paper next to the dies so they stay in place together and the Carnival Cupcakes stamps just slide into the back of the pocket on the left.
Picture
All the magnetic pieces can slide in and out of the pockets easily so I can just take what I need when I want to work on a project.
Picture
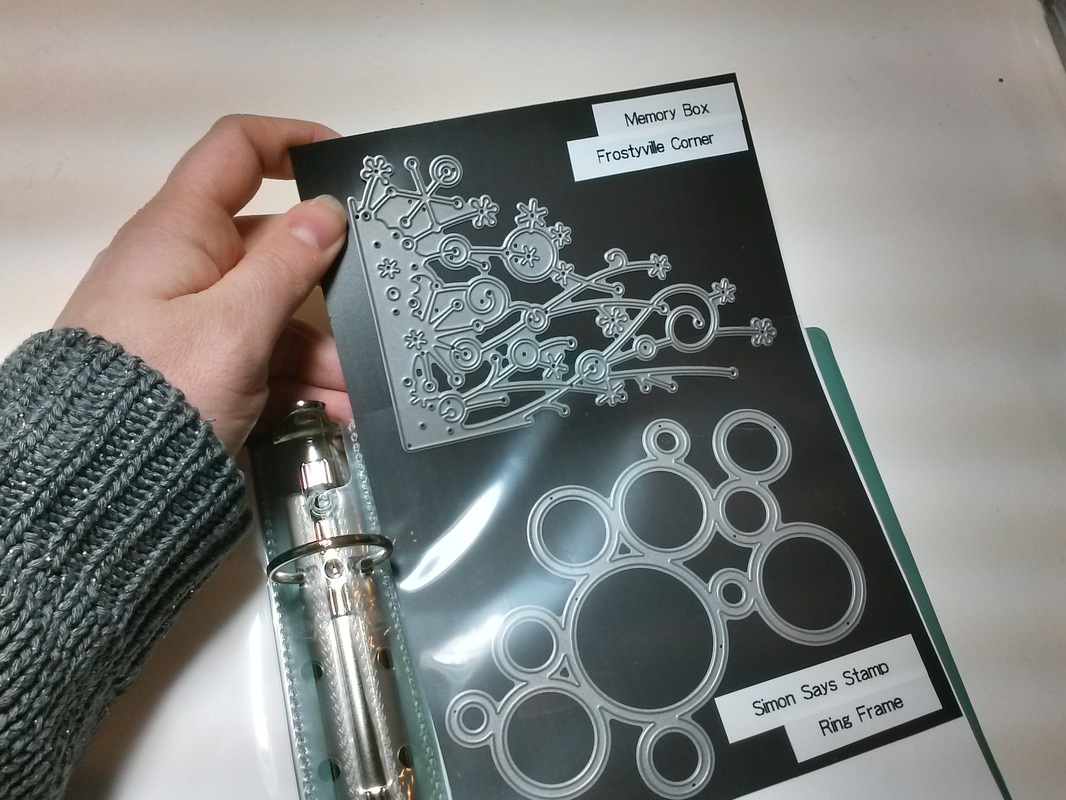
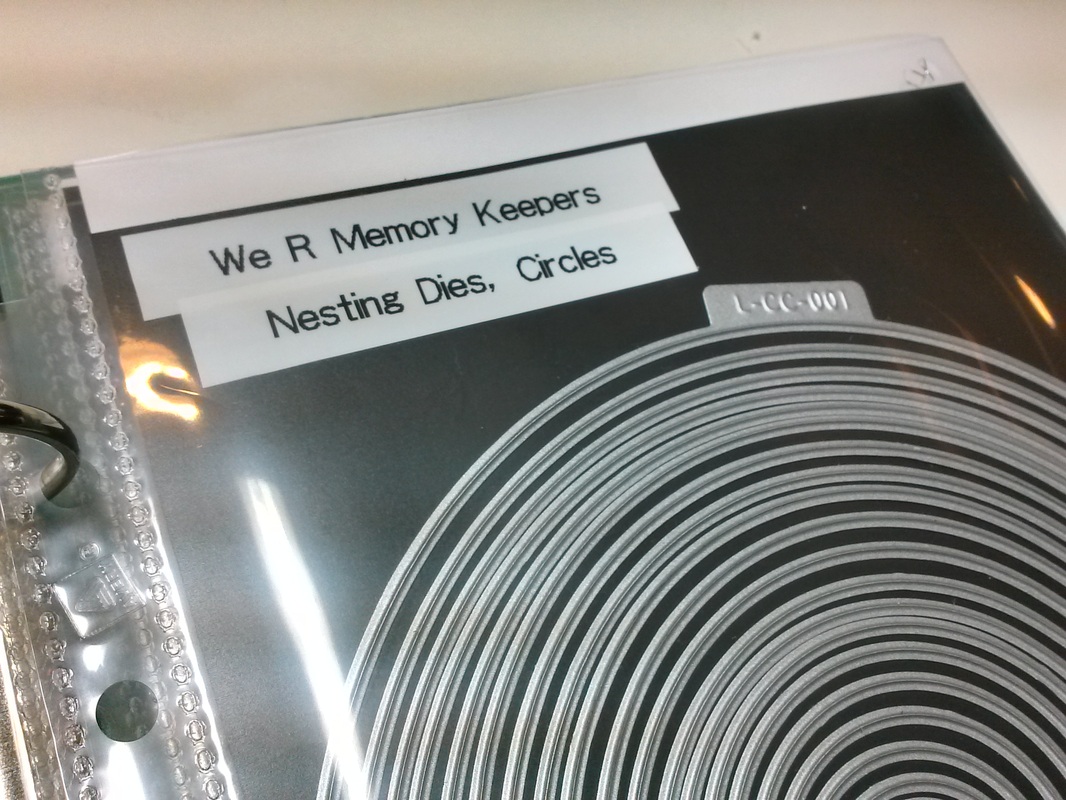
I used my label maker to label each die/set on the magnetic sheets. I didn't want to put the labels on the page protectors because I didn't want to worry about getting everything back exactly where it needed to. And I want to be able to change the order of things when I get new dies. Labeling the magnet sheet keeps it flexible. I make one label for the company and one for the name of the die/set.
Picture
I love having everything in one place and easily accessible!
I love my binders!

Do you use binders in your craft storage? What do you use them for?
If you don't use a binder, how do you organize your dies?

I'll be adding more Storage Solutions posts over the next few months. I know storage and organization are a big topic among crafters (and others) and I hope that my solutions inspire you to get your supplies more organized. Is there something in your craft area (or kitchen, or classroom, or office, etc) that is unorganized? Something that you need a solution for? Let me know and it may be the next Storage Solutions topic!

Happy Crafting!
1 Comment

Project Life tips & tricks; Journaling

9/29/2014

0 Comments

 
Sometimes, life moves too fast for us to pull out a camera and capture it. Today, I'm going to share some ways I incorporate journaling instead of (or in addition to) photos in Project Life.
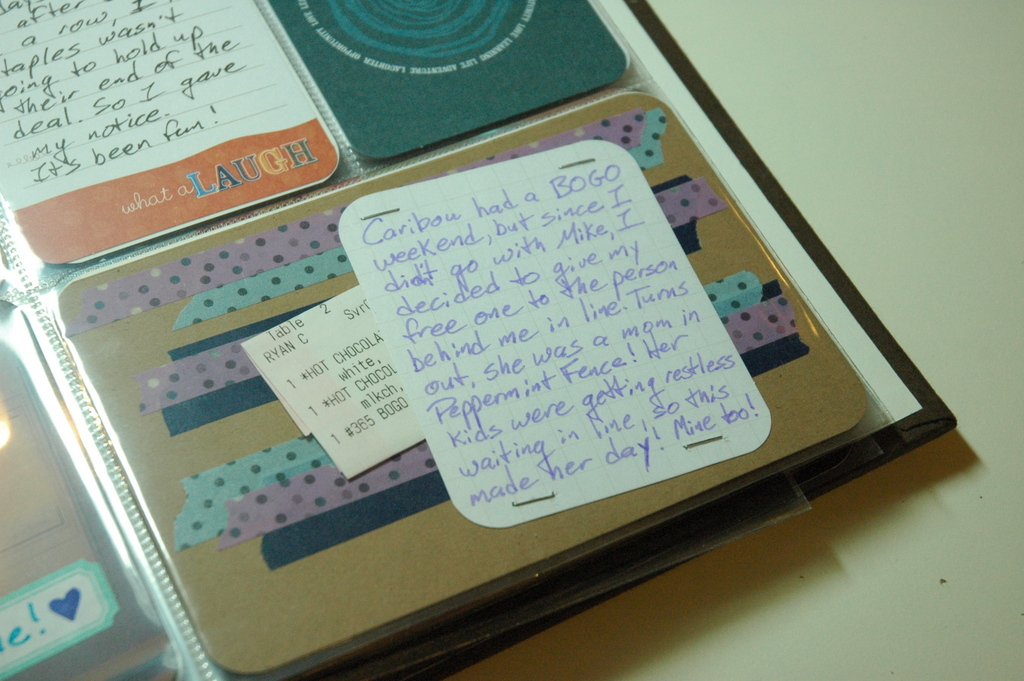
Every once in a while, Caribou Coffee has a BOGO promotion. I usually go alone, so there's no one to share the BOGO with. Lately, I've been passing on the free drink to the person behind me in line. I obviously don't take pictures of random people in coffee shops, so there's no photos for this story, But it is a story that I wanted to document. I saved the receipt, wrote the story, and put it onto a decorated 4x6 card. 
Picture
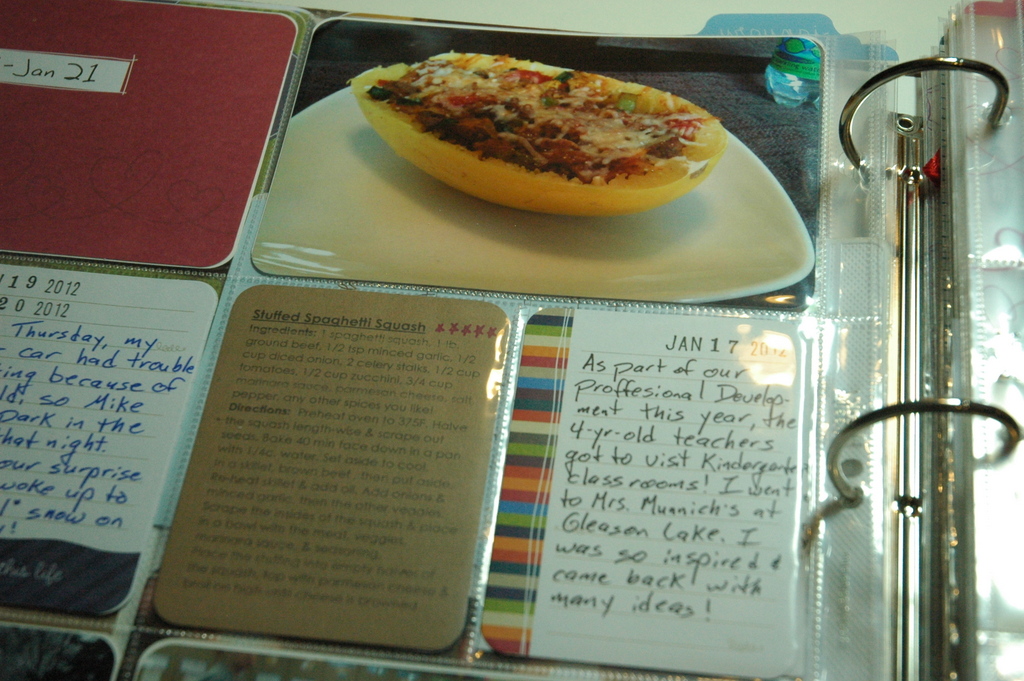
I love trying new food. I try to get a photo of any new creations I make, and of course they end up in my PL book (and in my recipe book), but it's so boring to keep writing "I tried a new recipe, it was good" every time I make something new. So I started printing out a miniature recipe card to put in my book. I rate the dish with stars so when I look back, I know if I liked it or not, but I don't have to write anything else.
Picture
Sometimes I just have so much fun doing something, I forget to document it. That, or my friends get really tired of me snapping photos all the time. Or both...
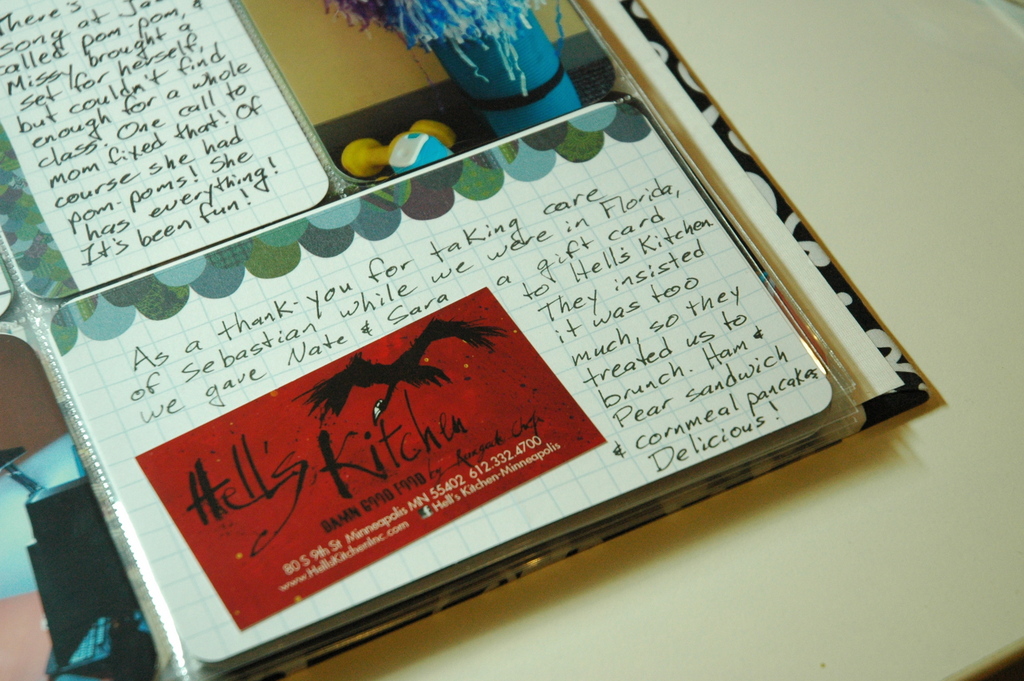
So when I go out to eat at a new or fun place, I grab their business card. It makes a nice supplement to my journaling about the event.
Picture
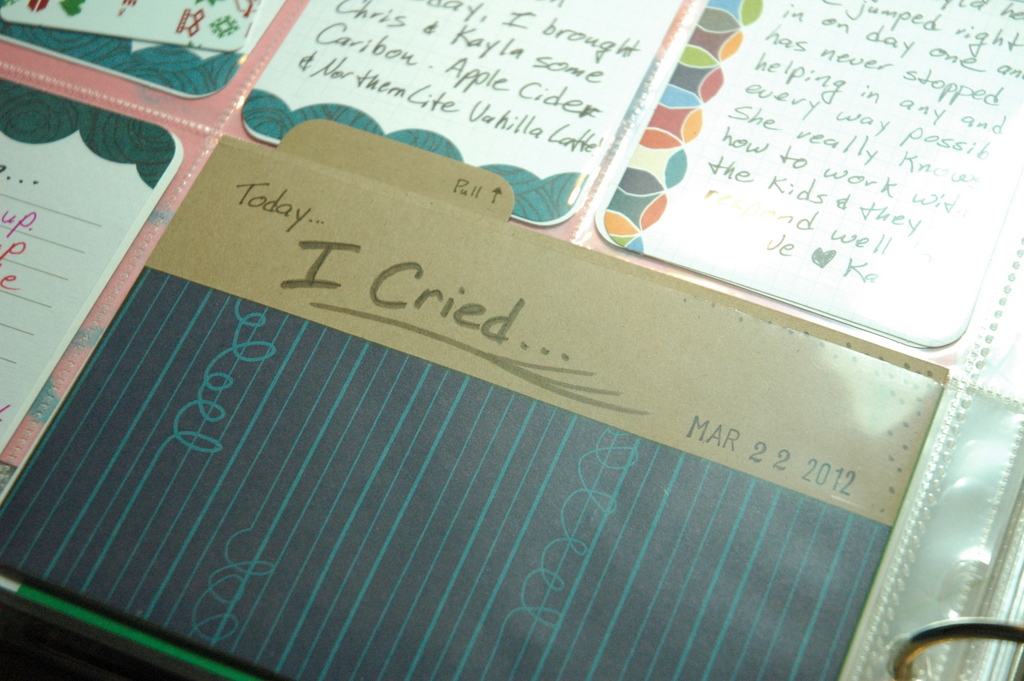
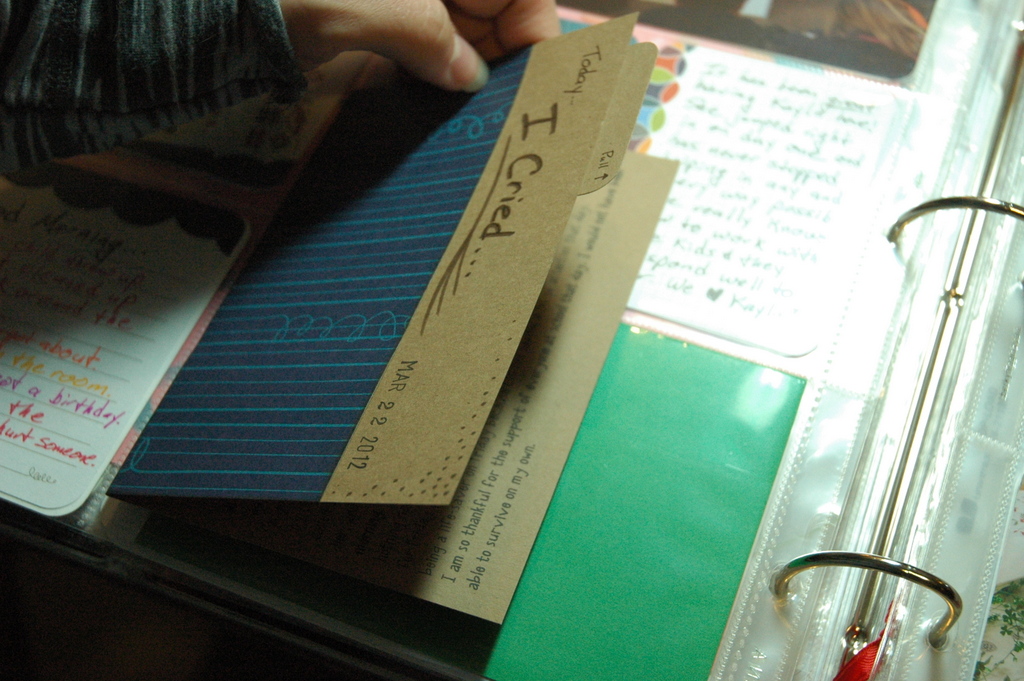
Sometimes, there are stories that need to be told but don't need to be remembered or read every time you look through your book. Or maybe you don't want to share this information with everyone who ever opens your book. I had a very difficult day and wanted to write about it, but I didn't want to have to re-read it every time I looked back, so I made a folded journal card, decorated the front, and wrote on the inside. The story is told, and I can choose when to read it again.
Picture
Picture
So there you have it - some of the ways I use or supplement journaling in my Project Life book. I hope this inspires you to tell your story.

Just because you don't have a photo, doesn't mean life didn't happen.

Happy Crafting!
0 Comments

Project Life tips & tricks; Extras

2/17/2014

0 Comments

 
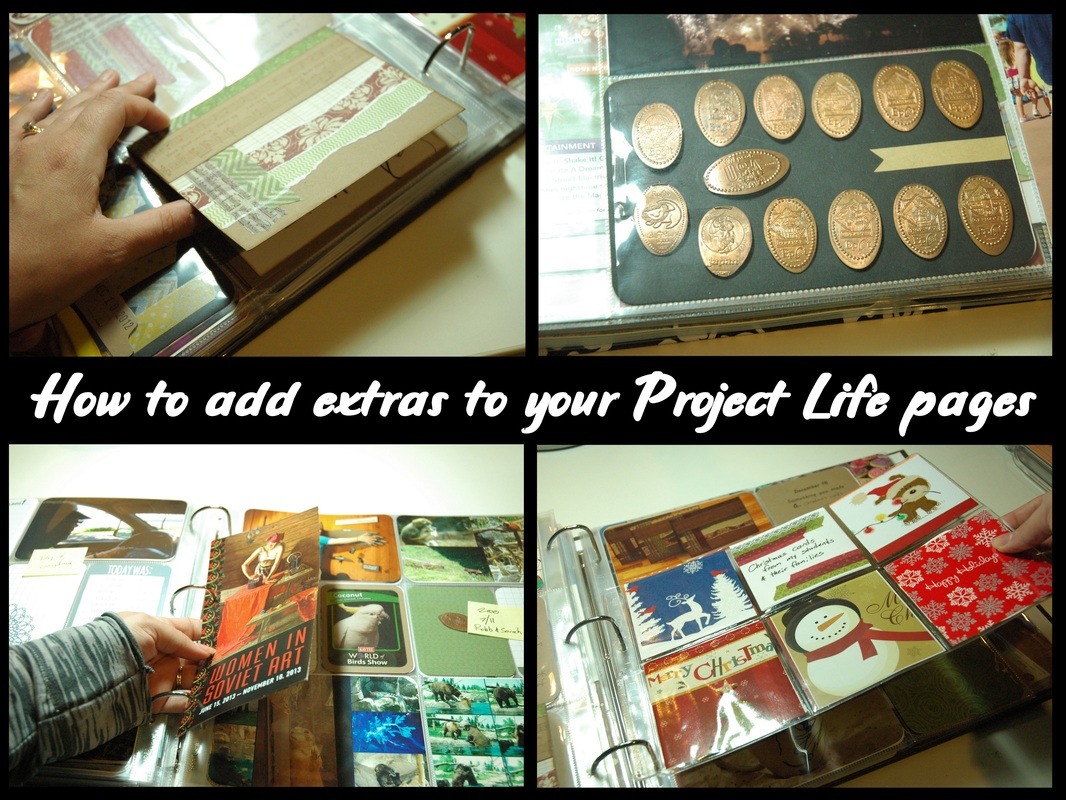
About half way through my 2012 Project Life album, I realized that there were a lot of things that I wanted to include in my album that I didn't have a page protector for, I hadn't seen anyone do it before, or they just didn't fit. So I began to experiment. Here are some ways I deal with my 'extras'.
Picture
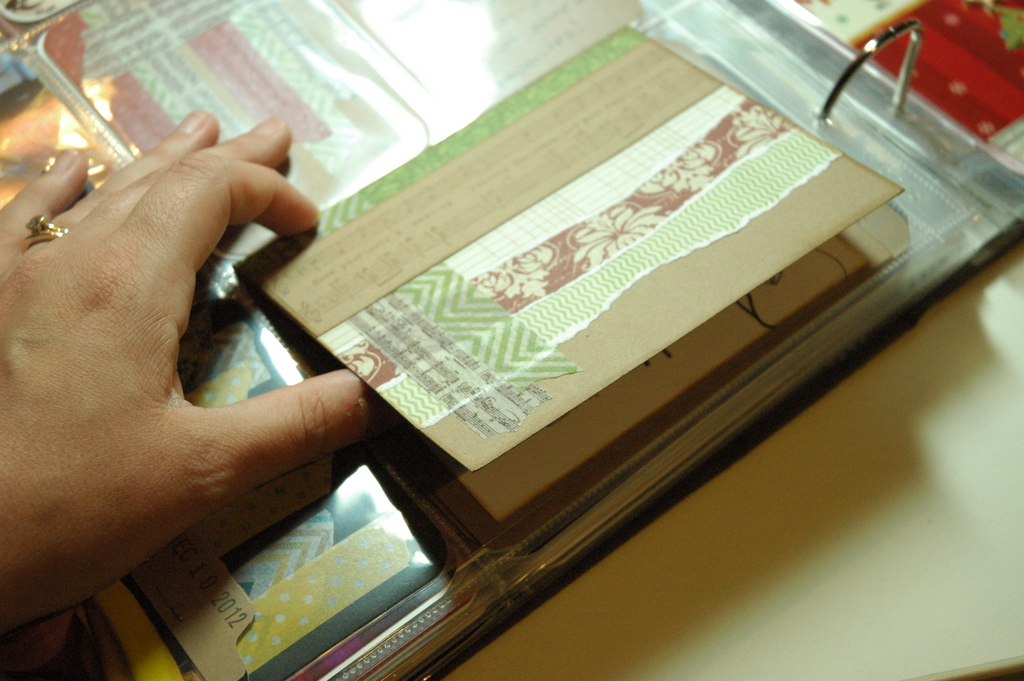
I make a lot of cards. Mostly to sell, but I make many for myself or friends as well. I wanted a way to display some of these cards (I always seem to make 1 or 2 (or 5) extra!) in my PL album, so I just slipped it in. The cards don't fit exactly, but close enough. Plus, it becomes interactive! You can flip it open and see what's on the inside or I've added journaling on the inside, too. 
Picture
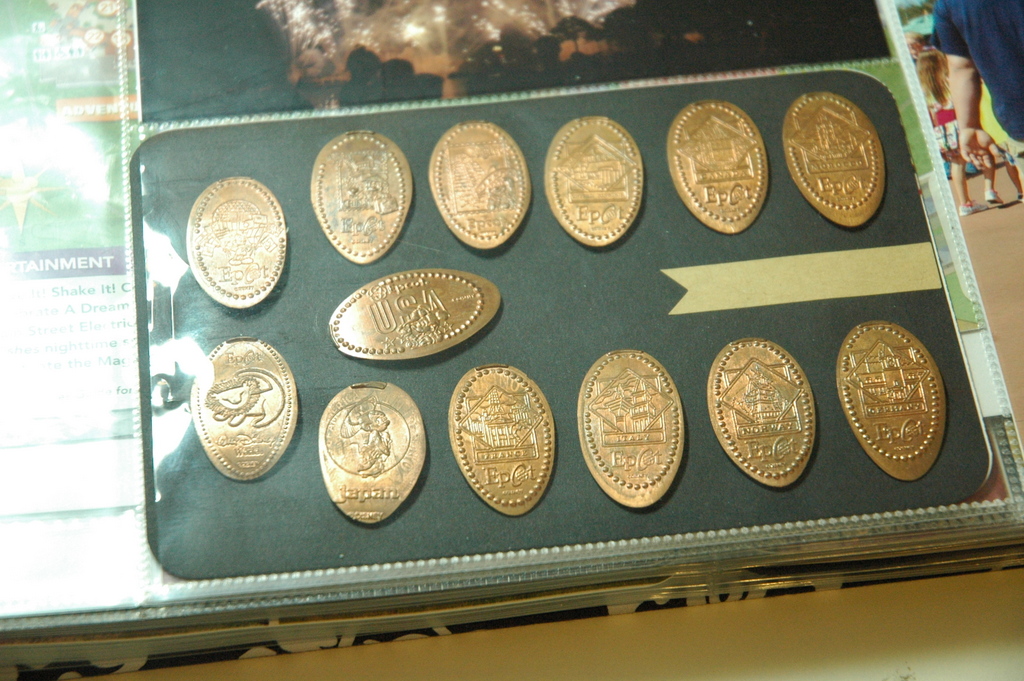
I collect pressed pennies. I have since childhood. And I have those fancy penny books to keep them in. Trouble is, the books are tucked away somewhere in my basement storage room (I think...) and I never see them. When my family visited Disney in 2013, I collected many, many pressed pennies and I wanted to incorporate them into my PL album, after all, I spent a good portion of the trip tracking down the machines! So I just used glue dots to adhere them to a plain piece of cardstock!
Picture
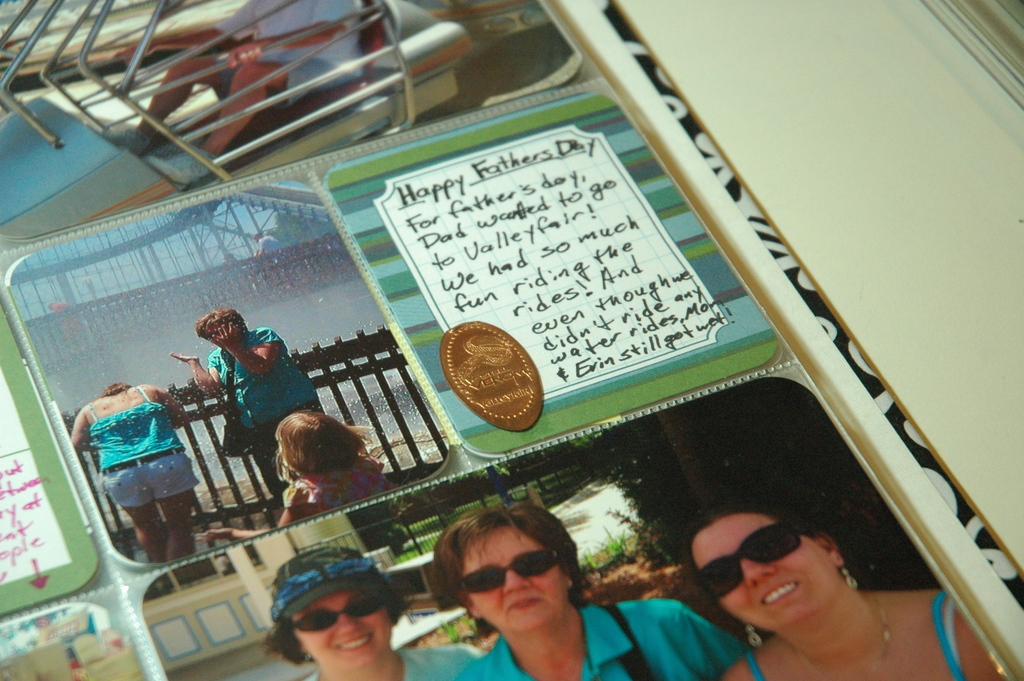
I've also begun including single pennies right on journaling cards. It adds a bit of flair, displays my souvenir, and it looks pretty neat!
Picture
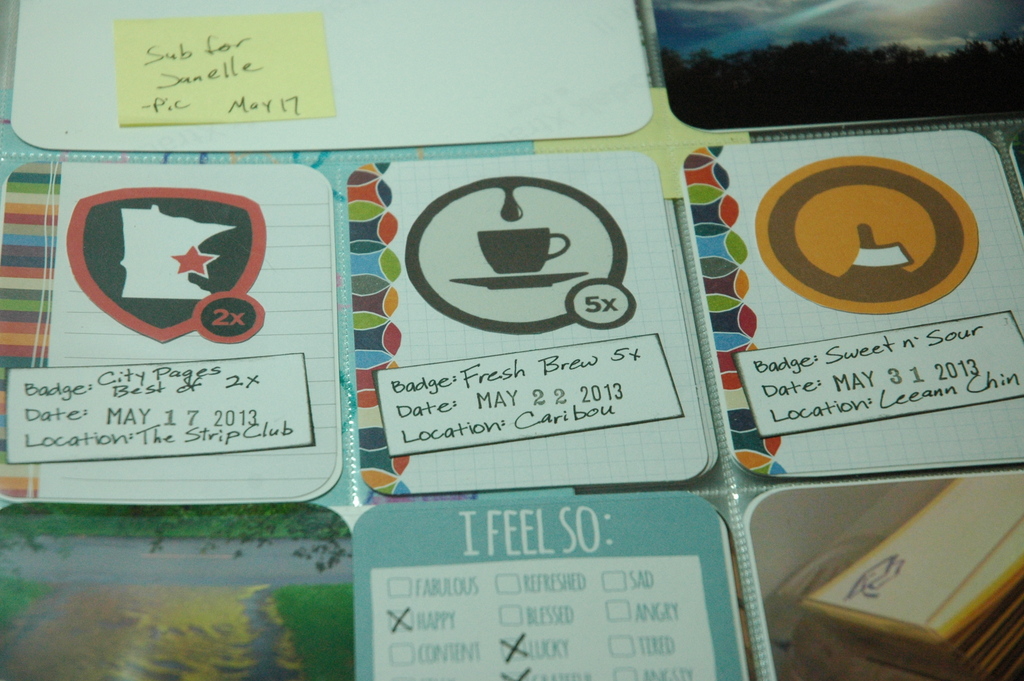
I use Foursquare. It's fun for me to keep track of where I've been and who else has been there. Plus, I get to collect digital badges for visiting certain places or certain types of places. The scrapbooker in me was sad that these badges were purely digital, until I realized it would be easy to just print them out! So I did, and not every time I get a badge, I make a small journaling card about it.
Picture
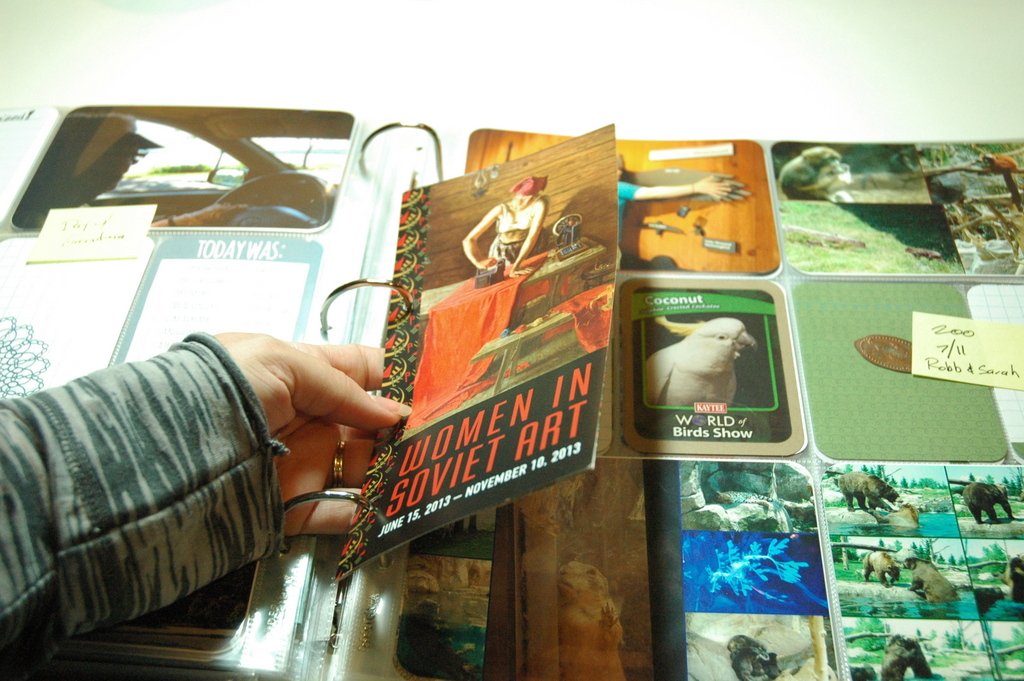
Most of the time I don't keep pamphlets, flyers, maps, etc. But sometimes I do. And I don't always have a page protector to fit them. So I say, forget the page protector! Unless the pamphlet is really important, just punch it and put it in!
Picture
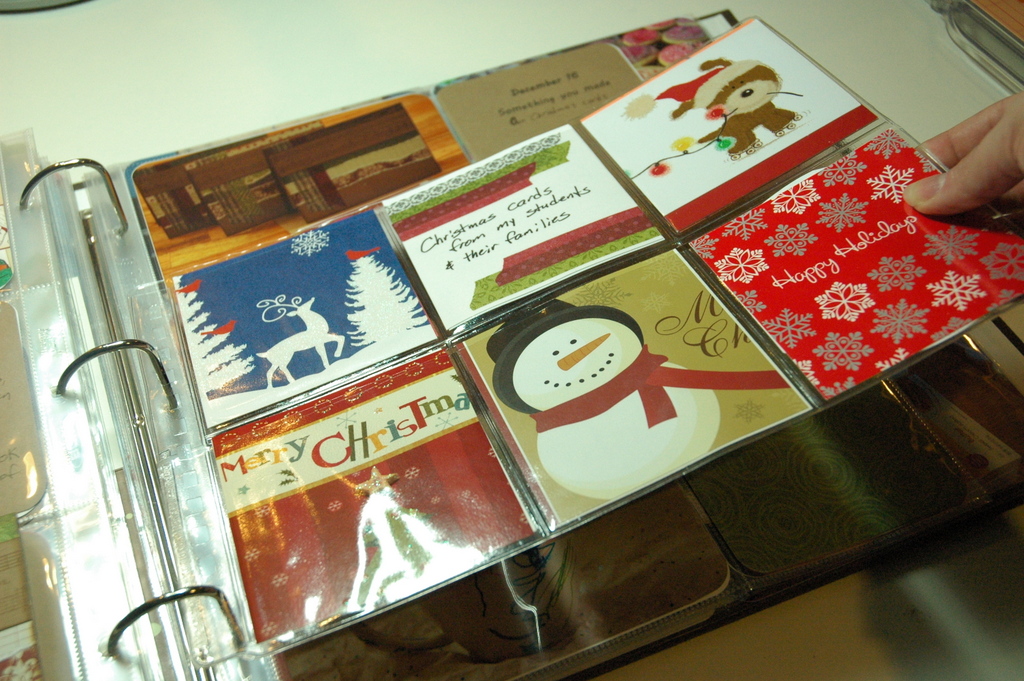
I've been feeling guilty for years every January when I have to take down all the Christmas cards I've received and throw them in the recycling bin. No more! I cut out the best part of the card and slide it into a multi-pocket page and now I can remember the cards and senders for years to come! I do the same thing with valentines from kids at school and birthday cards!
Picture
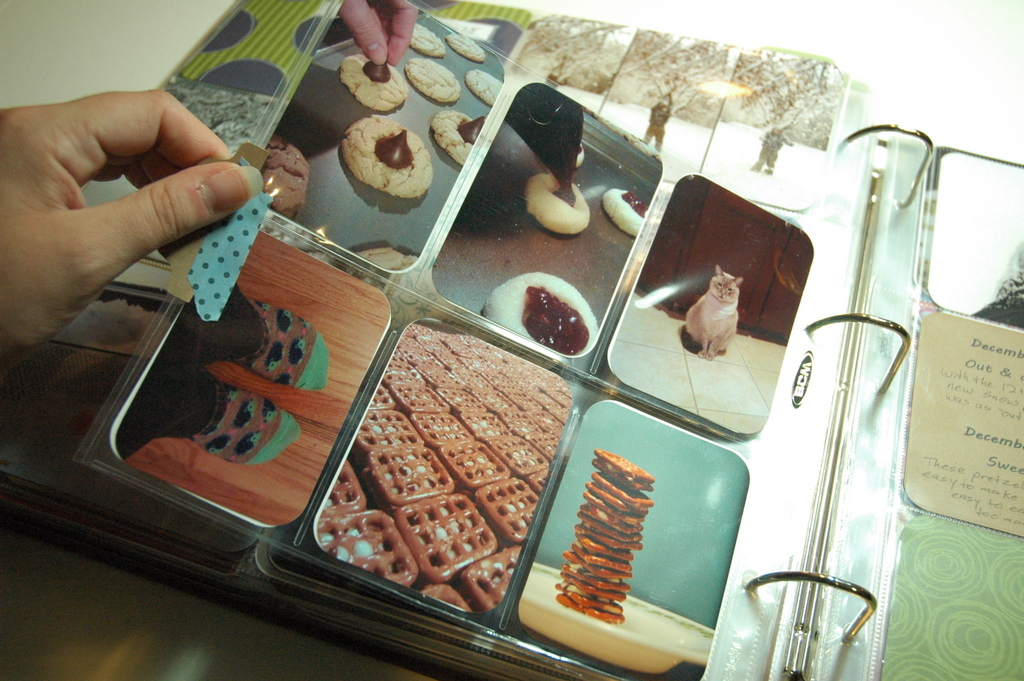
Another use I've found for the baseball card-style pocket pages is to showcase a series of photos. On December 12, 2012, I took 12 photos (12 on 12/12/12) and put them into this insert to set them apart from my regular weekly photos. I've also used this technique for things like December Daily photos, birthday party (or other event) photos, and all my random cat photos. Yeah, I have a lot of those...
Picture
So, I hope I have inspired you to take all those extras that you weren't sure about and include them in your PL book! Don't tuck them away in a box or an envelope at the end of the book, put them in where they are relevant to the story! To your story.
After all, if you don't tell your story, who will?
0 Comments

Project Life Tips &Tricks; Photos

8/12/2013

1 Comment

 
I, like a large portion of the scrapbooking world, have jumped on the Project Life train. And I am loving it! I have written a little about my 2012 Project Life once before, but today I wanted to share some tips and tricks I picked up along my journey. This post is going to be photo heavy and likely end up being more than one post. So lets jump right in!
I'll start with photos. Seems logical to me. After all, PL is all about our photos, right?
I use Picasa to upload and edit all of my photos. It's free, it's easy, and it seems intuitive to me. It's (obviously) not as sophisticated or tool-heavy as Photoshop, but I'm not a huge fan of editing photos, I just want it to be quick and easy and I don't really feel like putting in all the work of learning Photoshop. Though I do Own Elements and I have played a bit with templates, but that's another story...

Back to photos!
Picture
One of the big roadblocks I ran into when I first started Project Life was that not all of my photos were landscape. I took a lot of portrait photos and I didn't know how to include them. I quickly figured out that two 3x4 photos would fit into a 4x6 pocket, so all I needed to do was shrink them down. In Picasa, you just select the photos you want to combine (click one, then hold down the Ctrl key and click the other - they will both be highlighted), then click the Collage button on the bottom. You can mess with the settings as much as you want. I choose Mosaic layout, 4x6 size, landscape orientation, and sometimes I put some spacing in, if the photos are going in the same pocket. If I'm going to be cutting them apart, I don't put any spacing in. 

Picture
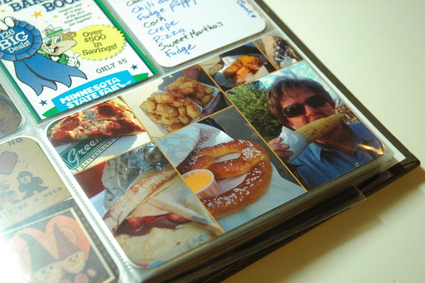
So what if you have multiple photos you want to include in one pocket (like the foods my mom and I ate at the State Fair)? You simply select more than two photos, and make a collage out of all of them! Same steps apply, just select all the photos you want, instead of just two. When I make a multi-picture collage, I always put in some spacing between the photos. You can see in this collage, I made the spacing the nacho cheese color. I like pulling colors from the photos with the eyedropper tool. Also, while you cannot change the size or ratio of the photos in the collage, you can change which photo is where by simply clicking and dragging it to where you want it. So if I prominent photo is stick in a tiny spot (like the photo of my mom eating the corn was way up in the upper right corner and I could barely see it), you can just move it!

Here are some other collages I have made:

Picture
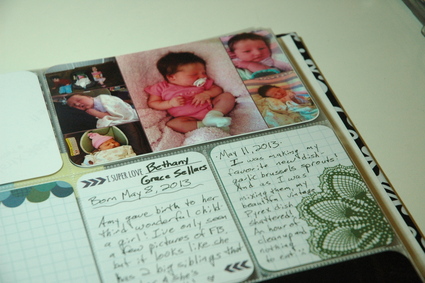
When my friend have babies, I pull photos from their Facebook pages and make a mini collage celebrating their birth. Because I likely won't see the child till they are older and less scrunchy-new.

Picture
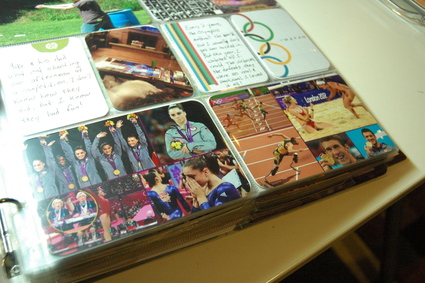
The Olympics was a big part of my summer, but I obviously wasn't there, so I got pics online and made collages of my favorite events and athletes.

Picture
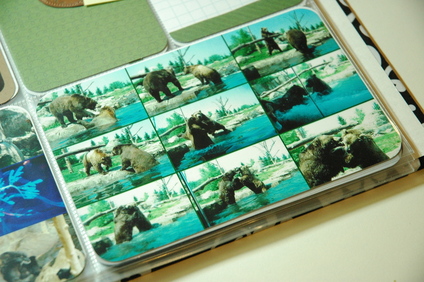
I went to the zoo and was lucky enough to see the bears playing with each other and wrestling in the water. I loved the sequence of photos I got, but obviously didn't want to fill 9 full pockets with them, so I made another collage!

Picture
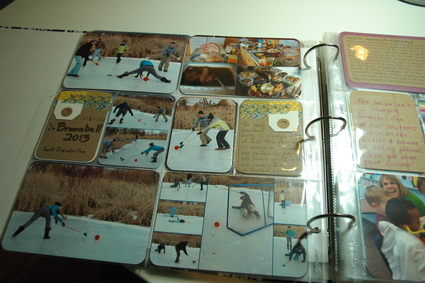
Here's a whole page I dedicated to my in-laws' annual Broomball party. You can see I included full 4x6 photos, half-sized 3x4 photos, and multiple collages in both the 4x6 and 3x4 pockets. It's fun to see so many photos together on one page!

Picture
Another fun thing to do in Picasa is adding text to your photos. I don't do it that often, I usually put a label on after it's printed, but sometimes I like to get fancy.  :-)

To add text in Picasa, open the photo you want to add text to, and click the text button to the left. Then type. Seriously, it's that easy. You can move the text around and change the size, font, and color, but it's seriously easy to figure out. Everything's right there for you. 

Just make sure when you're done and you've hit the 'Apply' button, that you 'Export' the photo to your computer (button on the bottom that looks like a file folder with an arrow on it) so you can print it with the text, otherwise, it's just a change within Picasa.

Picture
One more.

I often put my newly created 3x4 photos on a 4x6 card by themselves or with a bit or journaling and decoration. I like how they stand out more than they would being put alone into a 3x4 pocket.

Alright, enough for today. I have more tips and tricks to share with you, including journaling tips, what to do with ticket stubs and other ephemera, and some misc tricks that I like, but those will have to wait for another day. I'm tired of typing, and I bet you're tired of reading by now. 

If you have any questions about the tips and tricks you saw here, please feel free to comment or contact me. And if you have some photo/Picasa/PL tips and tricks of your own, please share!!

Till next time!
1 Comment

    RSS Feed

    Blogs I read:

    Becky Higgins
    Bits & Pieces
    KWerner Designs
    Jennifer McGuire Ink
    I Could Make That
    Linny's Vault
    Pintester


    Categories

    All
    #30DaysofCreativity
    Baby
    Baby Shower
    Binder
    Calendar
    Cards
    Christmas
    Coupons
    Craft
    Distress Ink
    Etsy
    Fabric
    Family
    Feedbackplease
    Field Trip
    Flashback Friday
    Food
    Gift
    Haul
    Home
    Inspiration
    Internet
    Invites
    Magnets
    Organization
    Paint
    Photos
    Planner
    Project
    Project Life
    School
    Scrapbook
    Special Order
    Special Order
    Storage Solutions
    Thinking Of You
    Tips And Tricks
    Top5friday
    Tutorial
    Wedding


    Archives

    February 2016
    January 2016
    November 2015
    October 2015
    September 2015
    August 2015
    July 2015
    June 2015
    May 2015
    April 2015
    March 2015
    February 2015
    January 2015
    September 2014
    August 2014
    April 2014
    February 2014
    January 2014
    August 2013
    July 2013
    August 2012
    July 2012
    June 2011
    January 2011
    December 2010
    August 2010
    July 2010
    June 2010
    May 2010

Powered by Create your own unique website with customizable templates.