I've always been kind of a plannerd (planner nerd). In high school, I used a simple student planner I got from probably Target to keep track of my assignments. In college, I got the official planner for our college (it had the college logo on the front and important campus events already listed inside) and I used that religiously for years. In fact, that's where my color-coding planner system began and where I first fell in love with post-it notes. I used the highlighting post-its color-coded for classes. The assignment would get written down and 'highlighted' on it's due date, then when I completed it, I would take off the sticky so it didn't stand out anymore.
Once I graduated, I went back to a basic planner on and off for a few years, then switched over to electronic calendars (Google, color-coded, very pretty!), but I never really found a good system to keep track of everything I had to do. I had a place for appointments, sure, but what about my to do list? Where was I supposed to put the note that some time this week I needed to call my grandma or go to a certain store? And when I got to said store, how was I supposed to know what to buy? My list was most likely at home on a sticky note on my desk.
*sigh* This was not working.
Then last summer, I started finding Facebook groups and blogs and You Tube videos about Filofax and other planners. I was intrigued. Could I function effectively in a filo-type planner?
I had already made my own lesson planner for my preschool teaching, why not make one for my home life as well? So I started putzing. And printing. And tweaking. And reading. And the more I worked and actually used my planner, the better I got at developing a system that worked for me. And I think I've finally achieved "planner peace"!
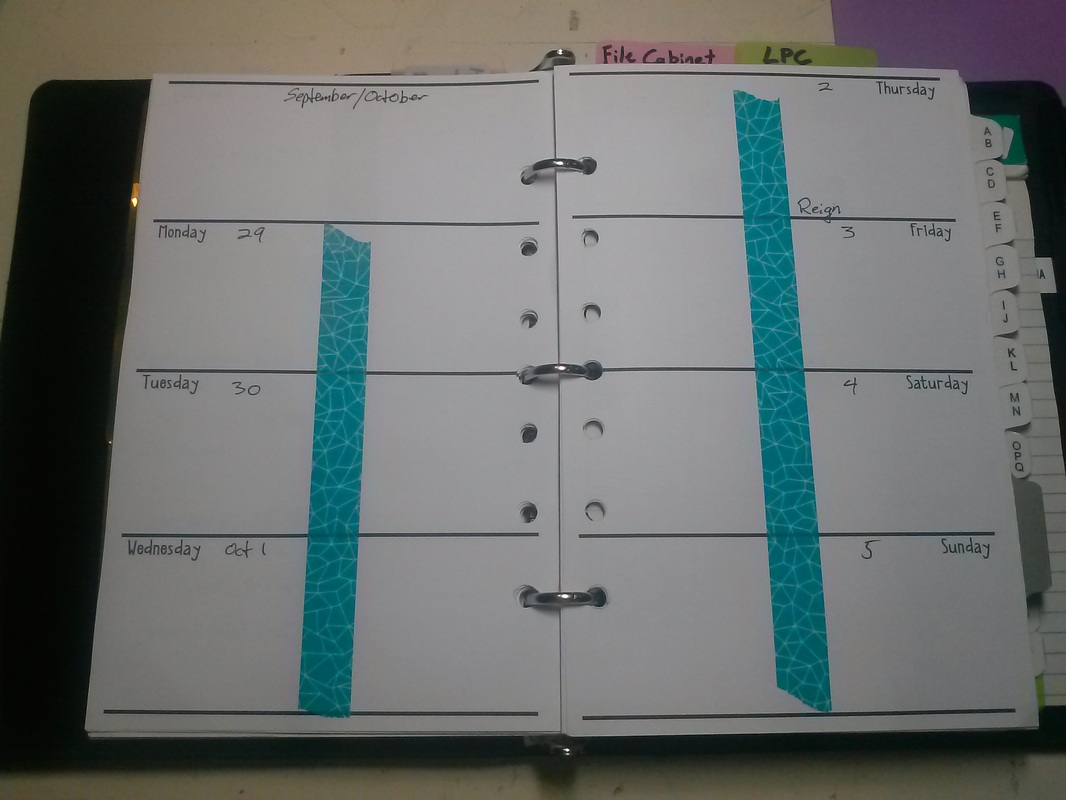
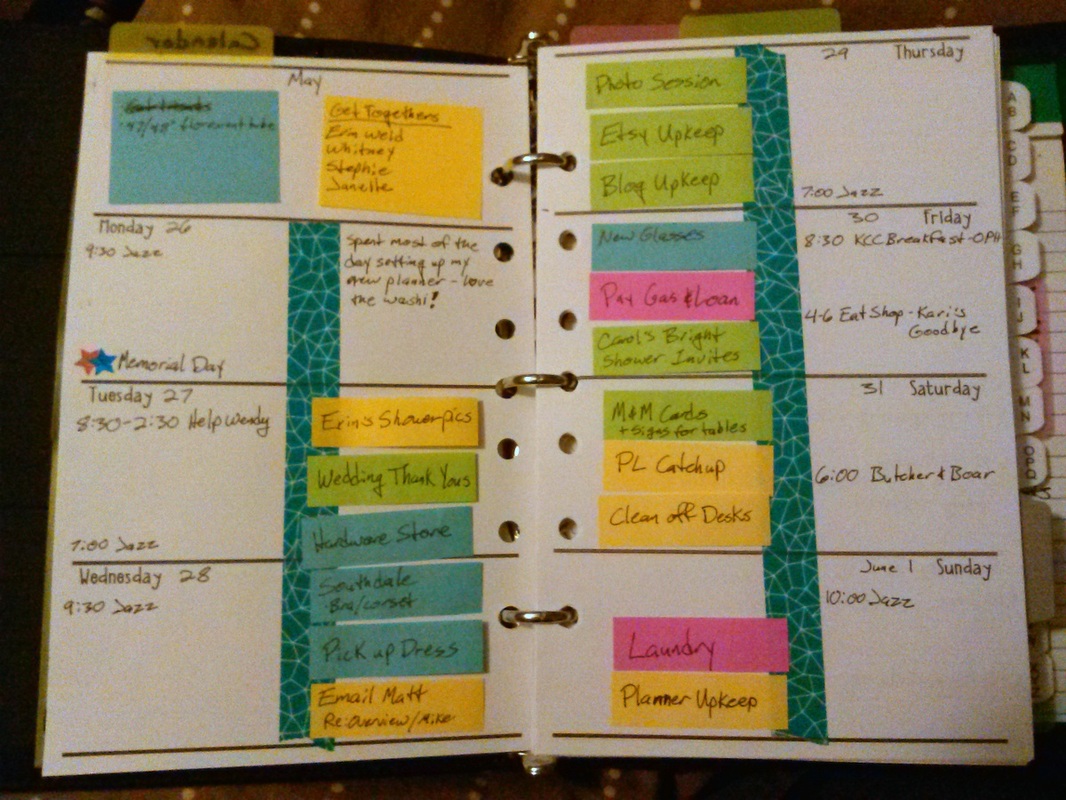
I use the outside edge for appointments - things that happen at a specific time or only on a specific day. Things like holidays, birthdays, work schedules, appointments, and events go here. The inner edge of the pages are for to-dos. I use color-coded post-it flags for my to-dos. This lets me see at a glance what kind of week I'm going to have - heavy on personal stuff, work stuff, errands, craft, etc.
The nice things about the post-it flags are;
1) When I'm done with an activity, I can just take it off and throw it away - so satisfying!
2) If I don't get something done on Monday, I can just move it to Tuesday, or Wednesday, or whenever I have time to finish it on another day. And I don't have to keep re-writing it every day.
3) If there is a repeating event (grocery shopping every Monday or paying the phone bill every month), I can move the post-it to the next instance of that event when I'm done with it this week/month.
I also use the slightly bigger notes for lists of things I need to buy or get from a certain store or person. Or things I need to bring to school the next day. Or any small list that isn't a to-do.
So that's the calendar portion of my planner. I've been using this version of it since April and it's worked really, really well so far. I've made a few minor tweaks, but it's pretty much as you see it here. I'm going to make a video soon walking you through my calendar so those of you who like more visuals can see everything!
And if you've read this far, thanks! I know I can be quite verbose at times. As a reward, here's a free download of my planner pages:
| 2page_weekly.pdf |
You can decorate it any way you want! That's the beauty of blank planner pages!
Please let me know if you have any questions or if you want to see more of my planner or if you want clarification on anything. I hope to be sharing more of my planner in the future, so stay tuned!
Happy Crafting!
 RSS Feed
